
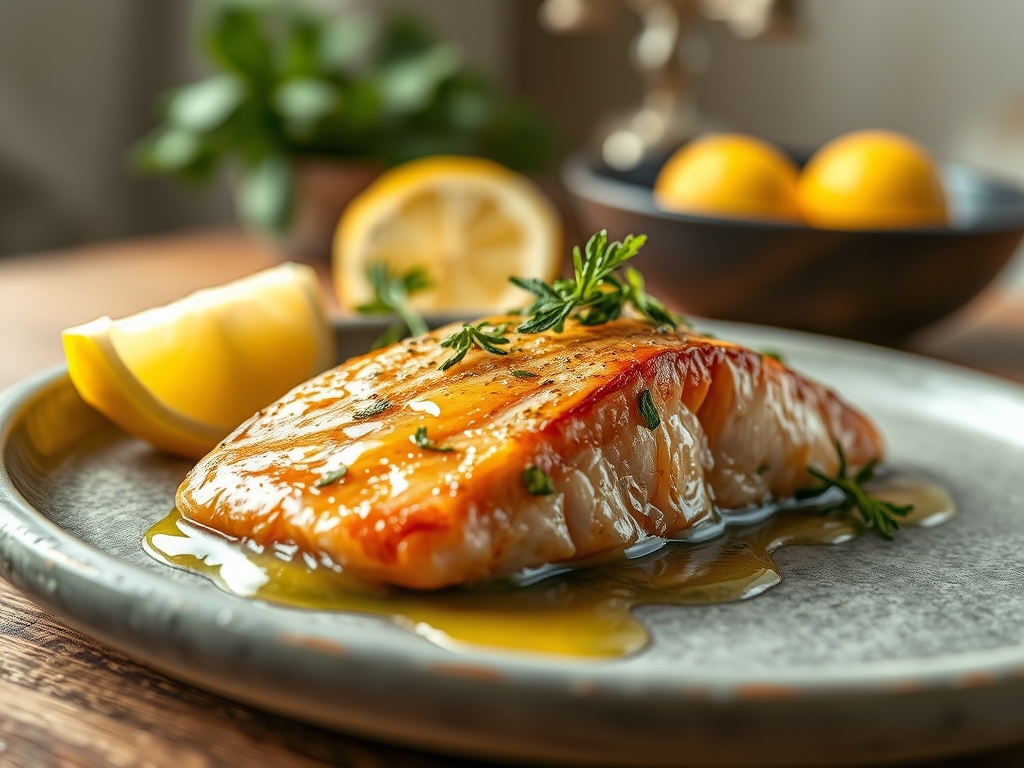
Imagine the sound of a heavy-bottomed stainless steel skillet meeting the flame. Within seconds, the scent of cold-pressed olive oil begins to shimmer, signaling that the molecular stage is set for the ultimate weeknight luxury. When you search for salmon recipes lemon garlic butter, you are looking for more than just a meal; you are seeking that elusive, restaurant-grade crust and a center so tender it practically melts upon contact. This is a dish defined by its contrasts. You have the aggressive, savory punch of toasted garlic, the bright acidity of citrus, and the velvety mouthfeel of emulsified butter. It is a symphony of fats and acids working in perfect harmony to elevate a humble piece of protein into a masterpiece.
The beauty of this specific preparation lies in its speed and its scientific reliability. We are not just cooking; we are managing moisture and temperature to prevent the dreaded albumin leakage while maximizing the Maillard reaction. By the time the butter begins to foam and brown in the pan, the air in your kitchen will turn thick with the aroma of toasted hazelnuts and piquant lemon zest. Grab your favorite apron and a glass of crisp Sauvignon Blanc. We are about to turn your kitchen into the best bistro in town.
The Gathers:
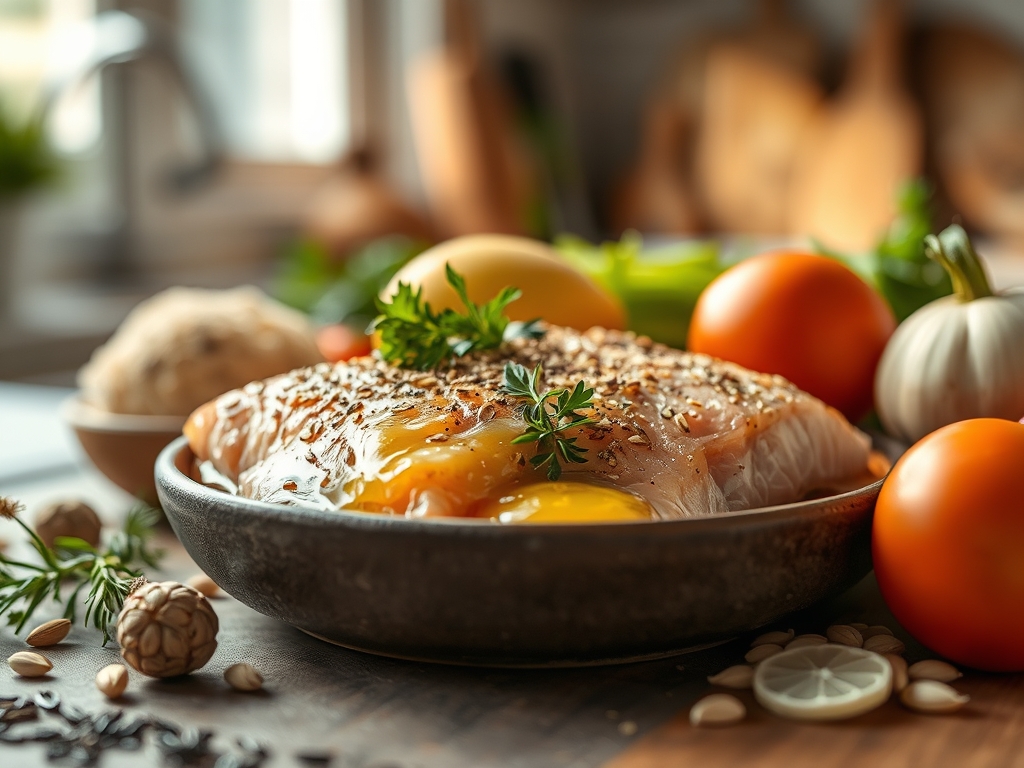
To achieve perfection, your mise-en-place must be precise. Start with six center-cut salmon fillets, ideally six ounces each. Using a digital scale ensures even cooking times across the board. You will need four cloves of fresh garlic; do not use the pre-minced variety in a jar, as the sulfurous compounds have already degraded. Instead, use a microplane to create a fine paste that will infuse the sauce without burning.
For the fat profile, gather four tablespoons of high-fat European-style butter and two tablespoons of high-smoke-point avocado oil. The lemon element requires both the zest and the juice to provide a multi-dimensional citrus profile. Finally, have a handful of fresh Italian flat-leaf parsley ready to provide a grassy, bitter finish that cuts through the richness.
Smart Substitutions:
If you are avoiding dairy, a high-quality vegan butter substitute with a water content below 20 percent will still allow for a decent emulsion. If salmon is unavailable, steelhead trout is a fantastic anatomical twin with a slightly milder flavor profile. For those who want a spicy kick, a teaspoon of Aleppo pepper adds a fruity heat that complements the lemon beautifully.
The Clock
Efficiency in the kitchen is about "Chef's Flow," which is the art of overlapping tasks so no heat is wasted. Your total active prep time is exactly 10 minutes, mostly dedicated to patting the fish dry and mincing the aromatics. The cook time is a swift 8 to 12 minutes depending on the thickness of your fillets.
The most important part of the clock is the five-minute rest period after the fish leaves the heat. This allows the muscle fibers to relax and reabsorb the internal juices. If you cut into the fish immediately, the viscous fats will spill out onto the plate, leaving the meat dry and fibrous. Total time from fridge to table is under 30 minutes.
The Masterclass
1. The Desiccation Phase
Use a paper towel to aggressively pat the salmon skin and flesh until bone-dry. Moisture is the enemy of the sear; any surface water will create a steam jacket that prevents browning. Season generously with kosher salt from a height to ensure even distribution.
Pro Tip: This is known as surface dehydration. Salt draws out moisture through osmosis, which then evaporates more quickly in the pan, leading to a more intense Maillard reaction and a crispier exterior.
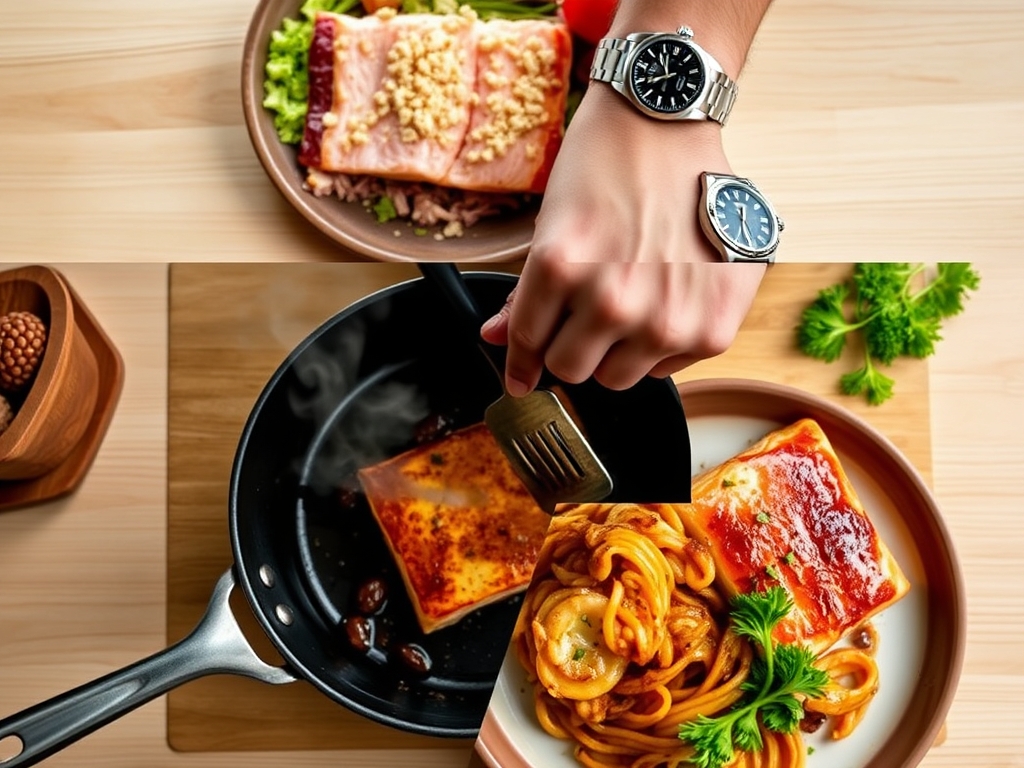
2. The Initial Sear
Heat your skillet over medium-high heat until the oil shimmers but does not smoke. Place the salmon skin-side down. Use a flexible fish spatula to press the fillets down for the first 30 seconds. This prevents the skin from curling as the collagen proteins contract.
Pro Tip: Pressing the fish ensures maximum surface area contact. This facilitates rapid heat transfer, allowing the skin to render its fat and become structurally sound and crunchy.
3. The Flip and Butter Bath
Once the skin is crispy and the flesh has cooked about three-quarters of the way up the side, flip the fillets gently with tongs. Immediately drop the heat to medium and add your butter, smashed garlic, and lemon slices to the pan.
Pro Tip: Lowering the heat prevents the milk solids in the butter from burning. As the butter foams, it undergoes enzymatic browning, creating toasted, nutty aromatic compounds that penetrate the fish.
4. The Arrosage Technique
Tilt the pan slightly so the melting butter pools at the bottom with the garlic. Use a large spoon to continuously baste the hot, flavored fat over the top of the salmon. This is called arrosage, and it finishes the cooking process gently while infusing the meat with flavor.
Pro Tip: Basting creates a convective heat environment. It cooks the top of the fish without the harsh direct heat of the pan, ensuring the center remains translucent and moist.
5. The Deglaze and Finish
Remove the pan from the heat and squeeze in the fresh lemon juice. Use a whisk or your spoon to scrape up any browned bits (the fond) from the bottom of the pan. This creates a pan-sauce emulsion. Toss in the chopped parsley and serve immediately.
Pro Tip: Adding cold acid to hot fat creates a temporary emulsion. The lemon juice deglazes the pan, lifting the concentrated flavors of the seared fish and garlic into a cohesive, velvety sauce.
The Deep Dive
From a nutritional standpoint, this dish is a powerhouse of Omega-3 fatty acids and high-quality protein. One serving typically contains about 350 calories, 40 grams of protein, and 22 grams of healthy fats. It is naturally gluten-free and fits perfectly into a Keto or Paleo lifestyle.
The Fix-It:
If your garlic turns bitter, it likely burned because the pan was too hot; next time, add the garlic only after the heat is lowered for the butter phase. If the skin sticks to the pan, you likely tried to flip it too early. Protein will naturally release from the metal once the sear is complete. If the salmon looks white and chalky on the outside, that is albumin; it means the heat was too high, forcing the proteins to contract too quickly and squeeze out the moisture.
Meal Prep and Reheating:
To reheat salmon without turning it into rubber, avoid the microwave at all costs. Instead, place it in a 275-degree oven with a splash of water and cover it tightly with foil. This creates a gentle steam chamber that restores the fat's viscosity without overcooking the delicate proteins.
The Wrap-Up
Mastering salmon recipes lemon garlic butter is a rite of passage for any home cook looking to bridge the gap between "good" and "extraordinary." It is a dish that relies on technical precision rather than complex ingredients. When you pull that shimmering, golden fillet from the pan, you are not just serving dinner; you are serving a masterclass in texture and taste. Go forth, use your tongs with confidence, and enjoy the buttery, citrusy fruits of your labor!
The Kitchen Table
How do I know when the salmon is done?
Use a digital thermometer to check the thickest part of the fillet. For a perfect medium-rare, pull the fish at 125 degrees Fahrenheit. The temperature will rise to 130 degrees during the resting phase due to thermal carryover.
Can I use frozen salmon for this recipe?
Yes, but you must thaw it completely in the refrigerator overnight. Once thawed, pat it extremely dry with paper towels to remove excess moisture, which ensures you still get a crisp sear despite the previous freezing process.
Why is my salmon skin not crispy?
The most common culprit is a cold pan or too much moisture. Ensure the oil is shimmering before adding the fish and always pat the skin dry. Also, avoid overcrowding the pan, which lowers the temperature and causes steaming.
What is the best pan for searing salmon?
A heavy-bottomed stainless steel or cast iron skillet is ideal. These materials retain heat efficiently, providing the consistent high temperature necessary to render the fat in the skin and create a professional, golden-brown crust.