
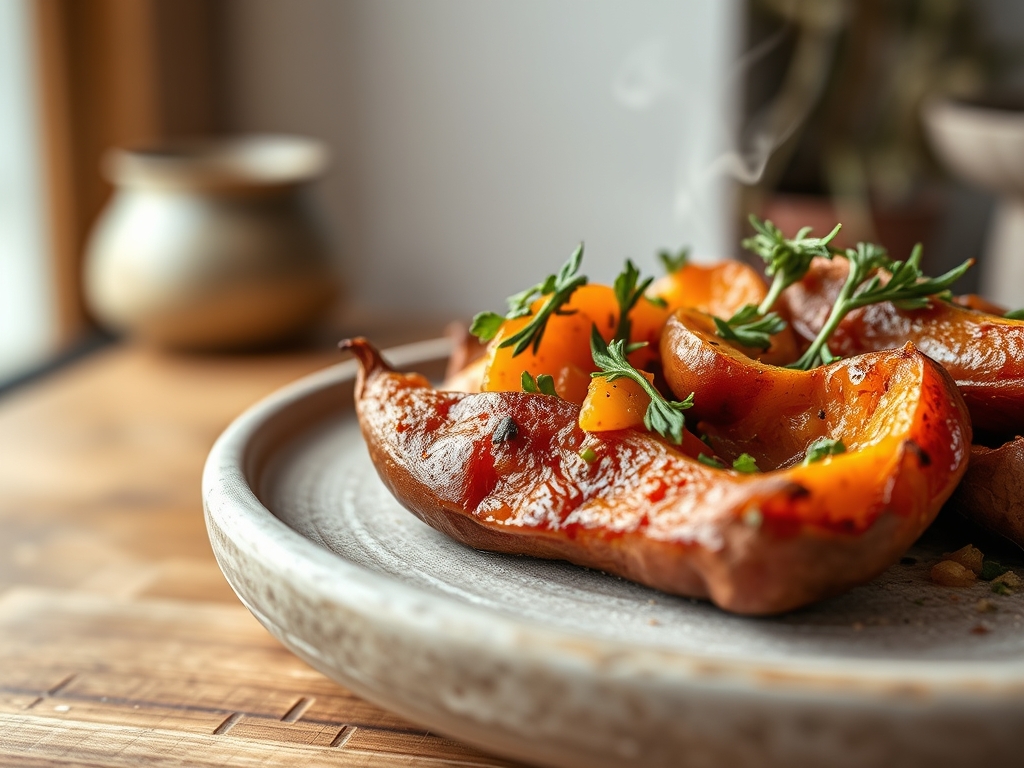
Picture a crisp autumn evening where the kitchen air is thick with the scent of caramelized sugars and earthy warmth. You are craving that specific, velvet texture that only a perfectly roasted tuber can provide. While searching for sweet potato recipes all recipes often yield basic instructions; achieving professional-grade results requires understanding the molecular magic happening beneath that dusty orange skin. We are moving beyond the soggy, microwaved disappointments of the past. We are aiming for a skin so crisp it shattered like parchment and an interior so creamy it rivals a custard.
To get there, we have to treat the sweet potato not as a side dish, but as a complex biological vessel of starches and enzymes. Most home cooks fail because they rush the thermal transition, leading to uneven cooking and a lack of depth. Today, we are going to master the art of the slow roast, the salt-crust technique, and the science of enzymatic conversion. By the time we are done, your kitchen will smell like a high-end bistro, and you will have the technical prowess to turn a humble root vegetable into a culinary masterpiece.
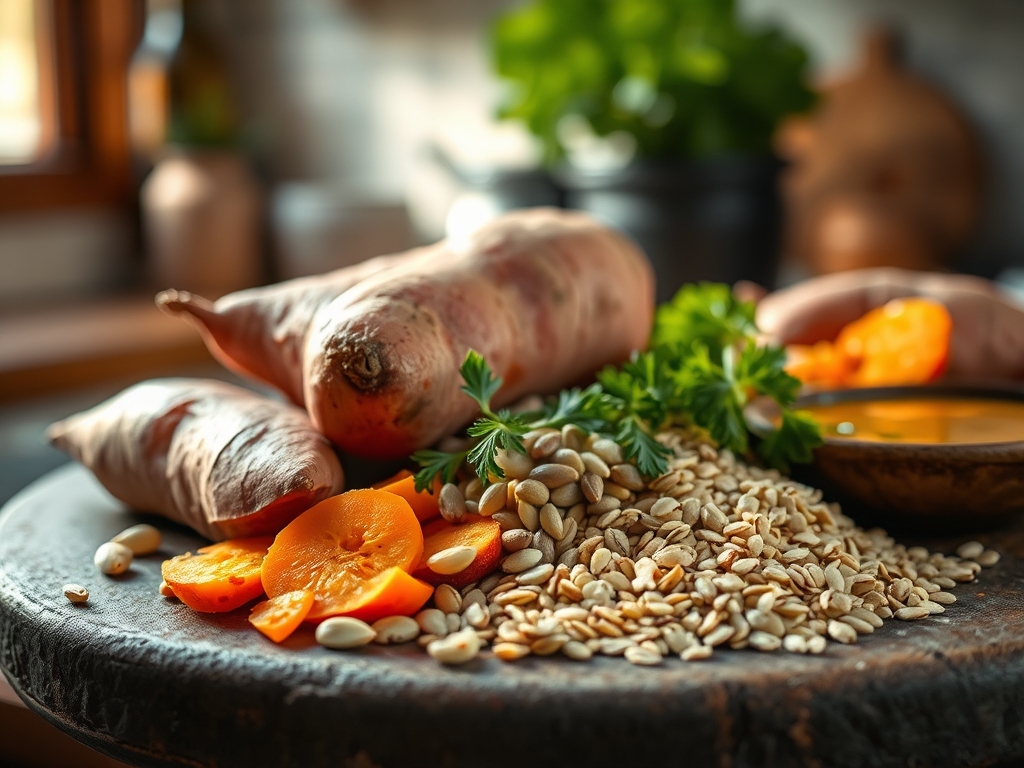
The Gathers:
Before we ignite the flame, we must assemble our mise-en-place with precision. You will need high-density Beauregard or Jewel sweet potatoes; these varieties possess the specific moisture content required for a viscous interior. Grab your digital scale to ensure your tubers are uniform in weight, which guarantees they finish cooking at the exact same moment. You will also need high-quality kosher salt, a neutral oil with a high smoke point like avocado oil, and unsalted European-style butter for that final, decadent finish.
Smart Substitutions: If you cannot find Jewel potatoes, Japanese Murasaki potatoes offer a nuttier, starchy profile, though they require a slightly longer roast time. Instead of standard table salt, use smoked Maldon sea salt to infuse a campfire aroma without a grill. If you are avoiding dairy, a cold-pressed coconut oil can render a similar mouthfeel to butter while adding a subtle tropical note.
The Clock
The "Chef's Flow" is all about timing and heat management. Total preparation takes roughly 10 minutes, but the roasting phase is a marathon, not a sprint. Expect a 60 to 75 minute bake time depending on the diameter of your potatoes. We also factor in a mandatory 10 minute "resting phase" where thermal carryover finishes the softening of the center fibers. This is not idle time; use this window to aerate your compound butter or prepare a piquant gremolata using a microplane for zest.
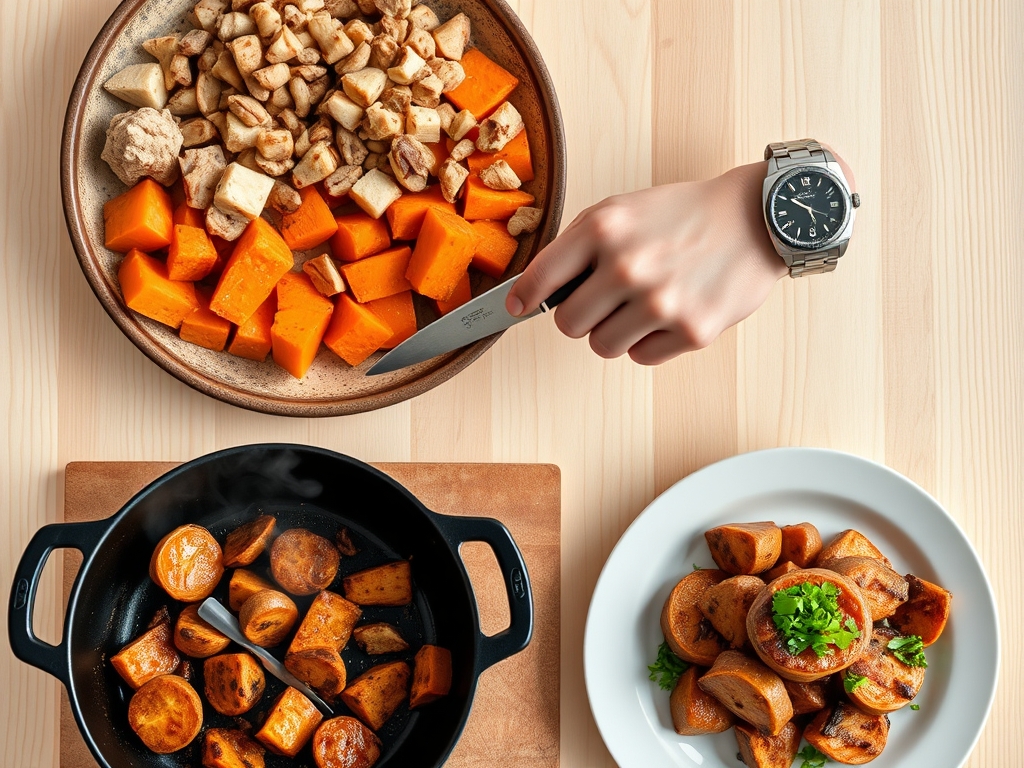
The Masterclass
1. The Scrub and Sanitize
Begin by scrubbing the skins under cold running water using a stiff vegetable brush. We must remove every trace of grit because, in this method, the skin becomes a salty, edible crisp. Pat them bone-dry with a lint-free kitchen towel; moisture is the enemy of the Maillard reaction.
Pro Tip: Drying the skin thoroughly prevents the formation of steam between the flesh and the peel. This ensures the skin adheres and crisps rather than becoming a leathery, detached shell.
2. The Prick and Vent
Use a fork or a sharp paring knife to prick the skin about six times around the circumference. This allows internal steam to escape, preventing the potato from exploding and ensuring the interior remains fluffy rather than waterlogged.
Pro Tip: Venting prevents "internal pressure buildup." If steam is trapped, it can compress the starches, resulting in a dense, gummy texture instead of the light, aerated crumb we desire.
3. The Oil Infusion
Massage a thin layer of avocado oil over the entire surface. You do not want it dripping; you want a shimmering, microscopic coating. This oil acts as a heat conductor, ensuring the skin reaches the high temperatures necessary for browning.
Pro Tip: Using an oil with a high smoke point prevents the fat from breaking down and turning bitter at 425 degrees Fahrenheit. This allows for a clean, toasted flavor profile.
4. The Salt Crust Application
Generously coat the oiled skin with kosher salt. The oil acts as an adhesive. Place the potatoes directly on the oven rack with a foil-lined baking sheet on the rack below to catch any escaping sugars.
Pro Tip: Salt is hygroscopic; it draws out surface moisture during the first ten minutes of baking. This dehydration of the skin is what creates that signature professional "crunch."
5. The Low and Slow Roost
Set your oven to 425 degrees Fahrenheit. We want a high initial heat to set the skin, but the core needs time. The goal is to reach an internal temperature of 210 degrees Fahrenheit, measured with an instant-read thermometer.
Pro Tip: Sweet potatoes contain amylase enzymes that break down complex starches into maltose. This enzymatic conversion is most active between 135 and 170 degrees; a steady climb through this range maximizes natural sweetness.
6. The Tongs Rotation
Halfway through the bake, use tongs to rotate each potato 180 degrees. This accounts for any hot spots in your oven and ensures the sugars caramelize evenly on all sides.
Pro Tip: Rotating prevents "sugar pooling" on the bottom side, which can lead to localized burning or "scorched spots" where the potato touches the rack.
7. The Squeeze Test
Once the timer hits 60 minutes, use an oven mitt to gently squeeze the sides. It should yield completely with zero resistance. If it feels firm, give it another 10 minutes.
Pro Tip: A soft squeeze indicates that the protopectin in the cell walls has completely broken down into pectin, resulting in a buttery, viscous texture.
8. The Resting Ritual
Remove the potatoes and let them sit on a wire rack for 10 minutes before slicing. Use a bench scraper or a sharp knife to slit them down the middle, then push the ends toward the center to "pop" the flesh upward.
Pro Tip: Resting allows the steam to redistribute. If you cut it immediately, the steam escapes too fast, and the potato will dry out within minutes.
The Deep Dive
From a nutritional standpoint, the sweet potato is a powerhouse of Beta-carotene and fiber. While it is naturally high in complex carbohydrates, its glycemic index is lower than that of a standard white potato, especially when roasted with the skin on. For those following a Keto lifestyle, portion control is key; keep servings to a half-potato and pair with high-fat marrow butter. Vegan enthusiasts should swap butter for a tahini-lemon drizzle to maintain a creamy mouthfeel.
The Fix-It:
- Soggy Skin: You likely wrapped it in foil. Foil traps steam. Always bake "naked" for a crisp exterior.
- Hard Center: This is "cold-core syndrome." Your oven was likely too hot, browning the outside before the inside cooked. Lower the heat and increase the time.
- Bitter Taste: This happens when the escaping sugars burn on the skin. Ensure you are using a clean rack and not letting the potato sit in its own juices.
Meal Prep: To reheat and maintain "day-one" quality, avoid the microwave. Place the cold potato in a heavy-bottomed skillet with a teaspoon of water and cover with a lid. The steam will rehydrate the center while the pan heat recrisps the bottom skin.
The Wrap-Up
Mastering sweet potato recipes all recipes is about respecting the chemistry of the ingredient. When you apply these professional techniques; the salt crust, the enzymatic temperature control, and the resting phase; you elevate a simple root to a gourmet experience. Don't be afraid to experiment with savory toppings like miso butter or a spicy harissa yogurt. Now, grab your tongs and get roasting!
The Kitchen Table
Should I wrap my sweet potatoes in foil?
No; foil traps moisture and steams the skin, resulting in a soggy, wet texture. For professional, crispy skin, bake them directly on the oven rack to allow for maximum air circulation and moisture evaporation.
What is the best temperature for roasting?
Aim for 425 degrees Fahrenheit. This high heat triggers the Maillard reaction on the skin while providing enough thermal energy to convert internal starches into sweet maltose sugars for a creamy, velvet-like interior.
How do I know when the potato is done?
The most accurate method is using a digital thermometer to check for an internal temperature of 210 degrees Fahrenheit. Visually, the skin should look slightly puffed and the potato should yield easily to a gentle squeeze.
Can I eat the skin of a roasted sweet potato?
Absolutely; when prepared using the salt-crust method, the skin is highly nutritious and provides a delicious textural contrast. Just ensure you scrub the tubers thoroughly before roasting to remove any residual soil or grit.