
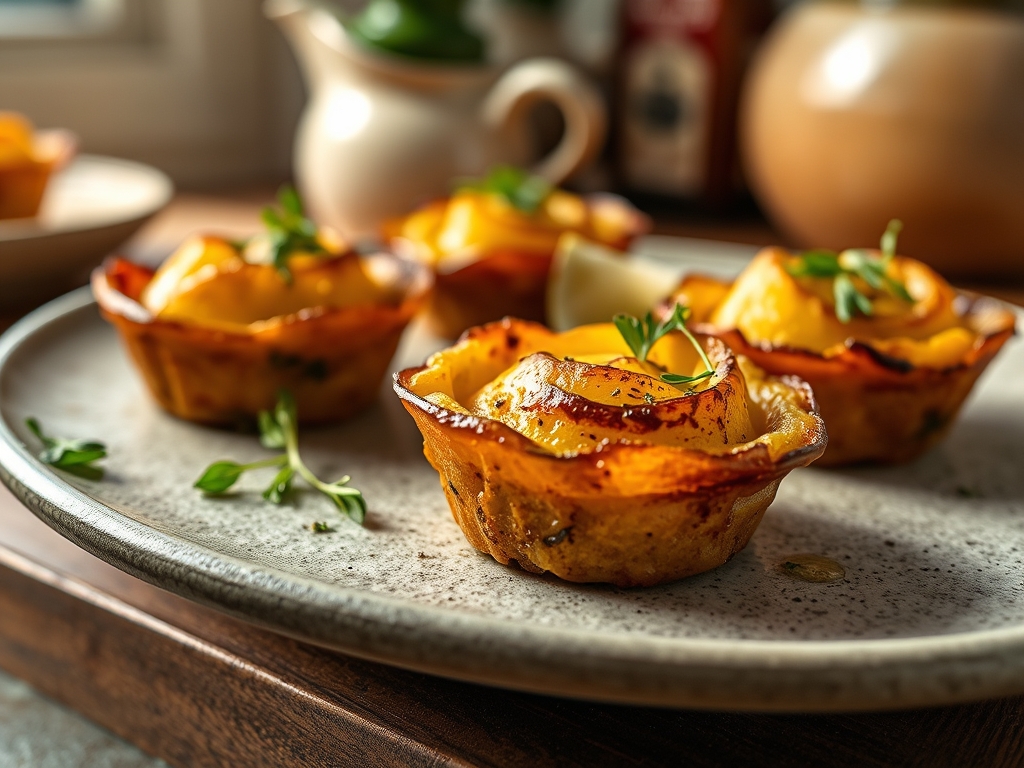
Picture the sound of a knife slicing through a chilled Yukon Gold; it is a crisp, rhythmic percussion that promises something spectacular. When you master potato recipes in muffin tins, you are essentially engineering the perfect ratio of glass-like crust to pillowy, cloud-like interior. We are moving beyond the humble mash into the realm of architectural snacking.
The secret lies in the vertical heat distribution of the tin. By compartmentalizing each portion, you maximize the surface area exposed to dry, convective heat. This triggers a massive Maillard reaction across every individual unit rather than just the top layer of a casserole. We are creating six distinct masterpieces: from Gruyere-laced stacks to crispy chorizo-filled nests. Get your apron on; we are about to turn a humble tuber into a high-end hors d'oeuvre that defies the laws of soggy spuds.
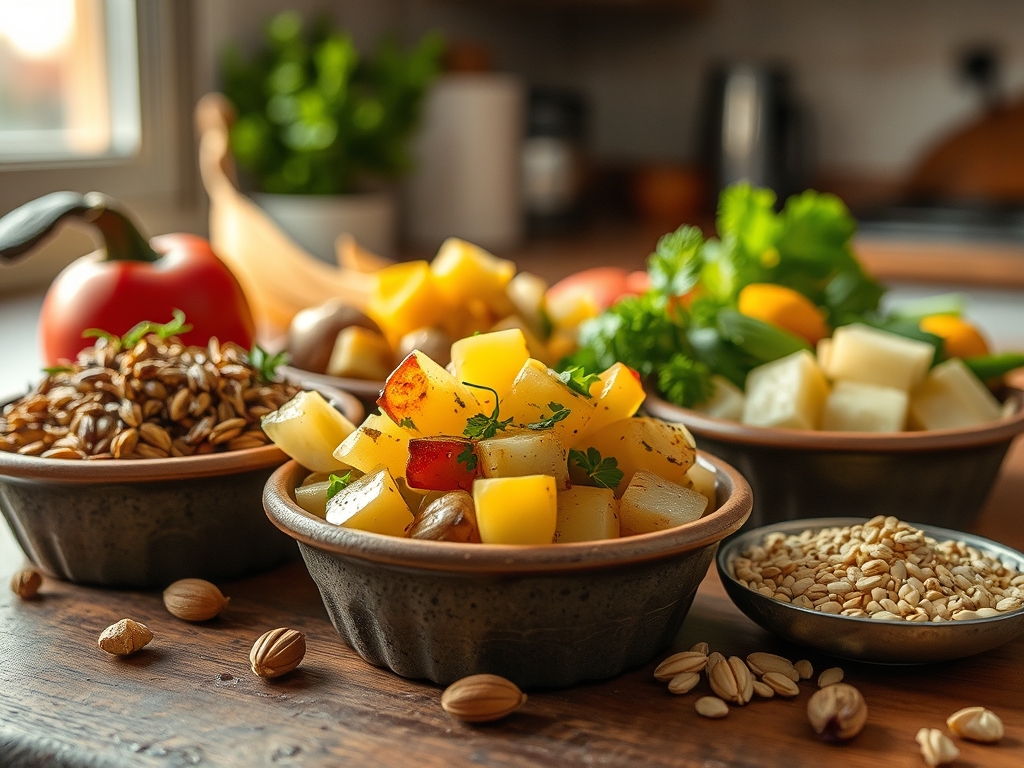
The Gathers:
To execute these potato recipes in muffin tins with surgical precision, your mise-en-place must be flawless. Start with high-starch Russets for the nests to ensure structural integrity, and waxy Yukon Golds for the stacks to maintain a creamy, viscous mouthfeel. You will need a digital scale to ensure each muffin cup is weighted equally; this prevents uneven cooking times across the tray.
Your aromatic profile should be piquant and bold. Fresh rosemary, thyme, and garlic are non-negotiable. For the fats, we are looking for high smoke points. Clarified butter (ghee) is superior here because the milk solids have been removed, allowing you to crank the heat without acrid scorching. If you want a deeper flavor, render some pancetta fat in a heavy-bottomed skillet to use as your primary lubricating agent.
Smart Substitutions: If you are avoiding dairy, swap the heavy cream for a full-fat coconut milk infused with nutritional yeast. This mimics the protein-rich profile of cheese while keeping the snack plant-based. Instead of standard table salt, use a microplane to zest lemon over a pile of flaky Maldon sea salt. This adds a bright acidity that cuts through the starch without adding liquid volume that might compromise the crunch.
The Clock
Efficiency in the kitchen is about "Chef's Flow." You should spend no more than 20 minutes on active prep. Use a mandoline to achieve paper-thin, translucent slices; this is the only way to ensure the heat penetrates the center of each stack simultaneously.
Total bake time will hover around 30 to 35 minutes at 400 degrees Fahrenheit. This high-intensity window is necessary to evaporate surface moisture rapidly. Allow for a 10-minute "rest and set" period after the tin leaves the oven. This allows the internal starches to re-gelatinize, ensuring the snacks do not fall apart when you lift them out with an offset spatula.
The Masterclass
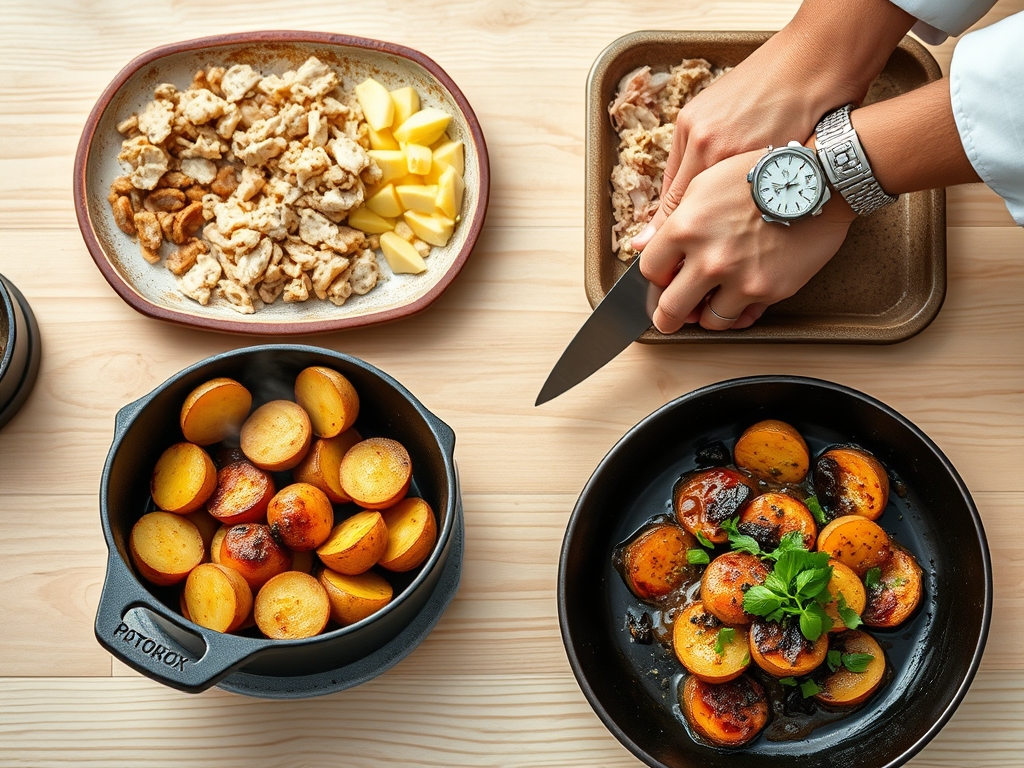
1. The Precision Slice
Using your mandoline set to 1.5mm, slice your peeled Yukon Golds into uniform discs. Place them immediately into a bowl of ice water. This removes excess surface starch which would otherwise cause the slices to become gummy rather than crisp.
Pro Tip: This process prevents enzymatic browning, a chemical reaction where polyphenol oxidase meets oxygen. By submerging the slices, you halt the oxidation process, keeping the flesh vibrant and pale.
2. The Infusion Bath
In a saucier, gently heat your clarified butter with smashed garlic cloves and woody herbs. Do not let it boil; you only want to infuse the lipids with the volatile oils of the aromatics. Toss the dried potato slices in this mixture until every millimeter is coated.
Pro Tip: Fat acts as a thermal conductor. By coating each slice individually, you ensure that heat travels deep into the stack, preventing a raw, crunchy center.
3. The Vertical Stack
Layer the slices into the muffin tins, pressing down firmly between every three layers. Fill them slightly above the rim of the tin. Use a bench scraper to tidy any stray edges. Sprinkle each stack with finely grated Parmesan and cracked black pepper.
Pro Tip: Expect significant volume reduction. As the water inside the cells evaporates, the stacks will shrink by about twenty percent. Overfilling the cups ensures the final product is flush with the rim.
4. The High-Heat Roast
Slide the tin onto the middle rack of a preheated oven. If your oven has a convection setting, turn it on. This creates a "vortex" of hot air that aids in the rapid dehydration of the potato skins, leading to a superior shatter-crisp texture.
Pro Tip: This stage relies on the Maillard reaction, where amino acids and reducing sugars rearrange to create hundreds of flavor compounds. The brown edges are literally the taste of chemistry at work.
5. The Aerate and Rest
Once the edges are golden-brown and the centers are fork-tender, remove the tin. Do not attempt to extract them immediately. Use a microplane to dust a final layer of cheese over the hot surface, allowing it to melt into the crevices.
Pro Tip: Utilize thermal carryover. The internal temperature will continue to rise by about five degrees after removal. This final "dwell time" allows the steam to dissipate so the structure firms up.
6. The Clean Extraction
Run an offset spatula or a thin knife around the perimeter of each cup. The fat should have created a non-stick barrier, but a quick circular motion ensures a clean release. Lift them onto a wire cooling rack to prevent the bottoms from steaming and becoming soft.
Pro Tip: Placing the snacks on a wire rack allows air to circulate underneath. This preserves the mechanical crunch of the base by preventing moisture from pooling.
The Deep Dive
From a macro perspective, these potato recipes in muffin tins are surprisingly balanced. A single potato stack provides complex carbohydrates for sustained energy, while the addition of high-quality fats and cheeses adds satiety. To make these Keto-friendly, swap half the potato layers for thinly sliced daikon radish or turnip. For a Vegan version, use avocado oil and a cashew-based "parmesan" to achieve that savory umami hit.
The Fix-It:
- Soggy Bottoms: This happens if the oven temperature is too low. Fix it by placing the muffin tin on a preheated baking stone to boost bottom-up heat transfer.
- Burned Tops/Raw Centers: Your slices are too thick. Next time, use the thinnest setting on your mandoline. For now, cover the tin with foil and lower the heat to finish the centers.
- Sticking to the Tin: You likely skipped the "infusion bath." To save them, place the bottom of the tin in an inch of hot water for sixty seconds to loosen the solidified fats.
Meal Prep Science: To reheat these for "day-one" quality, avoid the microwave at all costs; it vibrates water molecules and turns the starch into a rubbery mess. Instead, use an air fryer or a toaster oven at 375 degrees for five minutes. This re-activates the fats and restores the crisp exterior through rapid surface dehydration.
The Wrap-Up
There is a genuine joy in serving something that looks like it came from a Michelin-starred bistro but started as a bag of spuds in your pantry. These potato recipes in muffin tins are the ultimate "flex" for your next brunch or dinner party. They are tactile, salty, and mathematically designed for maximum crunch. Go ahead; grab your tongs and start stacking. Your kitchen is now a laboratory of deliciousness.
The Kitchen Table
Can I make these ahead of time?
Yes. Par-bake the stacks for 20 minutes; then refrigerate. When ready to serve, finish them at 400 degrees for 15 minutes. This double-fry method actually enhances the crispness by further dehydrating the surface starch.
What is the best potato for muffin tins?
Yukon Golds are the gold standard. They possess a medium starch content that provides a creamy interior while still holding their shape. Russets are great for "nests" but can become too mealy for dense, layered stacks.
How do I stop the potatoes from turning gray?
Keep your sliced potatoes submerged in cold water until the exact moment you are ready to coat them in fat. This prevents oxidation. Adding a splash of lemon juice to the water further inhibits the browning enzymes.
Why are my potato stacks falling apart?
You likely didn't pack them tightly enough or used too much liquid. The "glue" that holds them together is the natural starch. Pressing down firmly during the layering process ensures the slices fuse together during the bake.