
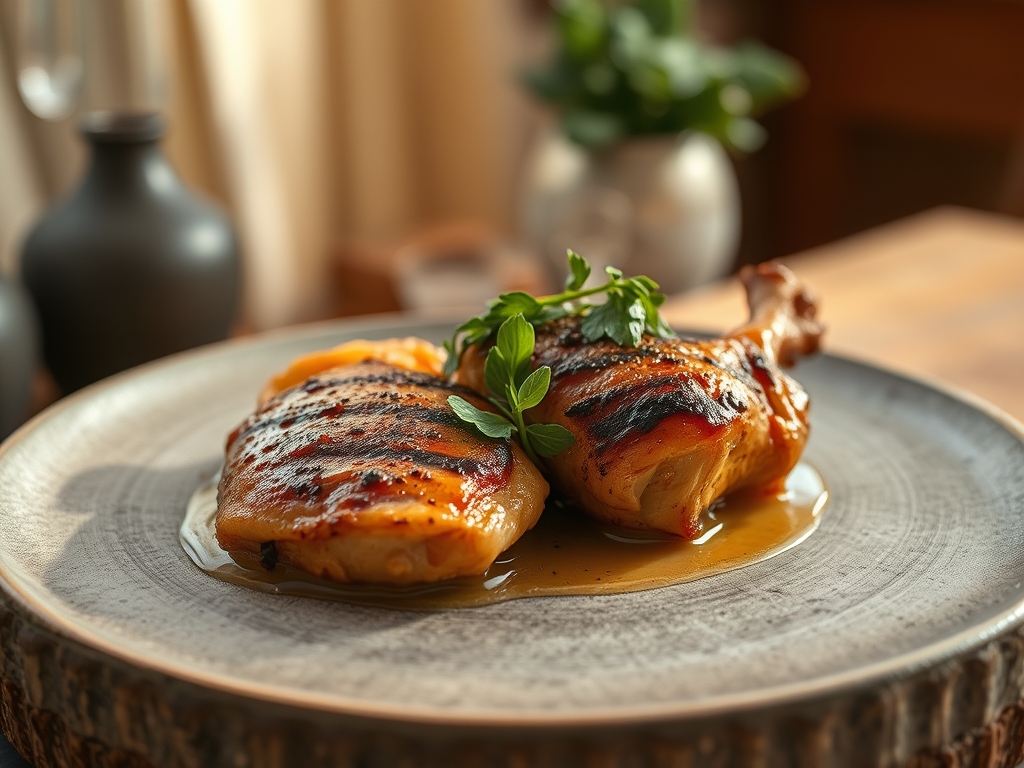
The first bite of a properly browned chicken thigh, skin crackling under your teeth, fat pooling at the corners of your mouth, reminds you why certain dishes survive generations. Yet somewhere between the rise of one-pan wonders and air-fryer shortcuts, dozens of brilliantly engineered forgotten chicken recipes slipped into obscurity. These are not museum pieces. They are functional, flavor-dense blueprints that solve real problems: dry breasts, bland sauces, wasted drippings. Each technique in this collection carries embedded wisdom about heat transfer, collagen breakdown, and fat emulsification that modern shortcuts often ignore.
The Gathers
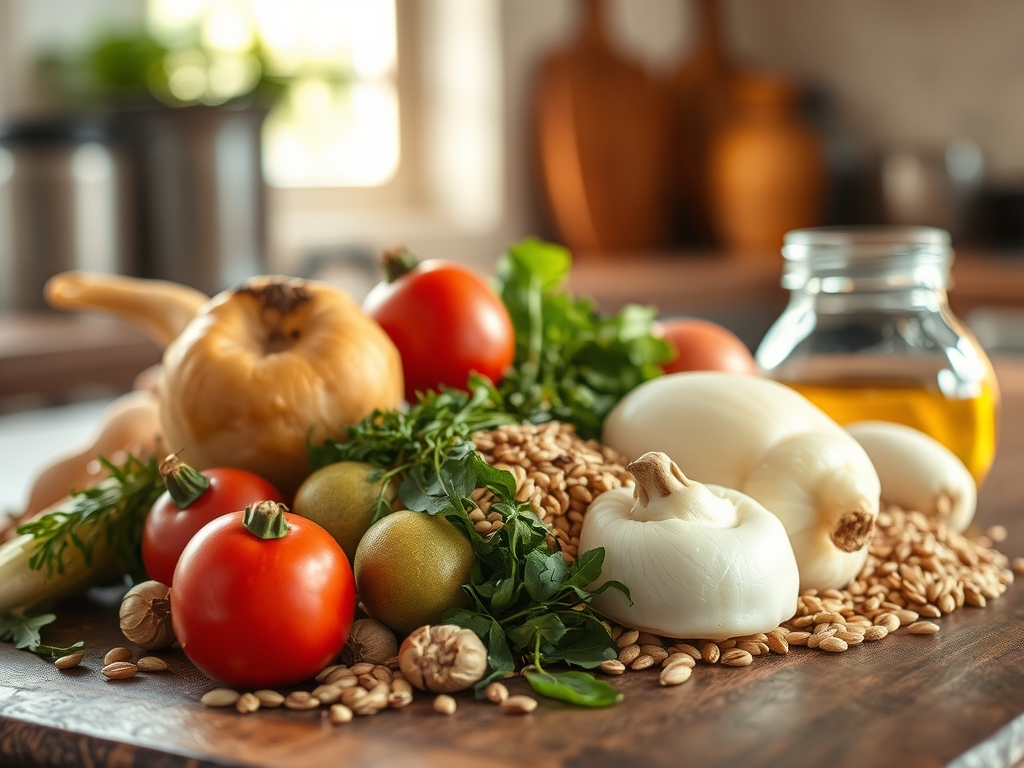
As you see in the ingredient spread below, the foundation rests on bone-in, skin-on chicken pieces (thighs and drumsticks preferred for their higher intramuscular fat). You need kosher salt (Diamond Crystal, 1.5% by weight of the meat), black peppercorns (crushed, not pre-ground powder that lost its volatile oils months ago), and rendered lard or schmaltz (2-3 tablespoons for superior browning compared to neutral oils).
The aromatics matter: fresh thyme sprigs (not dried, which lack the terpene punch), garlic cloves (smashed but skin-on to prevent scorching), and shallots (minced fine, their sulfur compounds will sweeten during the long braise). Add dry vermouth or white wine (120 ml, the acidity cuts through fat and deglazes fond), chicken stock (homemade or low-sodium, 240 ml), and Dijon mustard (1 tablespoon, for emulsification and sharpness). A bay leaf and a strip of lemon peel (no pith) round out the base.
Smart Substitutions: Swap lard for duck fat if available. Replace vermouth with dry sherry or even a splash of apple cider with a pinch of sugar. Bone-in breasts work but require 8-10 minutes less cooking time. Ghee substitutes for schmaltz in a pinch, though you lose some poultry-specific flavor compounds.
The Clock
Prep Time: 15 minutes (trimming excess skin, portioning, mise-en-place)
Cook Time: 55 minutes (browning 12 minutes, braising 35 minutes, resting 8 minutes)
Total Time: 70 minutes
Chef's Flow: While the chicken browns in the first 12 minutes, prep your aromatics and measure liquids. During the 35-minute braise, clean your station and prep sides. Use the 8-minute rest to reduce the braising liquid into a glossy sauce. This staggered approach keeps your hands moving and your stovetop efficient.
The Masterclass
Step 1: Salt and Dry
Pat chicken completely dry with paper towels, then season with kosher salt 30 minutes before cooking. Leave uncovered at room temperature.
Why it Works: Salt draws moisture to the surface via osmosis, then that brine reabsorbs, seasoning the meat deeply. The air-drying step ensures the Maillard reaction begins immediately upon contact with hot fat, not wasted energy evaporating surface water.
Step 2: Sear in Stages
Heat a heavy skillet (cast iron or enameled steel) over medium-high until a flick of water evaporates in 1 second. Add fat, then chicken skin-side down. Do not move for 6 minutes.
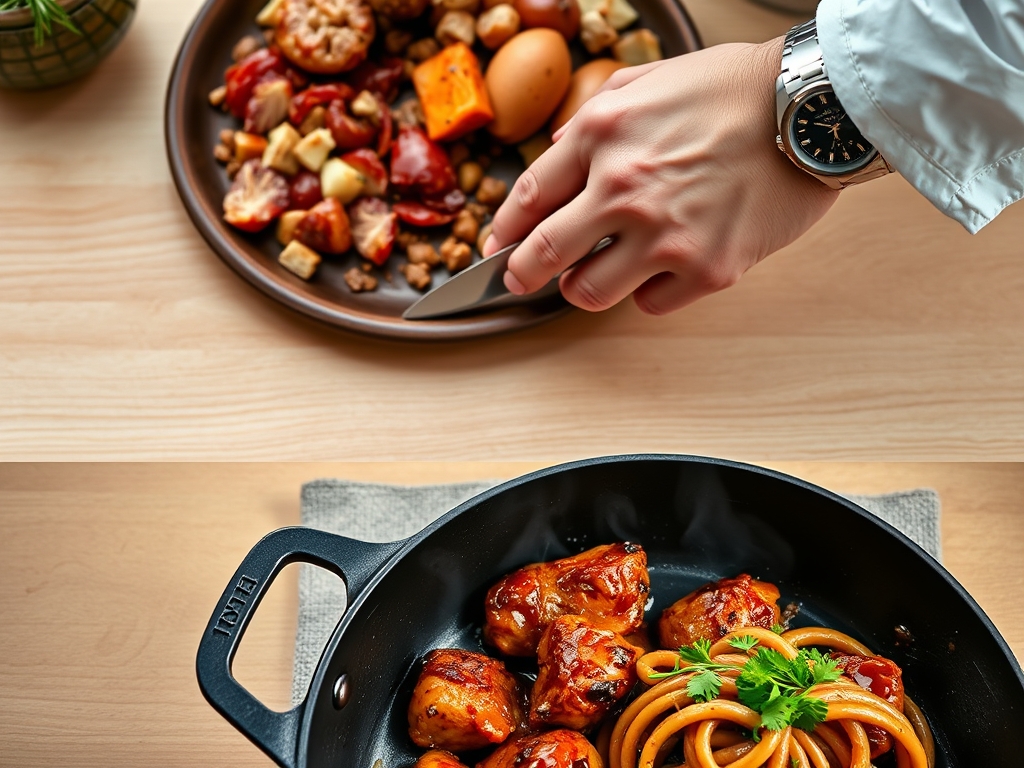
Chef's Secret: Crowding drops pan temperature by 40-50°F, steaming instead of browning. Work in batches. Note the texture shown in the step-by-step photos: golden mahogany, not pale beige.
Step 3: Flip and Finish the Crust
Flip each piece, sear the second side for 4 minutes, then remove to a plate. The meat will not be cooked through. That is correct.
Why it Works: You are building a flavor foundation (fond) and texture contrast. The interior will gently cook during braising, preserving moisture.
Step 4: Build the Sauce Base
Pour off all but 1 tablespoon of fat. Add shallots, cook 90 seconds until translucent. Add garlic and thyme, cook 30 seconds. Deglaze with vermouth, scraping every browned bit.
Chef's Secret: Those stuck-on bits contain Maillard products (melanoidins) that contribute umami and color. Alcohol also extracts flavor compounds that water cannot.
Step 5: Braise Low and Slow
Return chicken skin-side up. Add stock, mustard, bay leaf, and lemon peel. Bring to a bare simmer, cover, reduce heat to low. Cook 35 minutes until thighs register 175°F (79°C) internally.
Why it Works: Collagen in dark meat begins converting to gelatin at 160°F. By holding the meat between 165-180°F, you maximize tenderness without drying out the muscle fibers.
Step 6: Rest and Reduce
Remove chicken to a platter, tent loosely with foil. Increase heat to medium-high, reduce braising liquid by half (about 5 minutes) until it coats the back of a spoon.
Chef's Secret: Thermal carryover will raise the internal temperature another 3-5°F during rest. Reducing concentrates flavor and evaporates raw alcohol notes.
Step 7: Finish and Serve
Taste sauce, adjust with salt, pepper, or a squeeze of lemon. Spoon over chicken, garnish with fresh thyme leaves.
Why it Works: Acid added at the end brightens flavors dulled by fat and salt. Your palate reads "balanced" instead of "heavy."
Nutritional Info
Per serving (1 thigh, approximately 180g cooked): Calories: 310, Protein: 28g, Fat: 20g (8g saturated), Carbohydrates: 3g, Fiber: 0g, Sodium: 620mg. The high protein-to-carb ratio supports satiety. Fat content includes heart-healthy monounsaturated fats from poultry and schmaltz.
Dietary Swaps
Keto: Already compliant. Increase fat by finishing with a tablespoon of cold butter whisked into the sauce.
Gluten-Free: Verify stock and mustard labels (most are safe). No flour thickener needed; the reduction provides body.
Dairy-Free: This recipe contains no dairy. Substitute ghee or olive oil for butter finishes.
Lower-Sodium: Use unsalted stock, reduce kosher salt by half, compensate with herbs and lemon zest.
Serving & Presentation
Rustic Family Style: Serve in the braising skillet with crusty bread for sauce-mopping.
Refined Plating: Pool sauce on warmed plates, place chicken atop, garnish with micro-thyme and a lemon wheel.
Grain Bowl: Shred the meat, toss with farro or wild rice, drizzle reduced sauce, add roasted root vegetables.
The Pro-Dodge
Pitfall 1: Rubbery Skin. Cause: insufficient drying or overcrowding. Fix: always pat dry, sear in batches, and if skin softens during braising, finish chicken under a hot broiler for 2 minutes.
Pitfall 2: Greasy Sauce. Cause: not skimming fat after braising. Fix: tilt the pan, spoon off excess fat before reducing, or refrigerate and lift solidified fat.
Pitfall 3: Scorched Aromatics. Cause: deglazing too slowly. Fix: have your liquid measured and ready. Add it the moment garlic turns golden, not brown.
The Meal Prep Corner
Storage: Cool completely, store chicken and sauce separately in airtight containers. Refrigerate up to 4 days or freeze up to 3 months.
Reheating: Bring sauce to a simmer in a skillet, add chicken skin-side up, cover, warm over low heat for 8 minutes. For frozen, thaw overnight in the fridge first. Avoid microwaving; it turns skin leathery and dries out meat.
Day-One Quality: Reheat skin-side up in a 350°F (175°C) oven for 12 minutes, then broil 2 minutes to re-crisp.
The Wrap-Up
These forgotten chicken recipes are not relics. They are tactical solutions to the problems every home cook faces: tough meat, boring sauces, wasted ingredients. By respecting the science of browning, braising, and emulsification, you reclaim techniques that built entire regional cuisines. Try one, then share your results. Tag your plating photos, your sauce thickness, your favorite sides. Cooking is better loud.
The Kitchen Table
Q: Can I use boneless, skinless chicken breasts?
A: Yes, but reduce braising time to 18-20 minutes and check internal temperature at 165°F (74°C). You will sacrifice the collagen-rich texture and crispy skin, so compensate with a richer sauce (add cream or extra butter).
Q: What if I do not have vermouth or wine?
A: Use 100 ml chicken stock plus 2 tablespoons white wine vinegar or lemon juice. Add the acid after deglazing to prevent curdling the mustard.
Q: How do I scale this for a crowd?
A: Brown in batches as described, then transfer everything to a large Dutch oven or roasting pan. Braise in a 325°F (160°C) oven for 40-45 minutes. The oven provides more even heat distribution than stovetop.
Q: Can I make this in a slow cooker?
A: Sear the chicken first in a skillet (non-negotiable for flavor), then transfer to the slow cooker with aromatics and liquids. Cook on low for 4 hours. Reduce the sauce in a pan afterward; slow cookers do not evaporate liquid efficiently.
Q: Why does my sauce separate?
A: Likely overheating after adding mustard. Mustard emulsifies at gentle heat but breaks above 180°F. If it splits, whisk in a teaspoon of cold water or a pat of butter off-heat to re-emulsify.