
Imagine a cloud of steam rising from a bowl of pureed gold; it is the kind of texture that makes you forget every lumpy, gluey side dish you have ever suffered through. Achieving the ultimate texture in riced potato recipes is not just about the salt; it is a delicate dance of starch management and thermal control. We are chasing that ethereal, melt-on-the-tongue lightness that separates a home cook from a Michelin-starred chef. It is time to treat your spuds with the scientific respect they deserve.
Most people treat potatoes as a simple starch, but they are actually complex biological structures. When you boil them, you are navigating a minefield of amylose and amylopectin. One wrong move and you have created a bowl of wallpaper paste. But when you master the art of the ricer, you are essentially aerating the starch molecules before they have a chance to bond into a gummy mess. This is the secret to the fluffiest mash, the lightest gnocchi, and the most decadent croquettes you will ever taste. Let us dive into the molecular magic that makes these riced potato recipes the crown jewel of your culinary repertoire.
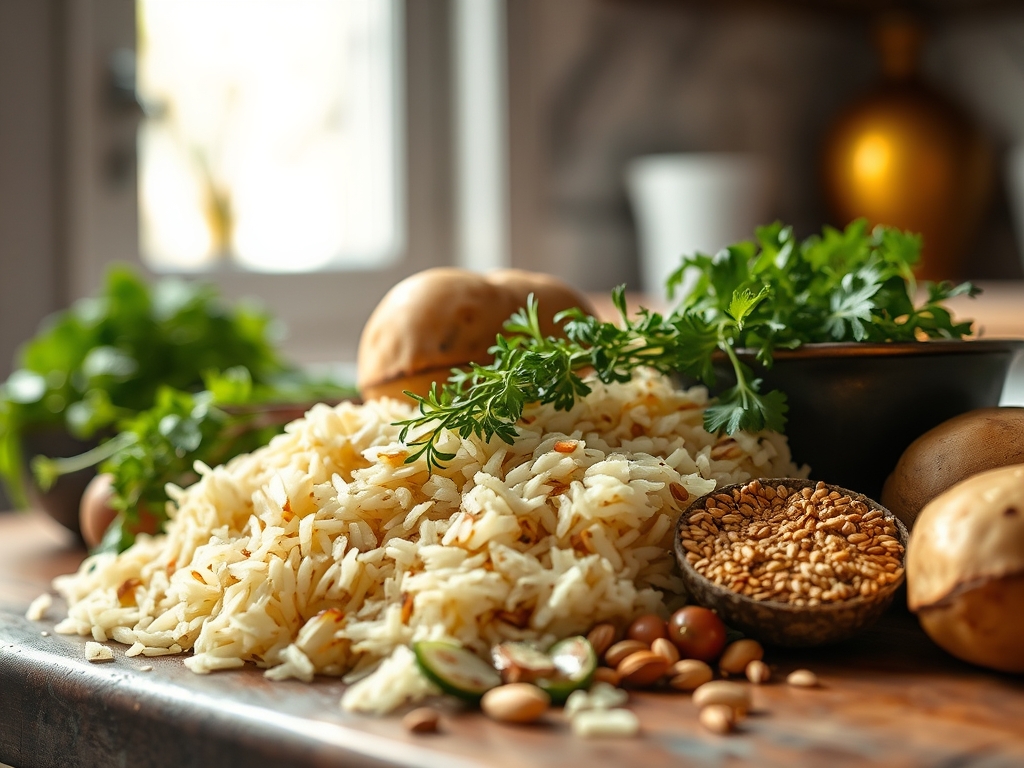
The Gathers:
To begin, we must assemble our mise-en-place with the precision of a laboratory technician. Your primary subject is the Russet potato, chosen specifically for its high starch content and low moisture. Unlike waxy red potatoes, Russets possess large starch granules that swell and separate easily when heated. You will also need high-fat European butter (look for 82 percent butterfat or higher) and heavy cream. The fat acts as a lubricant, coating the starch granules to prevent them from sticking together.
For seasoning, we use fine sea salt and white pepper to maintain a pristine aesthetic. A microplane is essential for grating a hint of fresh nutmeg, which provides a piquant depth that cuts through the richness. If you are looking for Smart Substitutions, you can swap the heavy cream for full-fat coconut milk for a vegan alternative, or use a high-quality ghee if you want a deeper, toasted nuttiness without the milk solids. Always use a digital scale to measure your ingredients; volume is too volatile when dealing with the density of tubers.
The Clock:
The "Chef's Flow" is all about managing the thermal carryover. Total preparation time is approximately 15 minutes, with a 25-minute active cook time. You want to move quickly once the potatoes are tender. If they cool down too much before ricing, the starches begin to retrograde, becoming firm and resistant to aeration.
Your timeline starts with the cold-water start (1 minute), the simmer (20 minutes), the steam-dry (3 minutes), and the final assembly (5 minutes). By the time your potatoes are hitting the ricer, your cream and butter should already be simmering in a saucier. This synchronization ensures that the fat emulsifies instantly with the hot starch, locking in that "day-one" fluffiness.
The Masterclass:
1. The Cold Water Initiation
Always start your potatoes in cold, heavily salted water. This ensures that the exterior and interior of the tuber reach the boiling point simultaneously. If you drop them into boiling water, the outside overcooks and disintegrates while the center remains raw.
Pro Tip: This prevents enzymatic browning and ensures an even breakdown of pectin, the cellular glue that holds the potato together.
2. The Steam-Dry Phase
Once drained, return the potatoes to the hot pot for sixty seconds. Shake them gently over low heat until a white film forms on the bottom of the pan.
Pro Tip: This removes excess surface moisture. If you skip this, the extra water will interfere with the emulsification of the butter, leading to a "weeping" mash.
3. The Ricer Execution
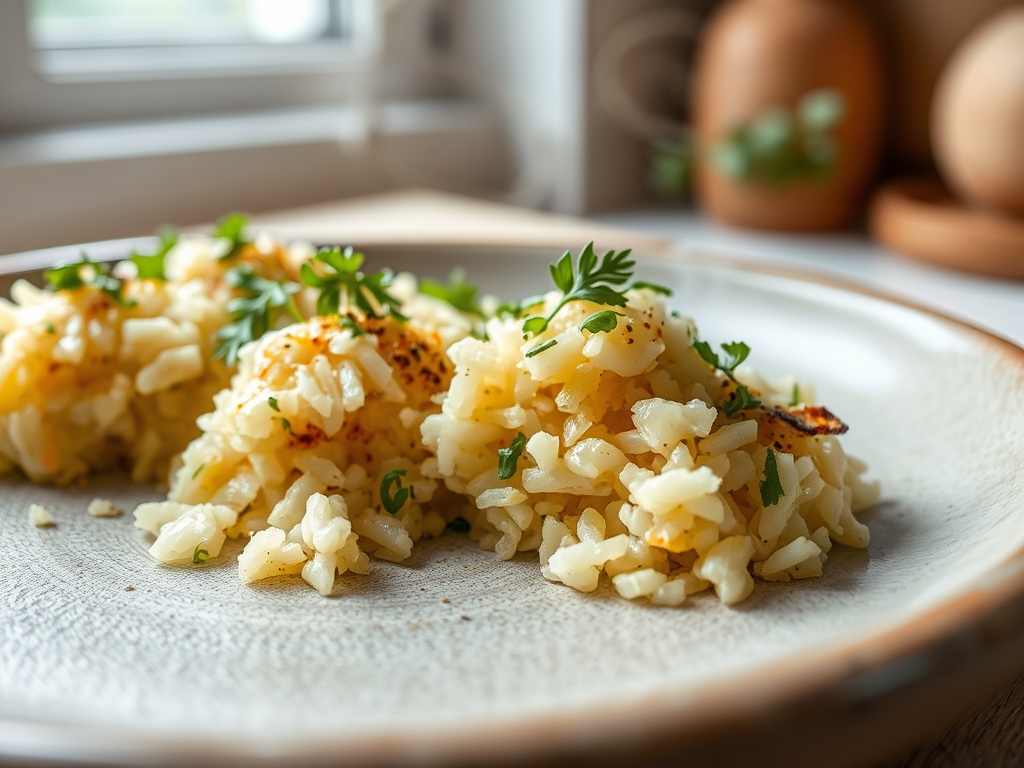
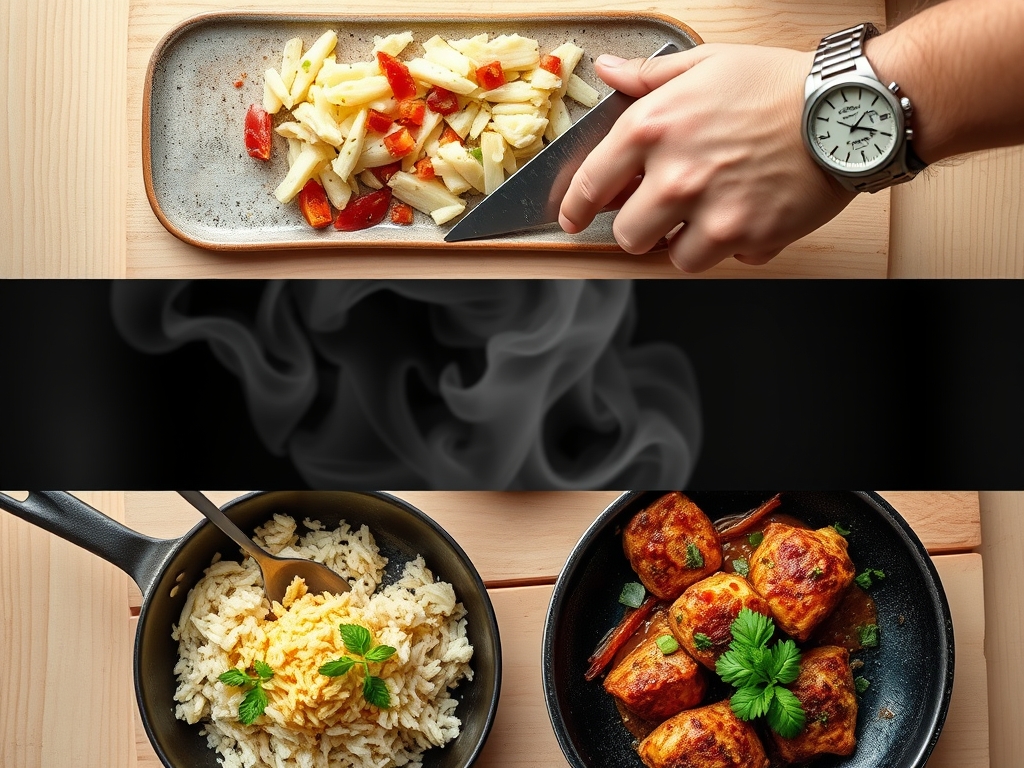
Pass the hot potatoes through a fine-mesh ricer or food mill directly into a warm bowl. Do not use a hand mixer or food processor. Note the texture in the step-by-step photos below; it should look like delicate snow.
Pro Tip: Mechanical shear from blades ruptures the starch cells, releasing amylose which creates a viscous, gluey texture. The ricer preserves the cellular integrity.
4. The Fat Infusion
Incorporate your chilled, cubed butter first, using a bench scraper or a stiff spatula to fold it in. Only after the butter is absorbed should you add the warm cream.
Pro Tip: Coating the starch in fat before adding liquid creates a waterproof barrier, preventing the liquid from turning the starch into a heavy paste.
5. The Aeration Fold
Use a gentle "folding" motion rather than stirring. You are trying to keep as much air in the mixture as possible.
Pro Tip: This maintains the structural porosity of the dish, ensuring the final product feels light on the palate.
6. The Temperature Check
Maintain a constant temperature of at least 140 degrees Fahrenheit during assembly. If the temperature drops, the fats will solidify and the texture will become grainy.
Pro Tip: This prevents starch retrogradation, a process where the molecules recrystallize and turn the potato tough.
7. The Final Seasoning
Season at the very end. Salt can draw out moisture, so adding it last ensures the seasoning sits on the surface of the tongue for maximum impact.
Pro Tip: Using a saucier to warm your seasonings with the cream allows the flavors to infuse more deeply into the fat molecules.
The Deep Dive:
From a Macro Nutrition perspective, riced potato recipes are high in potassium and Vitamin C, though the addition of lipids increases the caloric density. For Dietary Swaps, those following a Keto lifestyle can use the same ricing technique with steamed cauliflower, though you must squeeze the cauliflower in a cheesecloth first to remove 90 percent of its moisture.
If you hit a snag, here is The Fix-It guide. If your potatoes are Gluey, you have overworked the starch; try folding in a little more warm cream to loosen the bonds, though it will never be perfectly fluffy. If they are Gritty, they were likely undercooked. You can save this by passing the mixture through a fine-mesh sieve (a tamis). If they are Bland, you likely under-salted the boiling water. Salt the water until it "tastes like the sea" to season the potato from the inside out.
For Meal Prep, the science of reheating is vital. Never use a microwave on high power; it creates hot spots that cause the fat to render out and separate. Instead, reheat slowly in a heavy-bottomed skillet with a splash of milk, whisking constantly to re-emulsify the fats.
The Wrap-Up:
Mastering riced potato recipes is a true "level up" for any home cook. It is the difference between a side dish that is an afterthought and one that steals the show. By respecting the chemistry of the starch and the physics of the temperature, you create a culinary experience that is as sophisticated as it is comforting. Now, grab your ricer and go make some magic!
The Kitchen Table:
Why is my riced potato texture gummy?
Gummy potatoes occur when starch cells rupture and release amylose. This is usually caused by overworking the potatoes with a blade or food processor. Always use a ricer and fold gently to maintain the delicate cellular structure of the starch.
Can I peel potatoes after boiling them?
Yes, boiling potatoes in their skins preserves the starch and prevents them from water-logging. Once tender, the skins will slip off easily. This method results in a much fluffier texture for all your riced potato recipes.
What is the best potato for ricing?
Russet or Idaho potatoes are the gold standard. Their high starch and low moisture content allow the granules to separate into a light, flour-like powder when passed through a ricer; waxy potatoes will simply turn into a thick paste.
How do I keep riced potatoes warm for a party?
Place your finished potatoes in a heat-proof bowl over a pot of simmering water (a bain-marie). Cover with plastic wrap touching the surface to prevent a skin from forming. This maintains the temperature without scorching the delicate milk solids.