

Imagine the sharp, rhythmic crackle of a thousand buttery layers shattering under your fork as the savory steam of seasoned meat escapes into the air. When you master puff pastry ground beef recipes, you are not just making a snack; you are engineering a structural masterpiece of lipids and proteins. This is where the delicate, airy world of French patisserie meets the robust, umami-heavy satisfaction of a perfectly seared butcher's blend.
The secret to these six elegant treats lies in the contrast between the brittle, laminated dough and the succulent, juice-heavy filling. Whether you are hosting a high-end cocktail hour or looking for a weeknight upgrade, these recipes transform humble ingredients into sophisticated hors d'oeuvres. We are moving beyond the basic meat pie. We are talking about savory palmiers, mini beef wellingtons, and spiced empanada-style pockets that utilize the unique physics of steam-leavened dough. Let us get your kitchen smelling like a professional boulangerie.
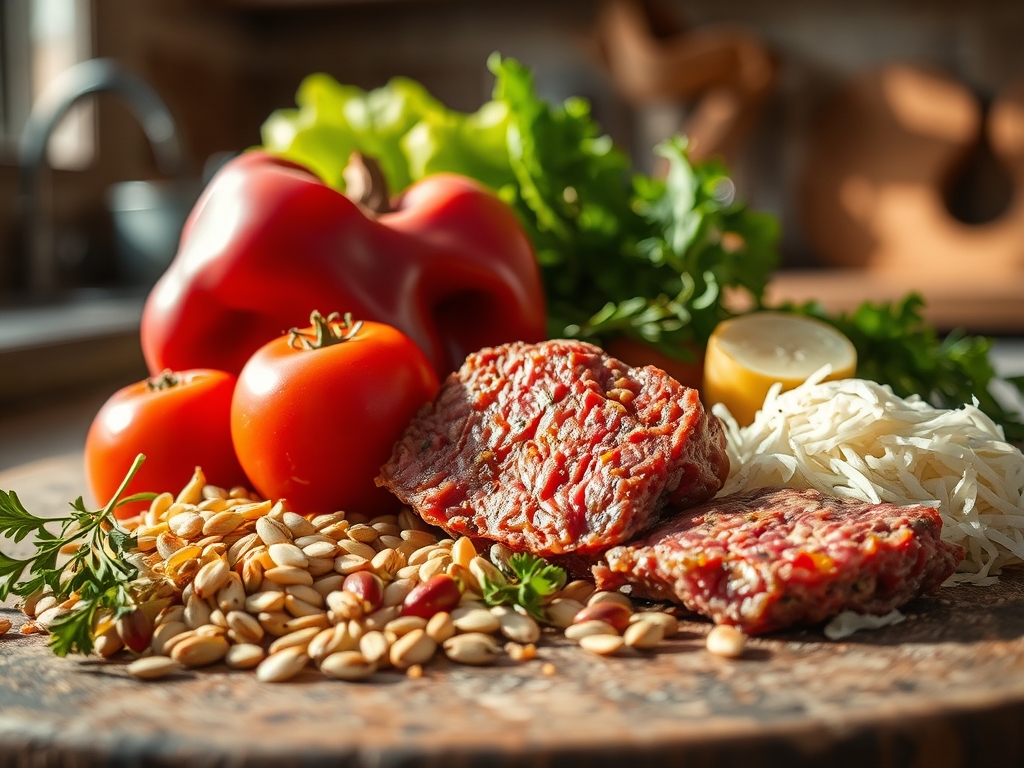
The Gathers:
To achieve a professional result, your mise-en-place must be precise. Start with high-quality puff pastry; look for brands that specify "all-butter" to ensure a superior mouthfeel and better lamination. For the protein, select a 20 percent fat ground chuck. This specific fat ratio is crucial because the lipids will render during the bake, basting the meat from within and preventing a dry, crumbly texture.
You will need aromatics like shallots and garlic, which should be processed with a microplane to ensure they melt into the meat without creating structural weak points in the pastry. Fresh herbs like thyme and rosemary provide a piquant counterpoint to the rich beef. For the binding agent, a splash of Worcestershire sauce or a high-quality balsamic glaze adds a viscous, acidic depth that cuts through the fat.
Smart Substitutions: If you want a lighter profile, swap the beef for ground lamb or a mixture of veal and pork. For a dairy-free version, look for "accidentally vegan" puff pastry made with vegetable oils, though you will lose some of the signature golden sheen. If you find your filling is too loose, a teaspoon of tomato paste acts as a natural emulsifier, tightening the mixture while boosting the umami profile.
The Clock:
Efficiency in the kitchen is about managing the thermal state of your ingredients. Total preparation time for these treats is approximately 30 minutes, with a bake time of 20 to 25 minutes. However, the "Chef's Flow" requires a mandatory 15-minute chilling period for the assembled pastries before they hit the oven.
This chilling phase is not optional. It allows the gluten in the flour to relax, preventing the pastry from shrinking, and ensures the butter remains solid until the very moment of heat impact. If the butter melts before the oven door closes, you lose the "puff" in your puff pastry. Use this time to clean your heavy-bottomed skillet and prep your cooling racks.
The Masterclass:

1. The Maillard Sear
Start by heating your heavy-bottomed skillet over medium-high heat. Add the ground beef, breaking it apart with a stiff spatula. Do not overcrowd the pan; you want to achieve a deep brown crust rather than steaming the meat in its own juices. Once the meat is browned, drain the excess fat but leave a thin coating to sauté your aromatics.
Pro Tip: This browning is the Maillard reaction, a chemical dance between amino acids and reducing sugars that creates hundreds of flavor compounds. If you crowd the pan, the moisture cannot evaporate quickly enough, and you forfeit that complex, savory depth.
2. Infusing the Base
Add your finely minced shallots and garlic to the pan. Use a wooden spoon to deglaze the bottom, scraping up those flavorful browned bits (the fond). Incorporate your spices and herbs now. This allows the fat to infuse with the volatile oils in the herbs, carrying the flavor throughout the entire batch.
Pro Tip: Adding spices to the hot fat rather than at the end is called "blooming." The heat unlocks fat-soluble flavor compounds that would otherwise remain dormant, resulting in a more aromatic filling.
3. Cooling the Filling
Spread the cooked beef mixture onto a flat baking sheet to cool completely. Never put hot filling onto cold puff pastry. The heat will immediately melt the butter layers in the dough, turning your elegant treat into a soggy, greasy mess.
Pro Tip: Cooling on a flat surface increases the surface area, allowing for rapid evaporative cooling. This prevents the carryover heat from overcooking the meat while it sits.
4. Precision Cutting and Shaping
Unfold your chilled puff pastry on a lightly floured surface. Use a bench scraper or a sharp pizza cutter to create uniform squares or circles. Place a small mound of the cooled beef in the center. Brush the edges with a beaten egg (the egg wash) to act as a protein-based glue.
Pro Tip: Use a sharp blade and cut straight down. Sawing back and forth can "smear" the delicate layers of butter and dough together, which seals the edges and prevents the pastry from rising vertically.
5. The Final Chill and Egg Wash
Once shaped, place your treats on a parchment-lined tray and refrigerate for 15 minutes. Just before baking, apply a thin, even layer of egg wash. This is your ticket to that "Instagram-gold" finish.
Pro Tip: The egg wash facilitates enzymatic browning. The proteins in the egg brown faster than the starch in the flour, creating a glossy, deep amber hue and a slight structural crunch on the exterior.
6. The High-Heat Blast
Slide the tray into an oven preheated to 400 degrees Fahrenheit. The high heat causes the water in the butter layers to turn into steam instantly. This steam expands, pushing the dough layers apart and creating the signature "puff."
Pro Tip: Avoid opening the oven door during the first 10 minutes. A sudden drop in temperature can cause the steam to condense prematurely, leading to a collapsed, dense pastry.
The Deep Dive:
From a nutritional standpoint, these treats are calorie-dense, providing roughly 250 to 300 calories per serving. They are high in protein and fats, making them quite satiating. If you are looking for Dietary Swaps, keto followers can replace the pastry with a "Fathead" dough made of mozzarella and almond flour. For a gluten-free version, several high-end brands now offer gluten-free puff pastry that relies on rice flour and xanthan gum for structure.
The Fix-It:
- Soggy Bottoms: If the base is wet, you likely had too much moisture in your filling. Fix this by adding a teaspoon of breadcrumbs to the meat mixture next time to absorb excess juices.
- Leaking Seams: If the pastry bursts, you overfilled it. Keep the filling to a conservative tablespoon and ensure your egg wash seal is complete.
- No Rise: Your oven was likely too cool, or the pastry was handled too much, melting the butter. Ensure the oven is fully preheated using an oven thermometer.
Meal Prep: To maintain "day-one" quality, never reheat these in a microwave. The microwave agitates water molecules, which turns the pastry rubbery. Instead, use a toaster oven at 350 degrees for five minutes to re-crisp the lipids and restore the lamination.
The Wrap-Up:
Mastering puff pastry ground beef recipes is a total power move in the kitchen. It proves that you understand the delicate balance of temperature, fat, and timing. These golden, flaky bites are a testament to your culinary range; they are sophisticated enough for a gala but comforting enough for a rainy Tuesday. Now, grab your bench scraper and get to work; your guests (and your taste buds) are waiting for that perfect crunch.
The Kitchen Table:
Why is my puff pastry not rising?
Your oven temperature is likely too low, or the dough became too warm during assembly. Ensure the pastry stays chilled until the moment it enters a fully preheated 400 degree oven to trigger the necessary steam expansion.
Can I make the beef filling in advance?
Yes, you should make it at least two hours ahead. Chilling the filling completely prevents the heat from melting the pastry's butter layers, ensuring a crisp, flaky texture rather than a soggy, greasy base.
What is the best way to seal the pastry?
Use a beaten egg as a "glue" and press the edges firmly with a fork or your fingers. For a professional look, use a bench scraper to trim the edges after sealing to expose the clean, un-smeared layers.
How do I prevent the beef from being dry?
Use a ground beef blend with at least 15 to 20 percent fat content. The fat renders during the high-heat baking process, which bastes the meat and keeps the interior succulent while the pastry crisps.