
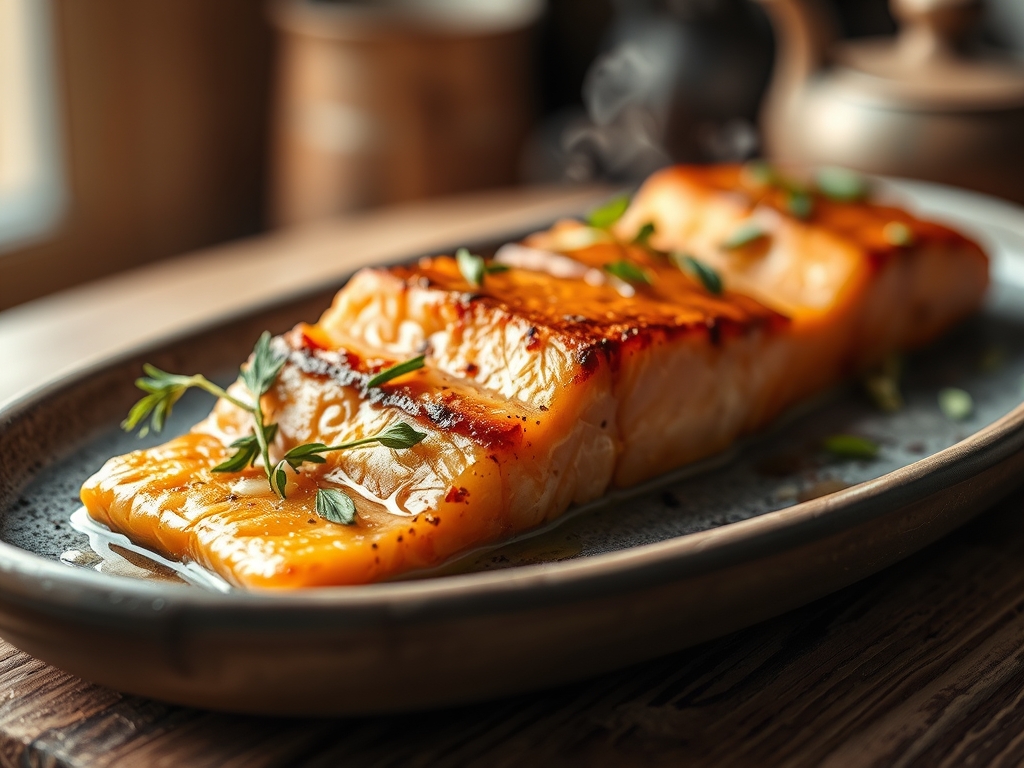
Imagine the sound of a cold, sharp knife gliding through a chilled side of Atlantic salmon. The flesh is translucent, a vibrant coral hue that promises a buttery mouthfeel and a piquant finish. When you master salted salmon recipes, you are not just cooking; you are performing a delicate act of osmosis. The salt draws out moisture, tightening the protein structure and intensifying the natural lipids within the fish. It is the ultimate kitchen alchemy that transforms a simple fillet into a luxury ingredient. Whether you are aiming for a quick dry-cure for the grill or a slow, Scandinavian style gravlax, the chemistry remains the same. We are talking about deep, savory satisfaction that hits the back of your palate and lingers. This is the art of the salt, a technique that has preserved civilizations and now serves as the backbone of your weeknight gourmet rotation. Grab your apron and your favorite heavy-bottomed skillet; we are about to turn your kitchen into a high-end bistro where the fish is always perfectly seasoned and the skin is impossibly crisp.
The Gathers:
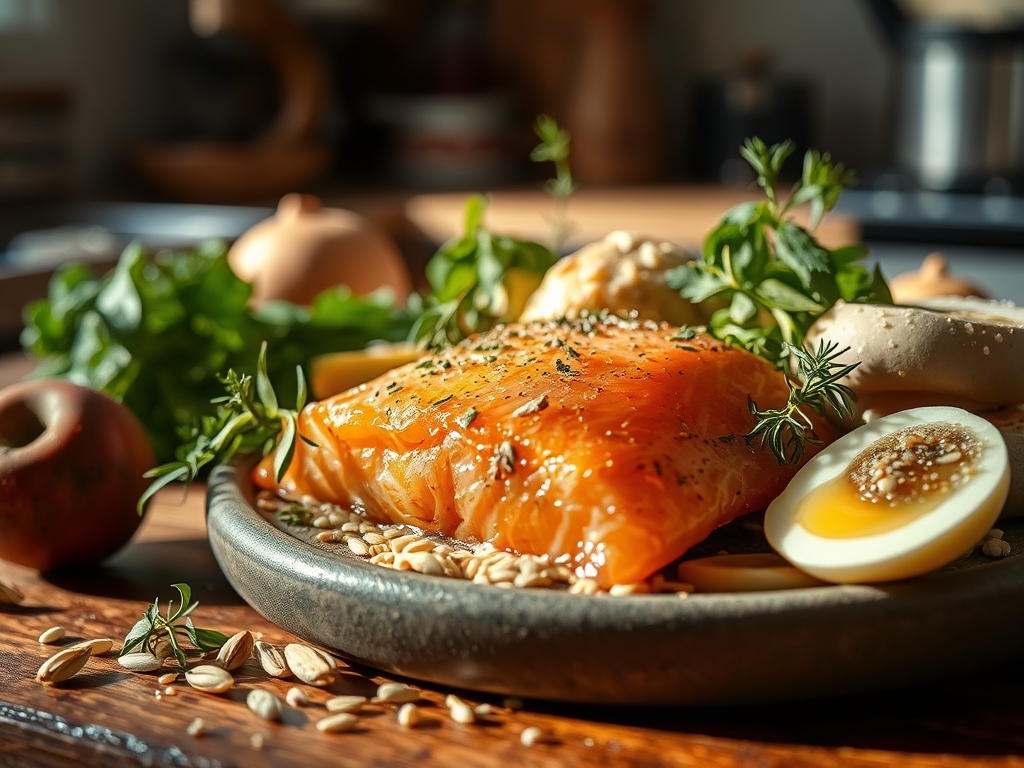
To execute these salted salmon recipes with precision, your mise-en-place must be flawless. Start with a high-quality center-cut fillet, preferably skin-on to provide a thermal barrier during cooking. You will need a high-purity Kosher salt; its flat, flake-like structure adheres better to the flesh than spherical table salt. For the aromatic profile, gather fresh dill, cracked peppercorns, and perhaps a touch of citrus zest to provide a bright, acidic counterpoint to the rich fats.
Smart Substitutions: If you lack Kosher salt, use sea salt but reduce the volume by twenty percent to account for the higher density of the grains. Instead of granulated sugar for your cure, try maple sugar or coconut sugar to introduce a deeper, more viscous sweetness. If fresh dill is unavailable, fennel fronds offer a similar anise-forward profile that complements the oils of the fish beautifully. Always use a digital scale for your cure ratios; precision is the difference between a delicacy and a salt lick.
The Clock:
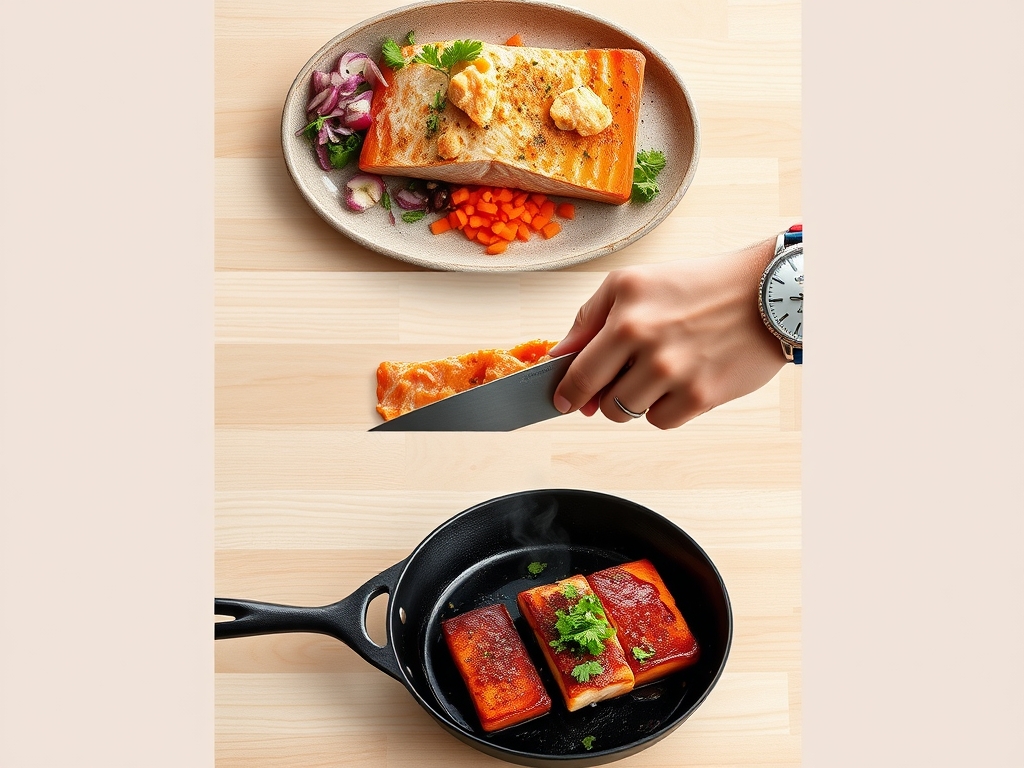
Efficiency in the kitchen is about understanding the "Chef's Flow." For a standard dry-cure, you are looking at a ten-minute active prep time followed by a thirty-minute rest in the refrigerator. This rest period allows the salt to dissolve into a brine and then be reabsorbed into the muscle fibers. If you are searing, the actual cook time is a mere six to eight minutes. Total time from fridge to fork is roughly forty-five minutes.
The flow is simple: prepare the cure, apply it to the fish, and while the osmosis occurs, prepare your side dishes or deglaze your saucier for a finishing butter. This cadence ensures that the salmon is the final element to hit the plate, served at the peak of its thermal cycle.
The Masterclass:
1. The Surface Preparation
Use a clean paper towel to pat the salmon completely dry. Moisture is the enemy of the Maillard reaction. If the surface is damp, the heat of the pan will be wasted evaporating water rather than browning the proteins. Use a bench scraper to clear your workspace of any scales or debris.
Pro Tip: This step utilizes evaporative cooling prevention. By removing surface water, you allow the surface temperature to exceed 212 degrees Fahrenheit almost instantly, triggering the chemical reaction that creates savory flavor compounds.
2. The Precision Salt Application
Sprinkle your salt blend from a height of at least twelve inches. This ensures an even distribution across the entire surface area. Focus more heavily on the thicker parts of the fillet and go lighter on the thin tail section to ensure uniform seasoning.
Pro Tip: This is the diffusion gradient at work. Salt moves from areas of high concentration to low concentration, effectively "pre-seasoning" the interior of the fish before it ever touches the heat.
3. The Cold Cure Rest
Place the seasoned fish on a wire rack over a sheet pan and tuck it into the refrigerator. Leaving it uncovered allows the air to circulate, further drying the skin which is essential for achieving a glass-like crunch later.
Pro Tip: Cold temperatures slow down enzymatic activity, preventing the fish from becoming mushy while the salt works to denature the proteins and firm up the texture.
4. The High-Heat Sear
Heat a heavy-bottomed skillet over medium-high heat until the oil shimmers. Lay the salmon skin-side down, pressing firmly with a flexible spatula for the first thirty seconds to prevent the skin from curling.
Pro Tip: This technique manages thermal expansion. Pressing the fish ensures maximum contact between the skin and the pan, leading to an even, golden-brown crust through conductive heat transfer.
5. The Butter Baste and Infusion
In the final two minutes of cooking, drop a knob of cold butter and a smashed garlic clove into the pan. Use a large spoon to continuously drench the salmon in the foaming fat. This adds a nutty complexity and ensures the top of the fish finishes cooking gently.
Pro Tip: This is convection basting. The hot fat carries heat into the crevices of the fish more efficiently than air, while the milk solids in the butter undergo further browning to enhance the aroma.
6. The Carryover Rest
Remove the salmon from the pan when it is about five degrees below your target internal temperature. Place it on a warm plate and let it rest for three to five minutes before serving.
Pro Tip: Thermal carryover occurs as the residual heat from the exterior continues to move toward the center. Resting allows the muscle fibers to relax and reabsorb juices, ensuring a succulent bite.
7. The Acidic Finish
Just before serving, use a microplane to grate fresh lemon zest over the top and add a few drops of lemon juice. The acidity cuts through the lipid-rich profile of the salted salmon, balancing the entire dish.
Pro Tip: This is the pH balance principle. Acid brightens the flavor profile by stimulating the salivary glands, which makes the savory notes of the salt and fat more perceptible to your taste buds.
The Deep Dive:
Salted salmon is a nutritional powerhouse. It is exceptionally high in Omega-3 fatty acids, which are essential for brain health, and provides a dense source of high-quality protein. On average, a six-ounce portion contains about 350 calories, 20 grams of fat, and 40 grams of protein.
Dietary Swaps: For those on a Keto diet, this recipe is already a gold standard. For a Vegan alternative, you can use large planks of roasted carrots or "King Oyster" mushrooms cured in a similar salt and seaweed blend to mimic the oceanic flavor. If you are Gluten-Free, ensure your seasonings are pure and avoid any cross-contamination in the pan.
The Fix-It:
- Skin sticking to the pan? You likely tried to flip it too early. The fish will naturally release once the proteins have fully coagulated and formed a crust.
- Fish is too salty? If you over-cured it, give the fillet a quick rinse under cold water and pat it dry again before cooking.
- White goo appearing on the surface? That is albumin, a protein that leaches out when salmon is cooked too fast or too high. Lower your heat slightly next time.
Meal Prep: To reheat salted salmon without losing quality, avoid the microwave. Use a low oven (275 degrees Fahrenheit) with a splash of water in the pan, covered with foil. This creates a gentle steam environment that rehydrates the fish without overcooking the delicate fats.
The Wrap-Up:
Mastering salted salmon recipes is a rite of passage for any serious home cook. It is the perfect marriage of scientific precision and soulful flavor. By understanding the way salt interacts with protein and how heat transforms texture, you have graduated from someone who "makes dinner" to someone who "crafts cuisine." Go ahead, flaunt those crispy skins and perfectly seasoned flakes. Your kitchen, your rules, and now, your masterpiece.
The Kitchen Table:
How long can I dry-cure salmon in the fridge?
For a quick sear, thirty minutes is ideal. For a firmer, lox-style texture, you can cure it for up to twenty-four hours. Beyond that, the fish may become overly tough and excessively salty for standard consumption.
Why is my salmon skin not getting crispy?
The most common culprit is residual moisture. Ensure the skin is bone-dry before it hits the oil. Additionally, ensure your pan is sufficiently hot; if the oil isn't shimmering, the skin will steam rather than fry.
Can I use frozen salmon for these recipes?
Yes, but thaw it completely in the refrigerator first. Frozen fish often releases more moisture, so you must be extra diligent about patting it dry and using a wire rack to allow for maximum air circulation.
What is the best salt for curing salmon?
Kosher salt is the industry standard due to its grain size and lack of additives like iodine. It allows for even coverage and dissolves at a predictable rate, ensuring consistent results across all your salted salmon recipes.