
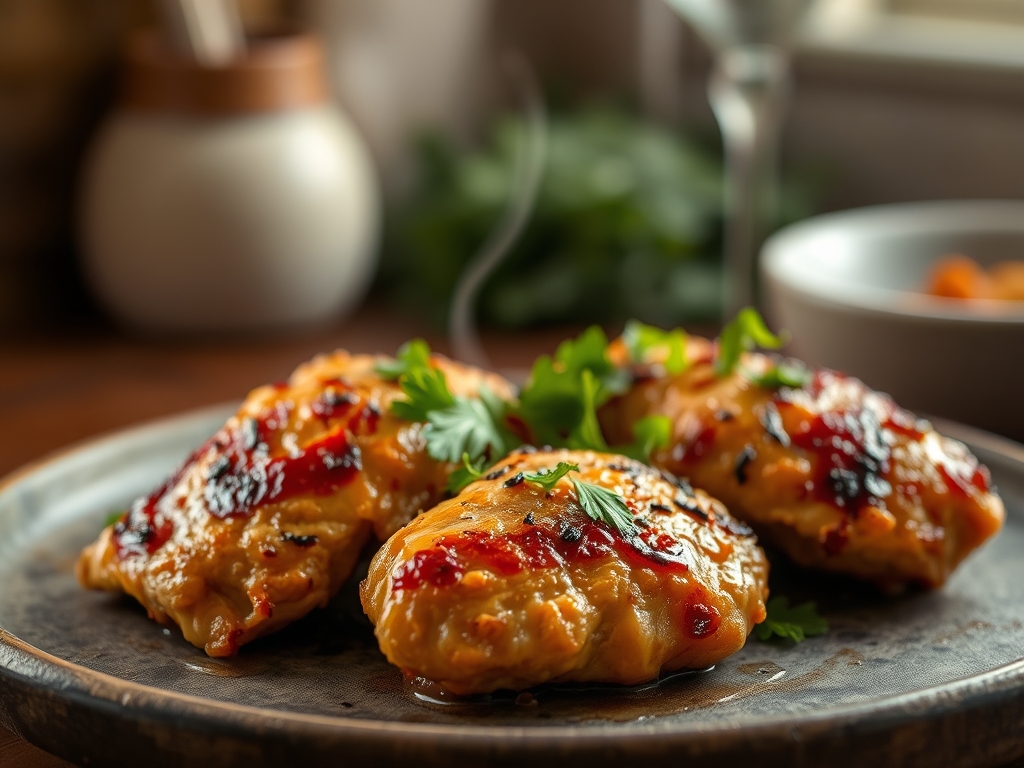
The first bite shatters. A crust so precise it crackles under gentle pressure, yielding to juice-soaked meat beneath. That signature sonic feedback, the audible proof of proper Maillard reaction and moisture control, separates memorable pan fried chicken recipes from soggy disappointments. Six specific techniques transform simple chicken thighs into restaurant-caliber results, and each one addresses a distinct failure point in traditional frying methods.
Most home cooks chase crispness through flour alone, ignoring the physics of steam escape and fat temperature stability. The difference between limp breading and architectural crunch lies in understanding protein denaturation rates, starch gelatinization windows, and how salt timing affects surface moisture. These secrets work because they manipulate the exact variables professional kitchens control instinctively.
The Gathers
Bone-in, skin-on chicken thighs (4 pieces, roughly 200g each) provide the best fat-to-meat ratio and forgiveness during high-heat cooking. Their irregular geometry creates varied texture zones. Kosher salt (2 teaspoons) and black pepper (1 teaspoon) form the base seasoning layer. All-purpose flour (150g) mixed with cornstarch (50g) builds the primary crust architecture. The starch contributes brittle, glass-like fracture patterns flour cannot achieve alone.
Buttermilk (240ml) tenderizes through lactic acid while adding adhesive properties. Smoked paprika (1 tablespoon), garlic powder (2 teaspoons), and cayenne (1/2 teaspoon) provide aromatic complexity without moisture interference. Neutral frying oil (vegetable, canola, or rice bran, 400ml) maintains stable temperatures above 175°C without smoking or breaking down.
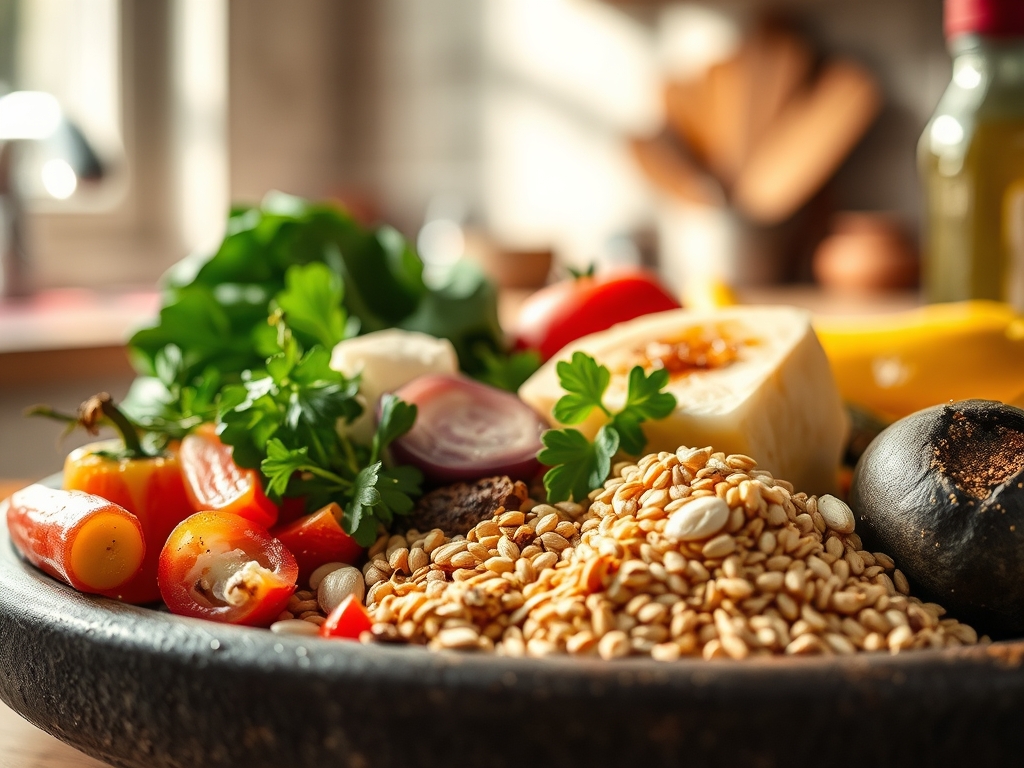
As you see in the ingredient spread below, every component serves a structural or chemical purpose. No element exists for tradition alone.
Smart Substitutions: Swap buttermilk for whole milk plus 1 tablespoon white vinegar (10-minute rest). Replace cornstarch with potato starch for even sharper shatter. Use chicken drumsticks if thighs are unavailable, adding 3 minutes to cook time.
The Clock
Prep time: 25 minutes (includes 15-minute salt rest, critical for moisture redistribution). Cook time: 18 minutes per batch (4-5 minutes initial sear, 12-14 minutes gentle frying, 2-minute rest). Total time: 43 minutes for a single batch, 65 minutes for two batches using one pan.
Chef's Flow: While chicken rests with salt, prepare your breading station and preheat oil. Use those 15 minutes to set up drainage racks and measure spices. The rest period isn't dead time; it's when osmosis pulls salt deep into muscle fibers, seasoning from within while surface proteins begin to denature. This creates a tacky exterior that grabs breading aggressively.
Batch cooking is non-negotiable. Crowding drops oil temperature by 30-40°C instantly, triggering steam accumulation instead of evaporation. Cook two pieces at a time maximum in a 30cm pan.
The Masterclass
Step 1: The Dry Brine
Pat chicken completely dry with paper towels. Apply salt evenly to all surfaces, including under slightly lifted skin. Rest uncovered on a wire rack for exactly 15 minutes at room temperature.
Why it Works: Salt draws out surface moisture initially, then reabsorbs with dissolved proteins. This creates a sticky protein gel that bonds with breading molecularly, not just mechanically. The uncovered rest allows air circulation, further drying the skin for better Maillard reaction initiation.
Step 2: The Dual-Starch Dredge
Combine flour, cornstarch, paprika, garlic powder, cayenne, and 1 teaspoon black pepper in a shallow dish. Whisk until uniform. Pour buttermilk into a second shallow dish.
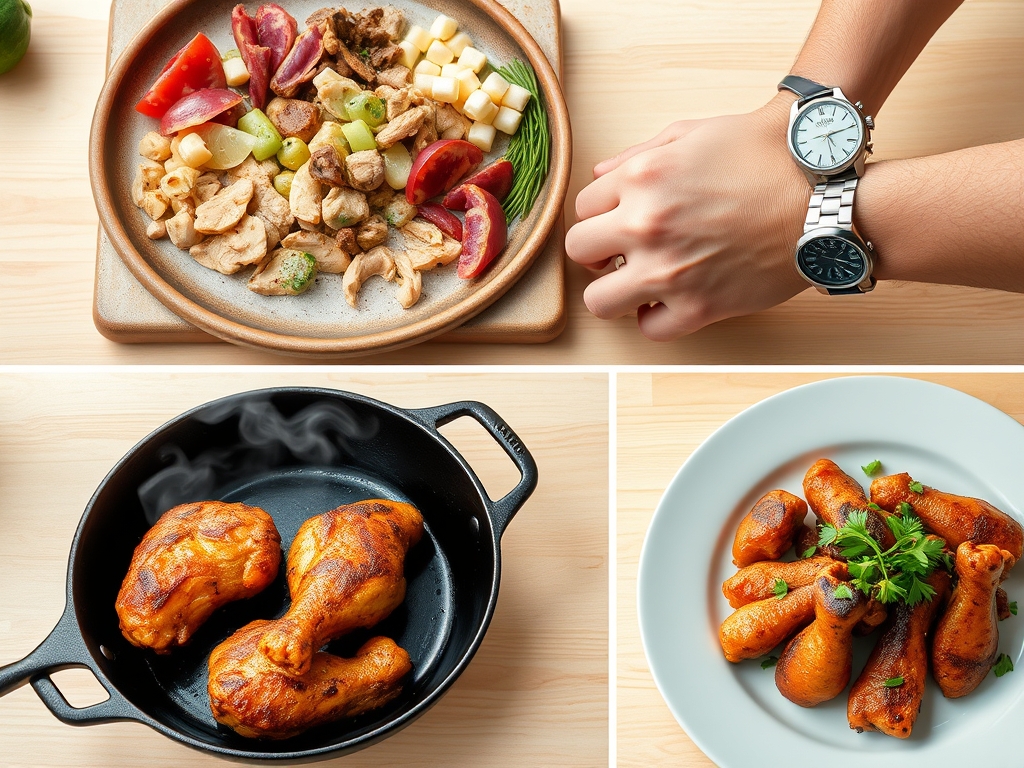
Chef's Secret: The 3:1 flour-to-cornstarch ratio balances structure and shatter. Pure flour creates thick, bready crusts. Pure starch shatters but doesn't adhere. This blend does both. Note the texture shown in the step-by-step photos where individual starch granules remain visible in the mix.
Step 3: The Double Dip Protocol
Submerge each thigh in buttermilk for 5 seconds. Lift and allow excess to drip for 3 seconds. Press into flour mixture, coating all surfaces. Shake off loose flour. Dip again in buttermilk briefly (2 seconds), then final flour coat. Press firmly.
Why it Works: The first dredge creates a foundation. Buttermilk reactivation adds a second protein-starch layer that cooks into a distinct outer shell. You're building geological strata of crunch. Each layer dehydrates and crisps at slightly different rates, creating dimensional texture.
Step 4: The Temperature Discipline
Heat oil in a heavy-bottomed stainless steel or cast-iron skillet to exactly 175°C (347°F). Use a probe thermometer, not guesswork. Add chicken skin-side down. Do not move for 4 minutes.
Chef's Secret: That first sear at uninterrupted high heat sets the crust structure permanently. Moving the chicken scrapes off developing Maillard compounds and breaks forming starch networks. Patience here determines final crispness more than any other variable.
Step 5: The Flip and Reduce
After 4 minutes, check for deep golden-brown color. Flip once. Immediately reduce heat to medium (oil should hover at 160°C/320°F). Cook 12-14 minutes, flipping every 4 minutes.
Why it Works: Initial high heat develops color and texture. Lower sustained heat gently brings internal temperature to 74°C (165°F) without carbonizing the crust. Multiple flips ensure even heat distribution and prevent steam accumulation on the down-facing side, which would soften breading.
Step 6: The Strategic Rest
Transfer to a wire rack set over a sheet pan, never paper towels. Rest 2 minutes before serving.
Chef's Secret: Wire racks allow 360-degree air circulation. Paper towels trap steam directly against the crust, rehydrating the breading you worked to dehydrate. Those 2 minutes also allow carryover cooking to finish the innermost meat while the crust stabilizes its structure.
Nutritional Info
Per thigh (bone-in, skin-on): 380 calories. 28g protein, 24g fat (7g saturated), 18g carbohydrates (primarily from breading), 2g fiber, 680mg sodium. The fat content includes both chicken skin and absorbed frying oil, roughly 1 tablespoon per piece.
Removing skin drops fat to 16g and calories to 290. Boneless thighs reduce to 340 calories but cook faster (10 minutes total), increasing overcooking risk.
Dietary Swaps
Gluten-Free: Replace all-purpose flour with rice flour (100g) plus tapioca starch (50g). The texture becomes even crispier but more fragile. Handle gently when flipping.
Keto/Low-Carb: Use crushed pork rinds (100g) mixed with almond flour (50g) and the same spice blend. Skip buttermilk; coat chicken in beaten egg instead. Carbs drop to 3g per serving. Crunch intensifies dramatically.
Vegan Pivot: This technique applies beautifully to oyster mushrooms (torn into strips), cauliflower steaks, or extra-firm tofu slabs (pressed 30 minutes). Reduce initial sear to 3 minutes and total cook time to 8 minutes.
Serving & Presentation
Southern Plate: Serve over buttermilk biscuits with sawmill gravy, pickled green tomatoes, and honey drizzle. The temperature contrast between hot chicken and cold pickles creates sensory drama.
Modern Minimalist: Single thigh on a streak of celery root puree, topped with microgreens dressed in lemon vinaigrette. Three dots of hot sauce aioli frame the plate.
Casual Luxe: Build a fried chicken sandwich on a brioche bun with bread-and-butter pickles, shredded iceberg, and comeback sauce (mayo, ketchup, hot sauce, Worcestershire). Serve with duck fat fries.
The Pro-Dodge
Pitfall 1: Soggy bottoms after 5 minutes. Your oil temperature dropped too low or you crowded the pan. Fix: Remove chicken immediately, bring oil back to 175°C, then resume. Always cook in small batches even if it takes longer.
Pitfall 2: Burned exterior, raw interior. Oil was too hot throughout cooking. Fix: Use a thermometer, not intuition. Reduce heat after the initial sear religiously. If it's already burned, finish in a 180°C (350°F) oven for 10 minutes.
Pitfall 3: Breading falls off in sheets. Chicken was too wet before dredging or you skipped the rest period. Fix mid-cook: Reduce heat immediately and flip less frequently. For next time, ensure thorough drying and proper salt rest.
The Meal Prep Corner
Storage: Cool completely on wire racks (never stack while warm). Refrigerate in a single layer with parchment between pieces for up to 3 days. Do not wrap tightly; trapped moisture kills crispness.
Reheating for Day-One Quality: Forget microwaves. Place cold chicken on a wire rack over a baking sheet. Bake at 200°C (400°F) for 12-15 minutes. The dry oven heat re-dehydrates the breading, restoring 85-90% of original crunch. Flip halfway through for even crisping.
Freezing: Flash-freeze on a sheet pan for 2 hours, then transfer to freezer bags with air pressed out. Keeps 2 months. Reheat from frozen at 190°C (375°F) for 25 minutes, flipping once.
The Wrap-Up
Six techniques, zero shortcuts. Each secret addresses a specific physical or chemical failure point between raw chicken and shatteringly crisp finish. Master temperature discipline and resist the urge to move pieces prematurely, and your pan fried chicken recipes will outperform most restaurants.
The beauty of this method lies in its transferability. These principles apply to pork chops, fish fillets, even vegetables. Crispy isn't luck or magic. It's controlled heat, managed moisture, and structural starch networks you can replicate infinitely.
Try one batch this week. Document your oil temperatures. Notice how the crust sounds different when you get it right. Then teach someone else, because great techniques compound when shared.
The Kitchen Table
Q: Can I use boneless, skinless chicken breasts?
A: Yes, but pound them to even 2cm thickness first. Reduce cook time to 10 minutes total (3-minute sear, 7 minutes gentle heat). They'll be drier than thighs due to lower fat content. Brining in saltwater (6% solution, 1 hour) helps retain moisture.
Q: What if I don't have a thermometer?
A: Drop a small pinch of flour into the oil. If it sizzles immediately and browns in 10 seconds, you're at approximately 175°C. Too fast (under 5 seconds) means too hot. No sizzle means not ready. Invest in a $15 probe thermometer; guessing costs more in wasted chicken.
Q: How do I prevent grease splatter?
A: Pat chicken aggressively dry before dredging. Surface water causes explosive spattering. Use a splatter screen (doesn't reduce crispness). Never cover with a lid, which traps steam and soggifies breading. Wear long sleeves and stand slightly to the side when adding chicken.
Q: Can I use this breading for deep-frying?
A: Absolutely. Heat oil to 165°C (330°F) in a deep pot (chicken should be submerged halfway). Fry 12 minutes, flipping once at 6 minutes. The dual-starch coating works even better fully submerged, creating uniform crunch on all surfaces.
Q: Why does restaurant fried chicken taste different?
A: Pressure fryers. They cook at lower temperatures under sealed pressure, driving heat into meat faster while keeping crust pale and incredibly crisp. Home cooks can't replicate this, but the double-dip technique and temperature control get you 90% there.