
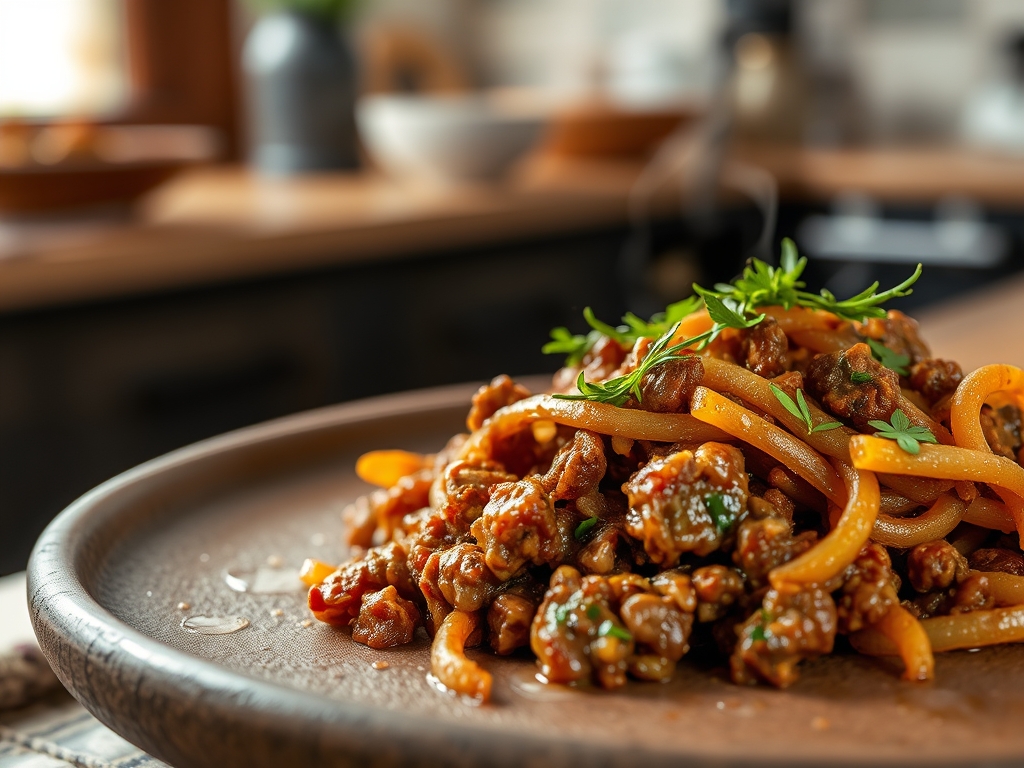
Picture the scent of onions softening in butter and the sizzle of fat hitting a heavy-bottomed skillet. There is a specific kind of nostalgia that only lives in a red-checkered cookbook. When we talk about ground beef recipes betty crocker, we are not just talking about dinner; we are talking about the architectural foundation of American home cooking. These dishes are the gold standard for efficiency and comfort. Whether you are whipping up a classic stroganoff or the ultimate meatloaf, the goal is always the same: achieving that perfect balance of savory depth and velvety texture.
Ground beef is a culinary workhorse because of its high surface-area-to-volume ratio. This allows for rapid Maillard reactions, which create those complex, toasted flavor compounds we crave. In this guide, we are going to elevate seven iconic classics by applying professional techniques to your favorite pantry staples. We will move beyond the basic "brown and drain" method to explore how temperature control and emulsification can turn a simple midweek meal into a masterpiece. Grab your favorite apron and let's get into the chemistry of comfort.
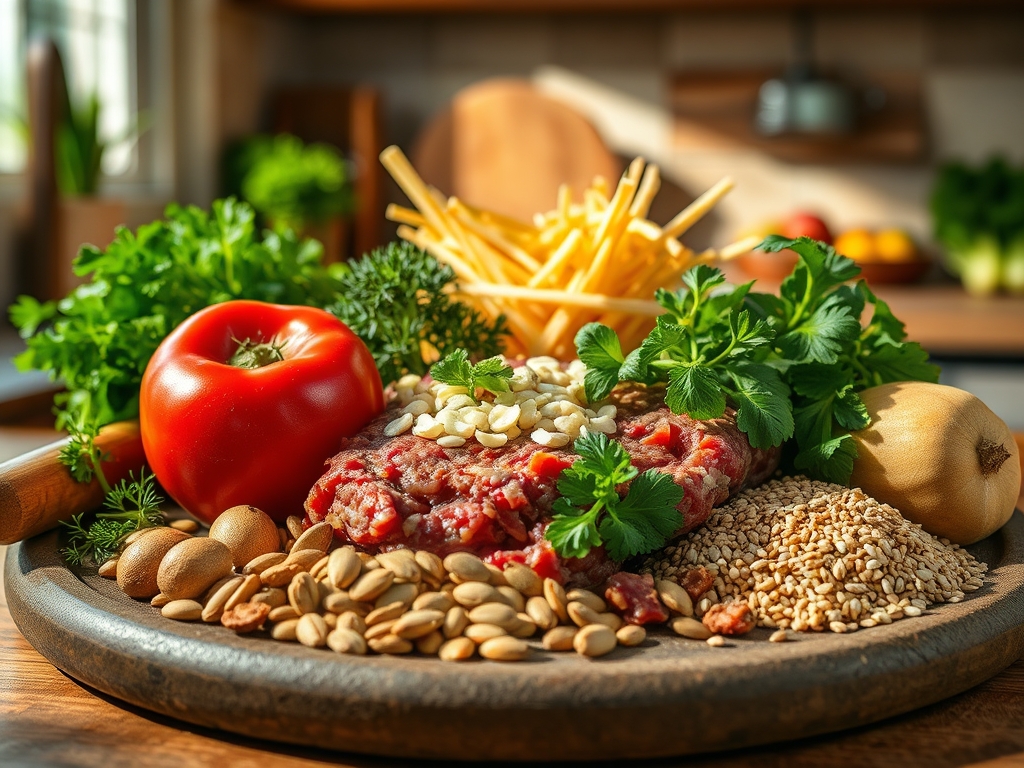
The Gathers:
To execute these ground beef recipes betty crocker style, your mise-en-place must be precise. Start with high-quality ground chuck, ideally an 80/20 lean-to-fat ratio. This specific ratio ensures there is enough lipid content to render and carry fat-soluble flavor compounds throughout the dish without becoming overly greasy. You will need a heavy-bottomed skillet or a cast-iron pan to maintain thermal mass; thin pans result in temperature drops that cause the meat to steam rather than sear.
Your aromatics are equally vital. Use a bench scraper to neatly organize your diced yellow onions, celery, and carrots. For depth, keep a bottle of Worcestershire sauce and high-quality tomato paste nearby to provide a piquant umami backbone. If you are aiming for the classic Swedish meatballs, ensure your nutmeg and allspice are fresh; old spices lose their volatile oils and result in a flat profile.
Smart Substitutions:
If you need to lighten the profile, ground turkey or chicken can be swapped in, but you must add a teaspoon of olive oil or a splash of beef bone broth to compensate for the lower fat content. For those avoiding dairy, a high-quality cashew cream can mimic the viscous mouthfeel of sour cream in a stroganoff. If you are out of breadcrumbs, crushed saltine crackers or panko provide an excellent structural matrix for meatloaf and meatballs.
The Clock:
Efficiency in the kitchen is all about "Chef's Flow." This means performing tasks in an order that maximizes your downtime. For most of these classics, you are looking at a 15-minute prep window and a 20 to 30-minute cook time. Start by preheating your oven or skillet; a cold pan is the enemy of texture. While the meat is browning, use that time to aerate your flour for gravies or to chop your herbs. By the time the meat has reached its target internal temperature, your sides should be reaching their peak. This synchronized timing ensures that every component hits the table at the optimal serving temperature, preventing the dreaded "congealed fat" phase.
The Masterclass:
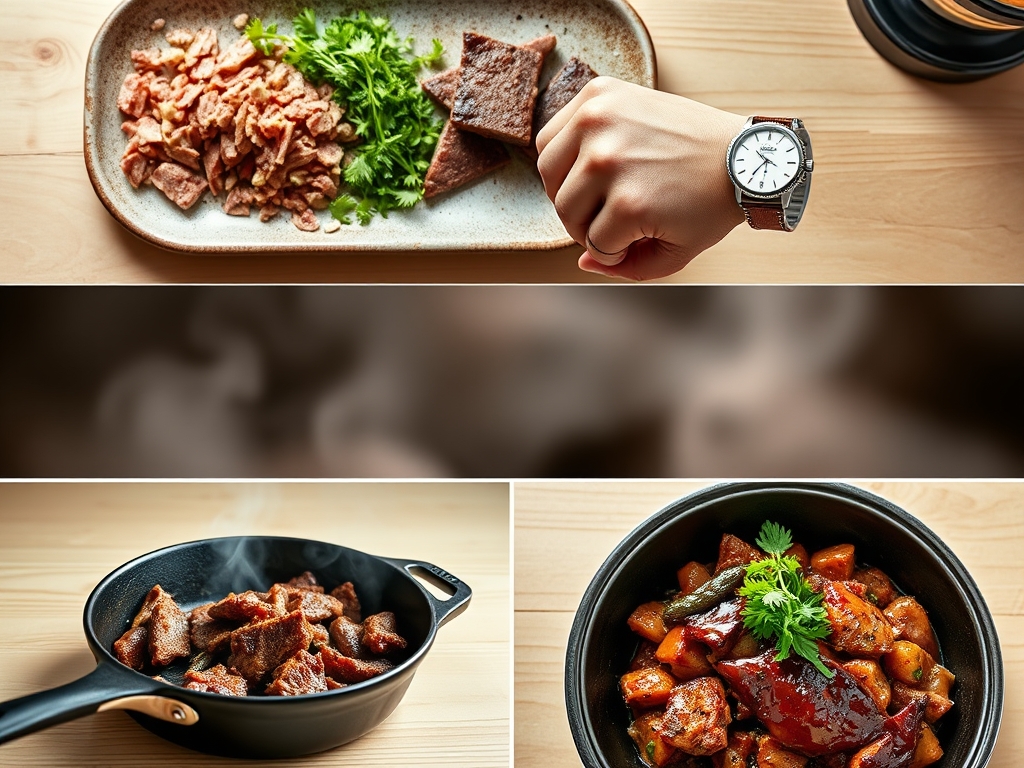
1. Achieve the Perfect Sear
Place your beef in a preheated skillet. Do not crowd the pan; if the meat covers more than 75 percent of the surface, the moisture will trap heat and steam the beef. Use a stiff spatula to break the meat into large chunks and let them sit undisturbed for three minutes to develop a deep brown crust.
Pro Tip: This is the Maillard Reaction in action. By allowing the meat to sear undisturbed, you are creating melanoidins, which are the chemical compounds responsible for that rich, savory "browned" flavor that cannot be replicated by boiling or steaming.
2. Deglaze for Depth
Once the meat is browned and removed, you will notice brown bits stuck to the bottom of the pan. This is called fond. Pour in a splash of beef stock or dry red wine and use a wooden spoon to scrape these bits back into the liquid.
Pro Tip: Deglazing is a form of solvent extraction. The liquid dissolves the concentrated proteins and sugars in the fond, incorporating them into your sauce for a more complex and integrated flavor profile.
3. Build the Roux
For gravies and sauces, sprinkle flour over your sautéed aromatics and fat. Stir constantly for two minutes until the mixture smells slightly nutty and looks like wet sand. This ensures the raw starch taste is cooked out before you add your liquids.
Pro Tip: Cooking the roux allows the starch granules to swell and burst, a process called gelatinization. This creates a stable, thickened sauce that won't separate as it cools.
4. Temper the Dairy
When adding sour cream or heavy cream to dishes like stroganoff, never dump it straight into the boiling pan. Whisk a small amount of the hot sauce into the cold dairy first, then incorporate the mixture back into the main pot.
Pro Tip: This prevents protein denaturation. Rapidly heating dairy can cause the proteins to clump together and "break" the sauce. Tempering ensures a smooth, emulsified finish.
5. Monitor Internal Temperature
For meatloaf or thick patties, use a digital thermometer to pull the meat at 155 degrees Fahrenheit. The temperature will continue to rise as it rests.
Pro Tip: This accounts for thermal carryover. Residual heat moves from the exterior to the core, bringing the meat to a safe and juicy 160 degrees without overcooking the outer layers.
6. Infuse with Herbs
Add fresh herbs like parsley or chives at the very end of the cooking process. Stir them in just before serving to maintain their bright color and volatile aromatics.
Pro Tip: Heat destroys the delicate essential oils in fresh herbs. By adding them last, you ensure the olfactory impact is maximized when the dish reaches the table.
7. The Final Rest
Allow your meatloaf or meatballs to rest for at least five to ten minutes before slicing or serving. This allows the muscle fibers to relax and reabsorb the juices.
Pro Tip: During cooking, proteins contract and push moisture toward the center. Resting allows for moisture redistribution, ensuring your first bite is just as succulent as the last.
The Deep Dive:
When we look at the macro nutrition of these classics, ground beef provides an excellent source of Vitamin B12, zinc, and bioavailable iron. To keep it balanced, pair these recipes with fiber-rich vegetables like roasted broccoli or a crisp green salad.
Dietary Swaps:
For a Keto version, replace flour-based thickeners with a pinch of xanthan gum or heavy cream reduction. For Gluten-Free needs, use tamari instead of Worcestershire and swap breadcrumbs for almond meal. Vegan enthusiasts can utilize lentil and walnut "meat" crumbles, adding a drop of liquid smoke to mimic the charred beef profile.
The Fix-It:
- Greasy Sauce: If your sauce looks oily, use a chilled spoon to skim the surface or stir in a teaspoon of Dijon mustard to help emulsify the fats.
- Bland Meat: If the beef tastes flat, it likely needs acid. A squeeze of lemon or a teaspoon of apple cider vinegar will brighten the flavors without adding salt.
- Dry Meatloaf: This usually happens from over-mixing. Use a folding motion rather than squeezing the meat to keep the texture light and airy.
Meal Prep:
To maintain "day-one" quality when reheating, avoid the microwave if possible. Reheat on the stovetop with a splash of water or broth to create steam, which prevents the proteins from becoming rubbery. If using a microwave, cover the dish with a damp paper towel to maintain moisture.
The Wrap-Up:
Mastering ground beef recipes betty crocker style is about more than following a list of ingredients; it is about understanding how heat and fat transform humble components into legendary meals. By focusing on the sear, the roux, and the rest, you are taking control of the kitchen science that makes these dishes iconic. These recipes are the heartbeat of the home, providing warmth and satisfaction with every bite. Now go forth, grab that skillet, and make your kitchen smell like a masterpiece.
The Kitchen Table:
How do I prevent my ground beef from steaming in the pan?
Ensure your skillet is smoking hot before adding meat. Do not overcrowd the pan; cook in batches if necessary. High heat and space allow moisture to evaporate instantly, facilitating the Maillard reaction for a superior crust.
Can I freeze these ground beef dishes for later?
Yes. Most ground beef recipes freeze beautifully for up to three months. Ensure they are cooled completely before sealing in airtight containers. To reheat, thaw in the refrigerator overnight to maintain the structural integrity of the proteins.
Why does my meatloaf always fall apart when I slice it?
This usually happens if the meat has not rested long enough or if there is not enough binder. Let it rest for ten minutes. The proteins and starches need time to set and "lock" the structure together.
What is the best way to drain fat from cooked ground beef?
Use tongs to push the meat to one side and tilt the pan. Use a spoon to remove the liquid fat, or carefully blot the pan with a bundled paper towel. Never pour hot grease down the sink.
How can I make my store-bought sauce taste more like Betty Crocker's?
Sauté fresh garlic and onions in butter before adding the sauce. Deglaze the pan with a splash of red wine or beef stock. This adds layers of complex aromatics that bottled sauces often lack.