
Imagine the heavy door of your refrigerator swinging open at 6:00 PM to reveal a sight that is both a blessing and a culinary puzzle: a container of cold, graying steak. We have all been there. That expensive ribeye or Sunday roast has lost its luster; the fats have congealed into opaque white beads and the muscle fibers have tightened. However, the secret to the most sophisticated leftover beef recipes lies in understanding that this protein is not a relic; it is a pre-seasoned, partially broken-down substrate ready for a second act. By manipulating temperature and moisture, we can transform that dense protein into something succulent and vibrant. We are moving far beyond the sad microwave reheat. We are diving into a world where high heat and acidic deglazing turn yesterday's dinner into a five-star masterpiece.
The challenge with leftover beef is the loss of moisture during the initial cooling process. When meat cools, the protein filaments contract and squeeze out water. To revive it, we must introduce fat and liquid in a way that mimics the original juiciness. Whether you are aiming for a piquant stir-fry or a rich, viscous ragu, the goal is to break the bonds of cold collagen without overcooking the interior to a rubbery mess. Grab your heavy-bottomed skillet and a sharp chef's knife. We are about to apply some serious kitchen physics to those cold cuts.
The Gathers:
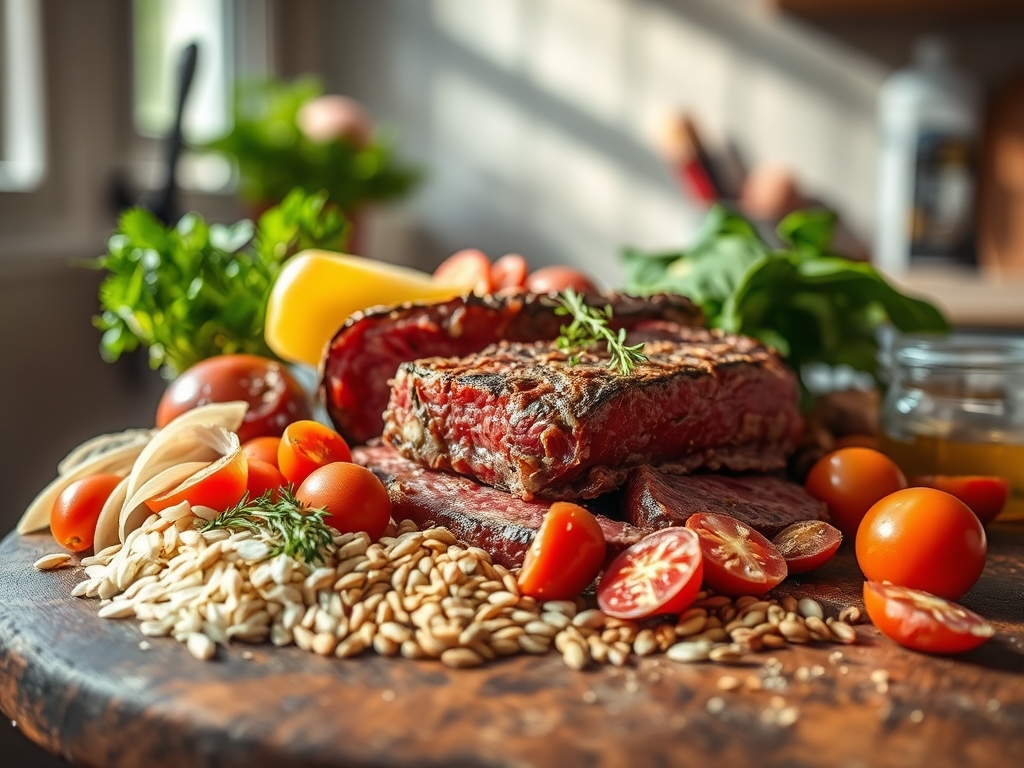
To execute these leftover beef recipes with precision, your mise-en-place must be impeccably organized. Start with your protein. Cold beef is actually easier to slice than warm meat because the fats are solid. Use a sharp knife to achieve paper-thin ribbons or precise 1-centimeter cubes. You will also need a high-smoke-point oil, such as avocado or grapeseed oil, to facilitate the Maillard reaction without filling your kitchen with acrid smoke.
For the aromatics, gather fresh ginger, garlic, and shallots. Use a microplane to grate the ginger into a fine paste; this increases the surface area and allows the juices to infuse your cooking oil more efficiently. You will also need a liquid component to deglaze the pan. Keep a bottle of dry sherry, a splash of beef bone broth, or even a high-quality soy sauce nearby.
Smart Substitutions:
If you find yourself without fresh aromatics, do not reach for the dusty garlic powder. Instead, use a dollop of chili crisp or a squeeze of lime to provide that necessary acidic lift. If the beef is particularly lean, such as a flank steak, whisk a teaspoon of cornstarch into your broth. This creates a viscous slurry that coats the meat, providing a velvety mouthfeel that mimics the richness of a higher fat content.
The Clock: Chef's Flow
Efficiency in the kitchen is about the "Chef's Flow." This means performing tasks in an order that maximizes heat retention and minimizes idle time.
- Prep Time: 15 minutes. This includes slicing the beef while it is still cold and prepping your vegetables.
- Cook Time: 8 to 12 minutes. Because the beef is already cooked, your time at the stove is focused on searing and sauce emulsification.
- Total Time: Under 30 minutes.
The flow begins with the "cold prep" of the meat, followed by the "high-heat sear" of the vegetables, and ends with the "flash-incorporation" of the beef. By adding the beef at the very end, you prevent the fibers from toughening while still achieving a warm, internal temperature.
The Masterclass:
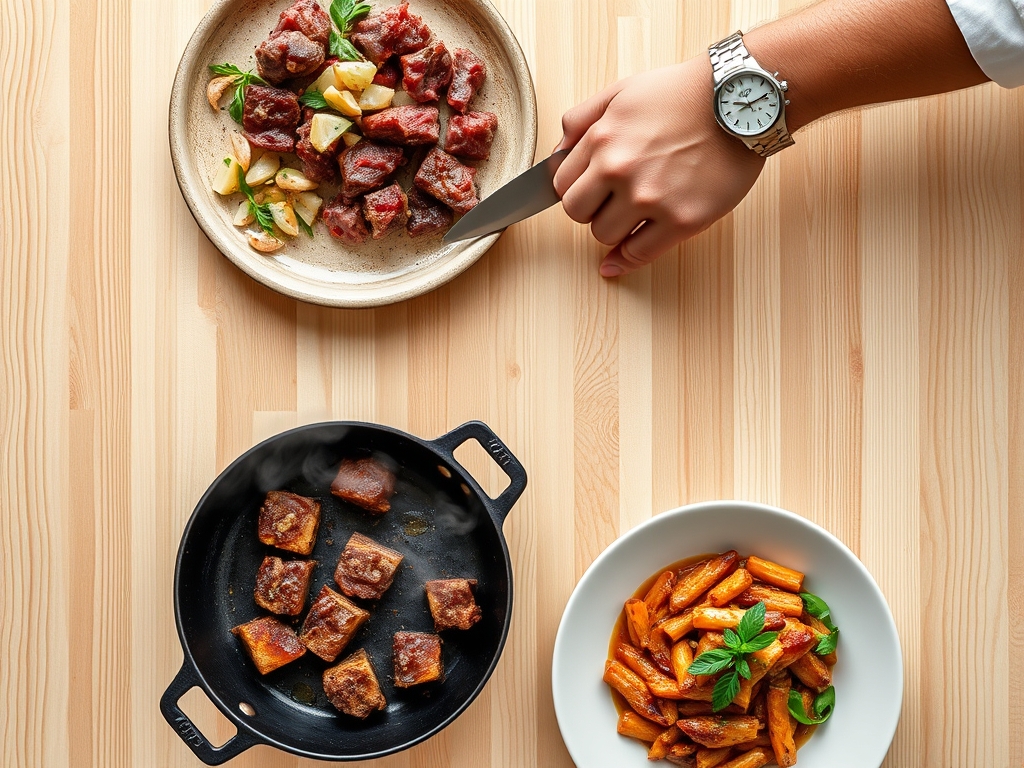
1. The Precision Slice
Before the heat even touches the pan, you must address the grain of the meat. Use your bench scraper to clear your workspace and lay the beef flat. Identify the direction of the muscle fibers and slice perpendicular to them.
Pro Tip: This is known as cutting against the grain. By shortening the muscle fibers mechanically with a knife, you reduce the amount of work your teeth have to do. This is a form of mechanical tenderization that makes even the toughest leftover roast feel like butter.
2. The High-Heat Sear
Place your heavy-bottomed skillet over medium-high heat until a drop of water flicked onto the surface dances and evaporates instantly. Add your oil and wait for the first wisps of smoke. Toss in your aromatics first to scent the oil.
Pro Tip: This process is called tempering the oil. The volatile compounds in the garlic and ginger are fat-soluble. By flavoring the oil first, you ensure that every millimeter of the beef is coated in a layer of aromatic complexity.
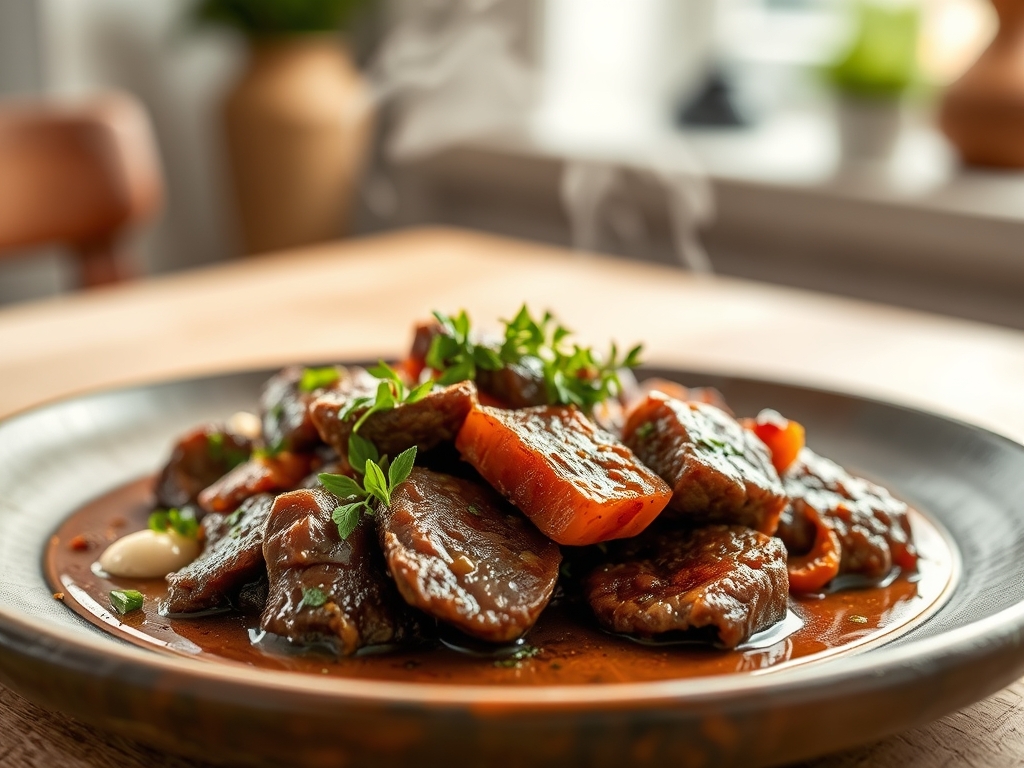
3. The Deglaze and Emulsify
Once your vegetables are tender, push them to the perimeter of the pan. Add your sliced beef and immediately follow with your liquid of choice. Use a wooden spoon to scrape up the brown bits stuck to the bottom.
Pro Tip: Those brown bits are called fond. They are the concentrated result of the Maillard reaction. When you add liquid, you are performing a deglaze, which dissolves those flavorful compounds back into a sauce, creating a deep, savory profile.
4. The Aeration Finish
Turn off the heat and add a cold pat of butter or a drizzle of toasted sesame oil. Use your tongs to vigorously toss the beef in the sauce until it looks glossy and thick.
Pro Tip: This is mounting with fat. By whisking in a cold fat at the end, you create a temporary emulsion that gives the sauce a professional, velvety sheen. The residual heat is enough to melt the fat without breaking the emulsion.
The Deep Dive:
Macro Nutrition:
Leftover beef is a protein powerhouse. A standard 4-ounce serving provides roughly 25 to 30 grams of protein. While some B-vitamins are lost during the initial cook, the iron and zinc remain stable. To balance the meal, pair your beef with complex carbohydrates like quinoa or fiber-rich cruciferous vegetables to slow down glucose absorption.
Dietary Swaps:
- Vegan: Swap the beef for pressed, seared king oyster mushrooms. They possess a similar umami profile and fibrous texture.
- Keto: Eliminate the cornstarch and sugar-based sauces. Use coconut aminos and heavy cream to create a rich, low-carb stroganoff.
- Gluten-Free: Ensure your soy sauce is replaced with tamari and use arrowroot powder as a thickener instead of flour.
The Fix-It: Common Pitfalls
- The Beef is Dry: You likely cooked it too long on the second pass. Fix it by tossing the meat in a spoonful of warm beef tallow or olive oil to artificially restore the lipid barrier.
- The Sauce is Watery: You did not allow the liquid to reduce. Fix it by removing the beef and boiling the sauce on high for two minutes until it coats the back of a spoon.
- The Meat is Chewy: You sliced with the grain. Fix it by chopping the meat into a fine "hash" texture, which breaks the long fibers and makes them easier to chew.
Meal Prep: Reheating Science
To achieve "day-one" quality, avoid the microwave at all costs. The microwave vibrates water molecules, which can cause "steam-bursting" within the meat, leading to a rubbery texture. Instead, use a saucier to gently warm the beef in a small amount of liquid over low heat. This uses conductive heating to raise the temperature evenly without over-stressing the proteins.
The Wrap-Up:
Mastering leftover beef recipes is truly about respecting the science of the second cook. By focusing on mechanical tenderization, aromatic infusion, and proper emulsification, you turn a forgotten container into a culinary highlight. Remember to slice against the grain, deglaze your pan to capture every ounce of fond, and always finish with a touch of fresh fat for that professional glow. Your kitchen is a laboratory; go forth and experiment with confidence!
The Kitchen Table:
How do I make leftover beef tender again?
Slice the cold beef thinly against the grain to shorten muscle fibers. Reheat it gently in a sauce or broth to introduce moisture, avoiding high-intensity microwave heat which causes the proteins to tighten and become rubbery.
Can I freeze leftover beef for later?
Yes, wrap the beef tightly in plastic wrap and store it in an airtight container for up to three months. For best results, thaw it slowly in the refrigerator before using it in your favorite leftover beef recipes.
What is the best way to reheat steak?
The best method is a low-temperature oven or a quick sear in a heavy-bottomed skillet with a splash of broth. This ensures the interior reaches a safe temperature without overcooking the exterior into a gray, tough layer.
Is it safe to eat week-old leftover beef?
No, the USDA recommends consuming cooked beef within three to four days when stored in a refrigerator at 40 degrees Fahrenheit or below. Always check for off-smells or a slimy texture before preparing your meal.