

Picture this: the kitchen is humming with the scent of savory, browned lipids and the buttery promise of laminated dough. When you need a dinner that feels like a warm hug but looks like a professional catering spread, pillsbury crescent rolls ground beef recipes are your absolute secret weapon. It is the ultimate marriage of convenience and culinary chemistry. We are talking about that specific, golden-brown crust meeting a succulent, seasoned filling that shatters upon the first bite.
Whether you are hosting a frantic weeknight dinner or a curated Sunday brunch, these hacks elevate the humble refrigerated dough into something sophisticated. We are not just tossing meat into bread; we are engineering a masterpiece of texture and flavor. By understanding how the fats in the beef interact with the leavening agents in the dough, you can transform a simple grocery staple into a gourmet experience. Let us dive into the mechanics of why this combination works so well and how you can master it in your own kitchen with the precision of a seasoned chef.
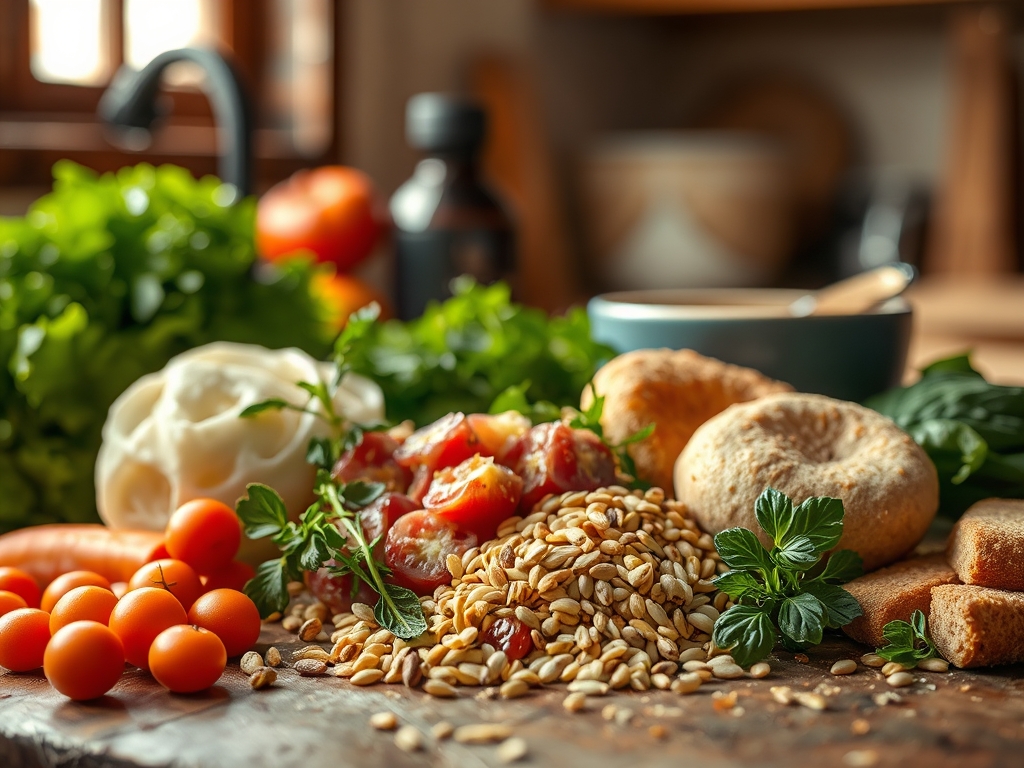
The Gathers:
To execute these hacks with precision, your mise-en-place must be impeccable. Start with high-quality ground beef, ideally an 80/20 blend. This ratio ensures enough intramuscular fat to render during the browning process, providing a viscous mouthfeel without making the dough soggy. You will need your chilled cans of Pillsbury crescent rolls; keeping them cold is vital to maintain the integrity of the solid fats within the dough layers.
Gather your aromatics: finely diced shallots, minced garlic, and perhaps a piquant touch of Dijon mustard or Worcestershire sauce to infuse the meat with depth. For tools, reach for a heavy-bottomed skillet (cast iron or stainless steel) to maximize the surface area for the Maillard reaction. A microplane is essential for grating fresh Parmesan or zest, while a digital scale helps ensure your portions are uniform for even baking.
Smart Substitutions:
If you want to lighten the profile, swap the beef for ground turkey or a plant-based crumble, but add a teaspoon of smoked paprika to mimic the beef's natural umami. For a gluten-free approach, look for specialized cauliflower-based crescent doughs, though you may need to adjust your bake times as these lack the traditional protein structure of wheat flour.
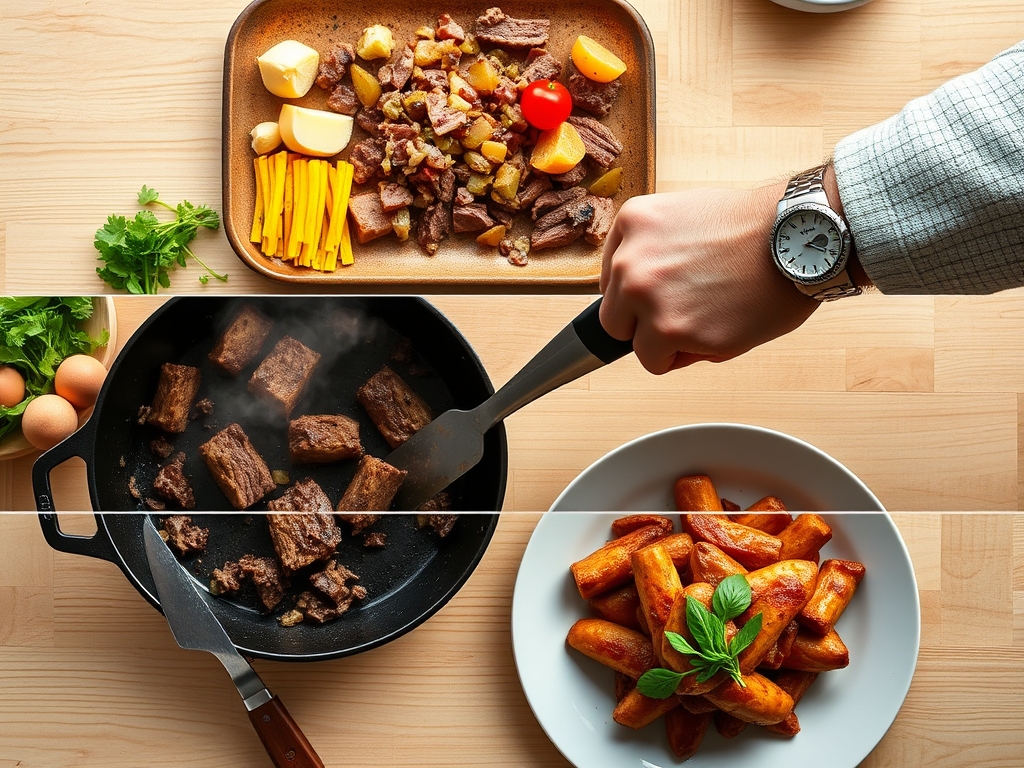
The Clock:
Efficiency in the kitchen is all about the "Chef's Flow." For most of these hacks, you are looking at a total time of 30 to 40 minutes. The breakdown usually involves 10 minutes of active prep (chopping and browning), 5 minutes of assembly, and 15 to 20 minutes of thermal processing in the oven.
The key to a seamless flow is to preheat your oven to 375 degrees Fahrenheit before you even crack the first can of dough. While the oven reaches its target temperature, you should be deglazing your skillet to capture every bit of fond. This synchronized timing ensures that your dough goes into the heat the moment it is handled, preventing the fats from melting prematurely at room temperature.
The Masterclass:
1. The Savory Beef Wellington Bite
Unroll the dough and separate it into triangles. Place a dollop of seasoned, browned beef mixed with a mushroom duxelles at the wide end. Roll tightly and seal the edges with a fork.
Pro Tip: Use an egg wash to facilitate enzymatic browning. The proteins in the egg react with the sugars in the dough to create a deep, lacquered mahogany finish.
2. The Cheeseburger Ring
Arrange the triangles in a circle on a parchment-lined sheet, overlapping the wide ends. Layer cooked beef and cheddar cheese around the center. Fold the points over the filling.
Pro Tip: Drain your beef using a fine-mesh strainer before assembly. Excess moisture causes steam-induced softening, which ruins the crispness of the bottom crust.
3. Taco Crescent Bundles
Season your beef with cumin and chili powder. Encase the meat and a cube of pepper jack cheese inside a square of dough made by pinching two triangles together.
Pro Tip: Allow the meat to cool slightly before wrapping. This prevents the heat from the beef from melting the dough's fat too early, ensuring better lamination during the bake.
4. The Beef and Brie Pinwheel
Spread a thin layer of apricot preserves on the dough, top with beef and a slice of brie, then roll and slice into rounds.
Pro Tip: Use a bench scraper to cut the pinwheels. A sharp, vertical cut prevents the dough from compressing, which allows the layers to aerate and rise properly.
5. Upside-Down Beef Pot Pie
Press the dough into a muffin tin, fill with a mixture of beef, peas, and a thick gravy, then fold the edges over the top.
Pro Tip: Dust the bottom of the dough with a tiny bit of cornstarch. This acts as a moisture barrier against the gravy, preventing a "soggy bottom" through starch gelatinization.
6. The Sloppy Joe Braid
Place a strip of beef filling down the center of a rectangle of dough. Cut slits along the sides and braid them over the meat.
Pro Tip: Brush the finished braid with melted butter halfway through baking. This introduces extra fat to the surface, enhancing the thermal conductivity for a crunchier texture.
7. Mediterranean Beef Pockets
Mix your beef with feta, spinach, and oregano. Seal the mixture into crescent "empanadas."
Pro Tip: Prick the top of the pocket with a skewer. These vents allow steam to escape, preventing the pocket from bursting due to internal pressure buildup.
8. The French Onion Beef Roll-Up
Caramelize onions in your skillet before adding the beef. Wrap the mixture with Gruyere cheese.
Pro Tip: Deglaze your pan with a splash of sherry. The alcohol helps extract flavor compounds that are not water-soluble, creating a more complex flavor profile.
9. Breakfast Beef and Egg Scramble
Fill your crescents with a mix of ground beef, soft-scrambled eggs, and chives for a high-protein start to the day.
Pro Tip: Under-cook your eggs slightly before stuffing. Thermal carryover will finish cooking the eggs inside the oven without making them rubbery.
The Deep Dive:
When we look at the macro nutrition, a standard serving provides a balanced hit of protein from the beef and carbohydrates from the dough. To optimize this for dietary needs, consider using grass-fed beef for a higher Omega-3 profile. For those following a keto-adjacent lifestyle, minimize the dough-to-meat ratio by making "thin-crust" versions where the dough is rolled out thinner with a rolling pin.
The Fix-It:
- Soggy Bottoms: If your crust is wet, your filling was too hot or too oily. Always cool your filling and drain fat thoroughly.
- Dough Not Rising: You likely over-handled the dough. The heat from your hands melts the butter layers. Use tongs or a saucier spoon to fill.
- Burnt Tops, Raw Middle: Your oven rack is too high. Move it to the center position to ensure even convection airflow.
For meal prep, these are best stored in an airtight container for up to three days. To reheat, avoid the microwave; it makes the dough chewy. Instead, use a toaster oven at 350 degrees to recrisp the exterior and gently warm the interior.
The Wrap-Up:
Mastering these pillsbury crescent rolls ground beef recipes is about more than just following a list; it is about understanding the science of the bake. You have the tools, the techniques, and the professional secrets to turn a simple refrigerated can into a culinary triumph. Now, get into that kitchen, fire up the skillet, and let the Maillard reaction work its magic!
The Kitchen Table:
Can I make these ahead of time?
Yes; you can assemble the beef filling up to two days in advance. However, do not wrap the dough until you are ready to bake to prevent the moisture from the meat from degrading the dough's structure.
What is the best way to prevent the dough from sticking?
Always use parchment paper or a silicone baking mat. These provide a non-stick surface and help distribute heat evenly across the bottom of the crescent rolls, ensuring a perfect, golden finish every time.
How do I know when the beef is perfectly browned?
Look for a deep, brown color and a slightly crispy texture. Avoid "gray" meat by not overcrowding the heavy-bottomed skillet, which allows moisture to evaporate quickly rather than steaming the beef in its own juices.
Can I freeze these after baking?
Absolutely. Allow them to cool completely to prevent ice crystal formation. Wrap them individually in foil and store in a freezer bag. Reheat directly from frozen in a 375-degree oven for about 12 to 15 minutes.