
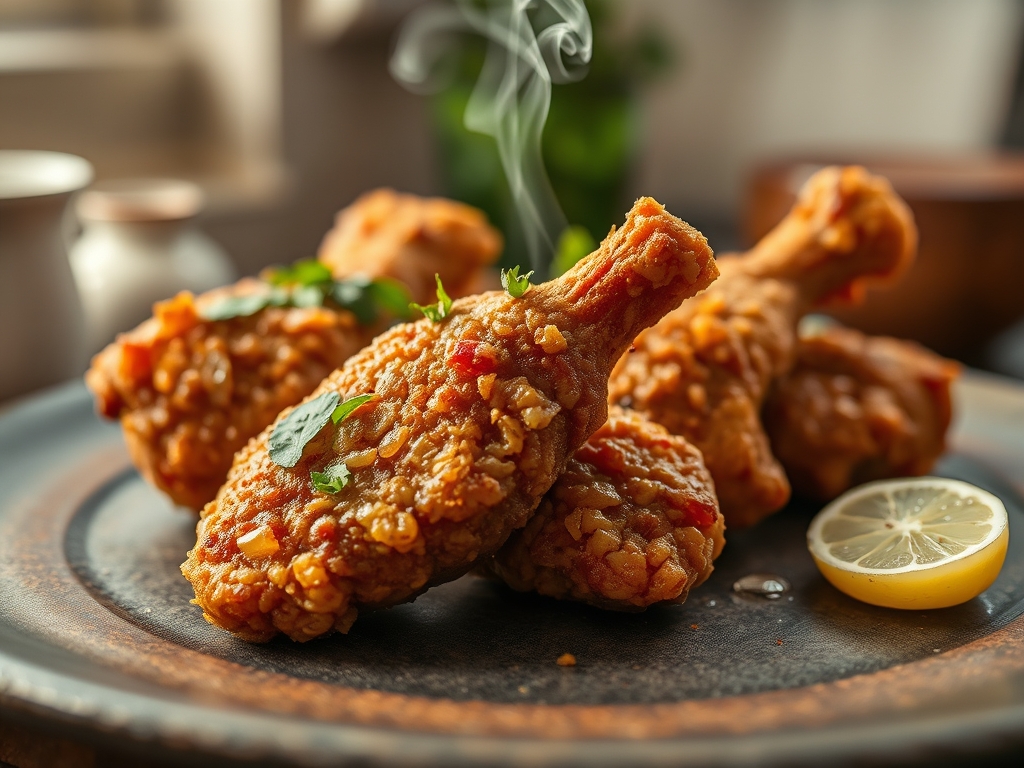
Listen to that sound. It is a rhythmic, high-pitched sizzle that signals the exact moment cold protein meets shimmering fat. That golden, glass-like crunch is the holy grail of comfort food. When you search for deep fry chicken recipes, you are not just looking for a meal; you are looking for a sensory experience that balances a shattering exterior with a succulent, steaming interior. It is a delicate dance of thermodynamics and chemistry that we are going to master together.
Achieving the perfect bird requires more than just a pot of oil. It demands an understanding of moisture migration and protein denaturation. We are moving beyond basic breading into the realm of culinary engineering. By the time we finish, you will understand why your previous attempts might have been soggy or scorched, and how to ensure every single bite delivers that signature, audible snap. Put on your apron; we are about to turn your kitchen into the best fried chicken joint in the city.
The Gathers:
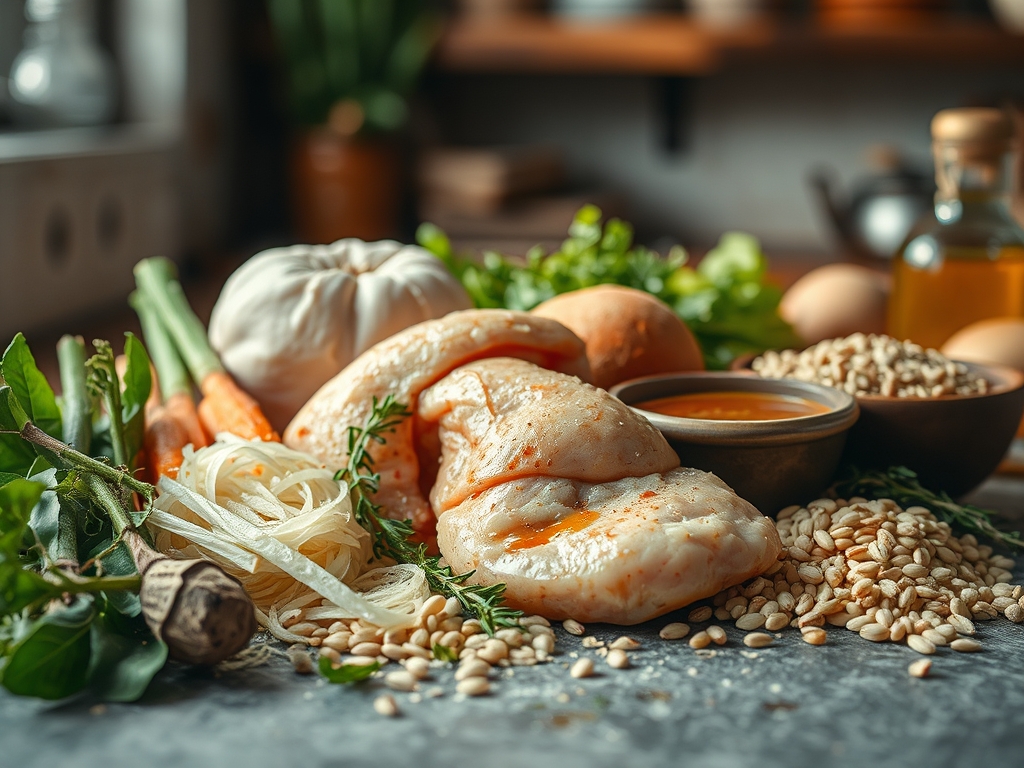
Before we ignite the burner, your mise-en-place must be flawless. Organization is the enemy of kitchen chaos. Start with high-quality chicken thighs or drumsticks; dark meat contains more connective tissue and fat, which renders during the fry to keep the meat moist. You will need a heavy-bottomed skillet or a Dutch oven to maintain thermal mass. For the coating, we utilize a blend of all-purpose flour and cornstarch. This is a vital "Hard Fact": cornstarch interferes with gluten development, ensuring the crust remains crisp rather than chewy.
Your spice cabinet is your best friend here. We are looking for a piquant profile. Gather smoked paprika, garlic powder, onion powder, and a generous amount of kosher salt. Use a digital scale to measure your dry ingredients for consistency. For the liquid component, buttermilk is non-negotiable. Its lactic acid acts as a gentle brine, breaking down tough muscle fibers.
Smart Substitutions: If you are out of buttermilk, whisk whole milk with a tablespoon of lemon juice and let it sit for ten minutes to curdle. No cornstarch? Use potato starch or rice flour for an even lighter, more aerated texture. If you want a deeper umami punch, add a teaspoon of MSG or pulverized dried shiitake mushrooms to your flour dredge.
The Clock
Efficiency in the kitchen is about "Chef's Flow." This is the sequence of operations that ensures no component sits idle for too long. Total active prep time is approximately 30 minutes, but the "inactive" time is where the magic happens.
- The Brine (2 to 24 hours): This is the longest phase. Salt and acid need time to penetrate the cellular structure of the meat.
- The Dredge (15 minutes): Coating the chicken and letting it rest allows the flour to hydrate, creating a "glue" that prevents the breading from falling off in the oil.
- The Fry (12 to 18 minutes): Depending on the cut, the chicken needs enough time to reach an internal temperature of 165 degrees Fahrenheit.
- The Rest (5 to 10 minutes): Essential for moisture redistribution.
The Masterclass
1. The Acidic Soak
Submerge your chicken pieces in a viscous buttermilk brine seasoned with hot sauce and salt. Ensure every crevice is coated.
Pro Tip: This stage utilizes enzymatic tenderization. The lactic acid weakens the protein structure, allowing the meat to retain more moisture during the high-heat frying process.
2. The Double Dredge
Whisk your dry ingredients in a shallow pan. Remove chicken from the brine, let the excess drip off, and press it firmly into the flour. Shake off the excess, dip it back into the buttermilk briefly, and dredge again.
Pro Tip: This creates "nooks and crannies." These increased surface areas lead to more Maillard reaction sites, which are responsible for the complex, savory flavors and deep brown color.
3. The Hydration Rest
Place the breaded chicken on a wire rack for at least 15 minutes before frying. Note the texture in the step-by-step photos above; the flour should look slightly damp.
Pro Tip: This rest period allows the starch to gelatinize with the buttermilk. If you skip this, your breading will likely slide off the chicken the moment it hits the oil.
4. The Oil Calibration
Fill your heavy-bottomed skillet with a high-smoke-point oil like peanut or canola. Heat it to exactly 350 degrees Fahrenheit using a probe thermometer.
Pro Tip: Stable oil temperature is critical. If the oil is too cool, it will soak into the breading, making it greasy. If it is too hot, the exterior will burn before the interior is safe to eat.
5. The Gentle Submerge
Using tongs, carefully lower the chicken away from your body into the hot oil. Do not crowd the pan; frying too many pieces at once will drop the oil temperature drastically.
Pro Tip: This initial contact triggers evaporative cooling. The moisture in the crust turns to steam, creating a barrier that prevents the oil from soaking into the meat.
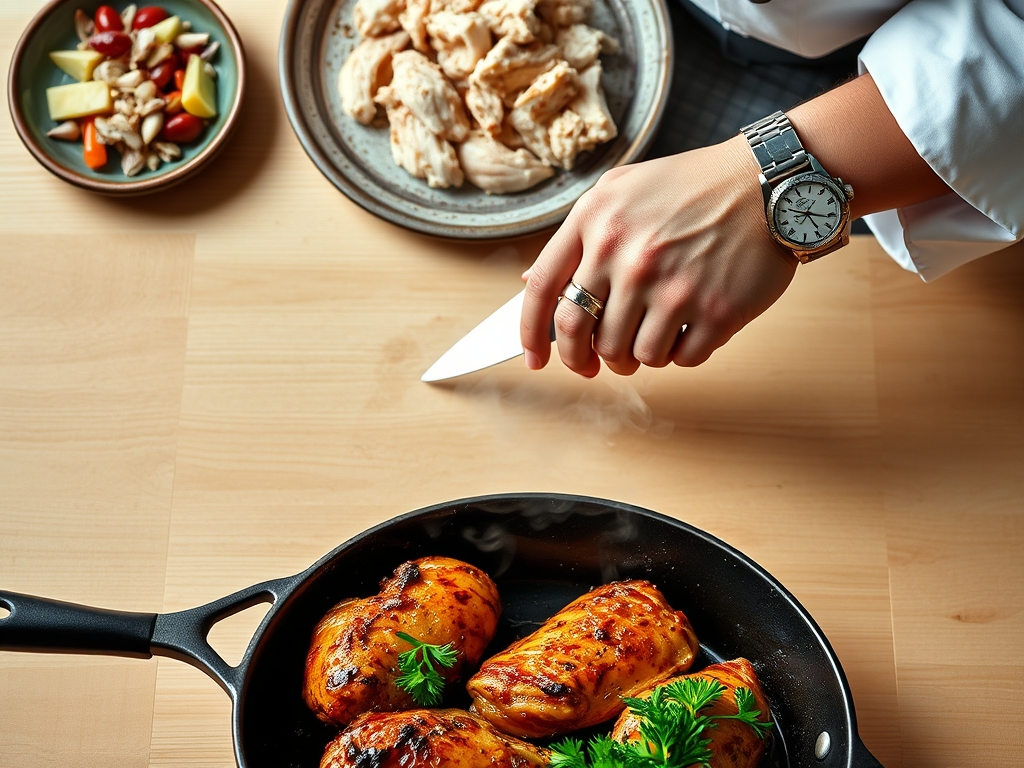
6. The Thermal Finish
Fry until the crust is a deep mahogany. Use a digital scale or an instant-read thermometer to ensure the thickest part of the meat reaches 165 degrees Fahrenheit.
Pro Tip: Account for thermal carryover. The internal temperature will continue to rise by 3 to 5 degrees after you remove the chicken from the heat.
The Deep Dive
Macro Nutrition: Deep-fried chicken is a protein powerhouse, but it is calorie-dense due to the lipids absorbed during cooking. A standard thigh contains roughly 25 grams of protein and 15 to 20 grams of fat. To mitigate the fat content, ensure your oil temperature stays consistent to prevent excess absorption.
Dietary Swaps: For a Keto version, swap the flour for crushed pork rinds and almond flour. For Gluten-Free (GF), use a 1:1 GF flour blend with extra cornstarch. For a Vegan alternative, use oyster mushrooms or firm tofu pressed to remove moisture, then follow the same dredging process using soy milk and apple cider vinegar.
The Fix-It:
- Soggy Crust: Your oil temperature was too low. Use a thermometer next time and fry in smaller batches.
- Breading Falling Off: You skipped the hydration rest. Let the flour sit on the meat longer before frying.
- Burnt Outside, Raw Inside: Your oil was too hot. Lower the flame and use a saucier or smaller pot to better control the heat.
Meal Prep: To maintain "day-one" quality, never reheat fried chicken in the microwave. The waves agitate water molecules, making the crust soft. Instead, use an air fryer or oven at 375 degrees Fahrenheit for 5 minutes. This re-crisps the skin by evaporating any migrated moisture.
The Wrap-Up
Mastering deep fry chicken recipes is a rite of passage for any home cook. It is about the harmony of heat, fat, and flour. When you pull that golden, crackling bird out of the oil, you aren't just making dinner; you are creating a masterpiece of texture and flavor. Remember to trust your thermometer, respect the rest period, and never underestimate the power of a good brine. Now, go forth and make the crunchiest chicken your friends have ever tasted!
The Kitchen Table
What is the best oil for deep frying chicken?
Peanut oil is the gold standard because it has a high smoke point and a neutral flavor. Canola or vegetable oil are excellent, affordable alternatives that won't burn at the required 350 degree Fahrenheit frying temperature.
Why is my fried chicken blood red at the bone?
This usually occurs in young chickens where the bones haven't fully calcified. Marrow can seep through the porous bone during cooking. As long as the internal temperature hits 165 degrees Fahrenheit, the meat is safe to consume.
How do I keep chicken crispy while frying batches?
Place a wire cooling rack over a baking sheet in a 200 degree Fahrenheit oven. As pieces finish frying, transfer them to the rack. This allows air to circulate, preventing the bottom from becoming soggy while staying warm.
Can I reuse my frying oil?
Yes, if it hasn't smoked or darkened significantly. Let it cool, strain it through a fine-mesh sieve or coffee filter to remove food particles, and store it in a cool, dark place for up to three uses.