
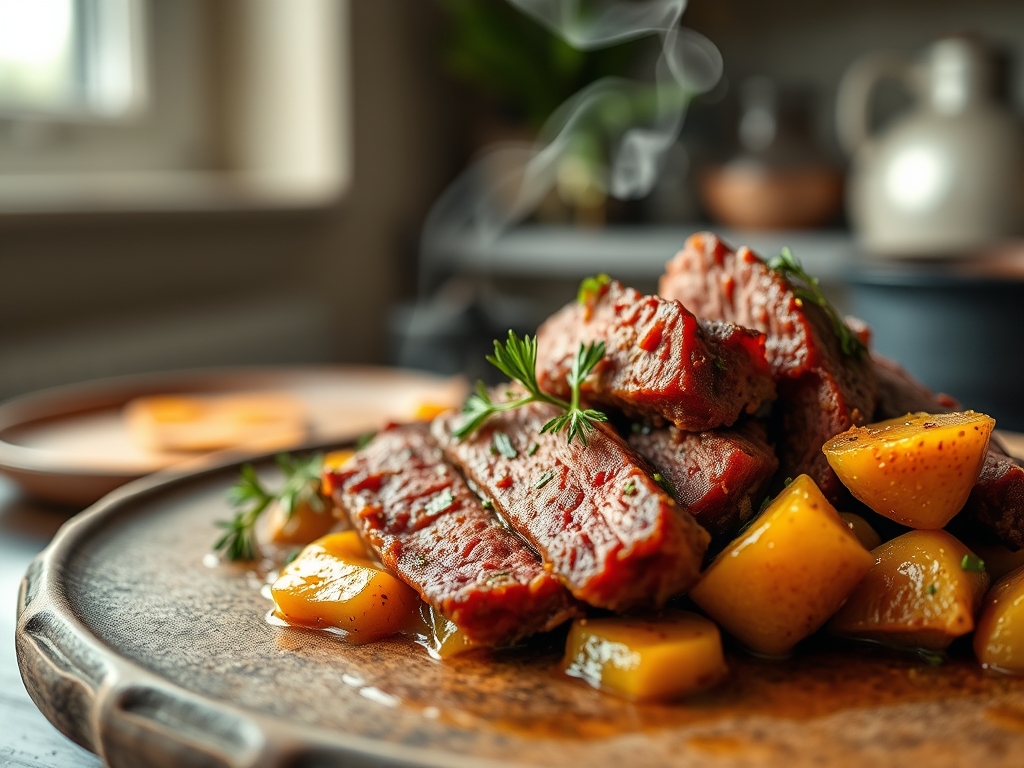
The scent of brined brisket hitting a hot cast iron surface is a sensory reset button. It starts with the piquant aroma of crushed peppercorns and coriander seeds toasted against the metal; then, as the liquid hits, a cloud of steam carries the deep, malty notes of stout and bay leaf. When you are hunting for the best dutch oven corned beef recipes, you are not just looking for a meal; you are looking for that specific, fork-tender collapse of collagen that only heavy-bottomed cookware can provide. The Dutch oven is the undisputed queen of the kitchen for this task because its thick walls create a thermal heat sink. This ensures that the simmering liquid stays at a constant, gentle temperature, preventing the muscle fibers from seizing into a rubbery mess. We are going to transform a humble, salt-cured brisket into a masterpiece of culinary engineering. Grab your favorite apron and a glass of something crisp; we are diving into the molecular magic of the perfect braise.
The Gathers:
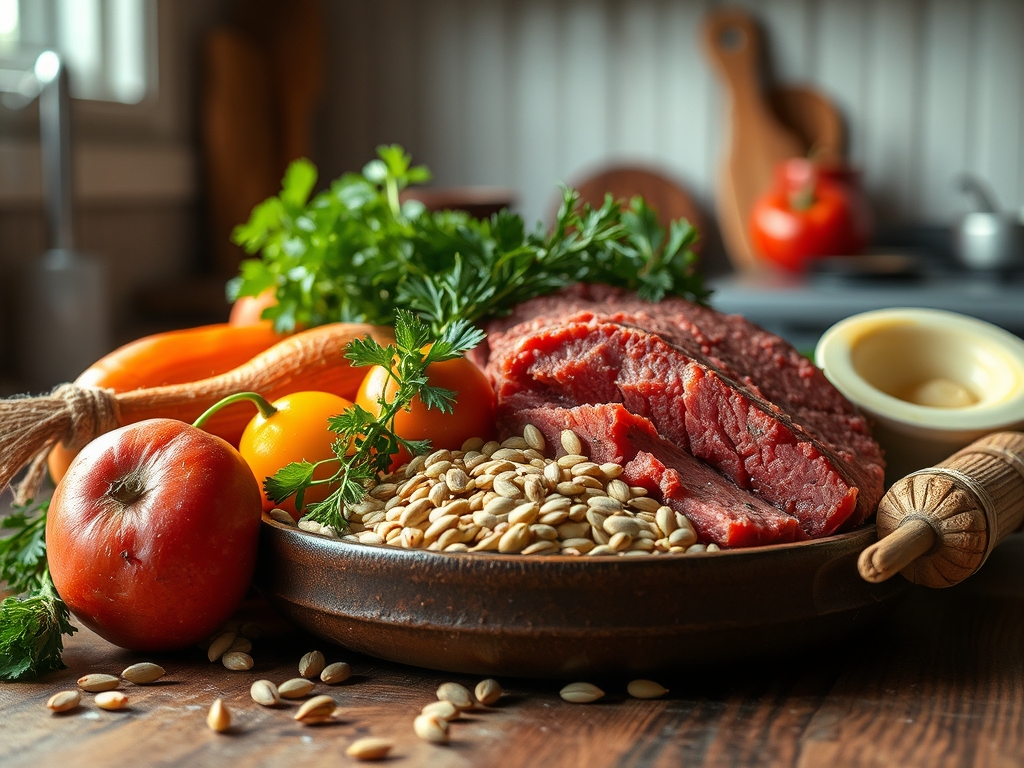
To achieve a professional-grade result, your mise-en-place must be precise. Start with a four-pound corned beef brisket, preferably the point cut for its higher fat content and superior moisture retention. You will need a quart of high-quality beef bone broth, which provides a viscous mouthfeel thanks to the gelatin content. For the aromatics, gather four cloves of garlic (smashed to release allicin), one large yellow onion (quartered), and three sprigs of fresh thyme. The spice packet included with the meat is often insufficient; I recommend adding your own blend of mustard seeds, allspice berries, and a single star anise to infuse the broth with a complex, woodsy undertone.
For the vegetables, use waxy red potatoes and thick-cut carrots. Waxy potatoes have less starch and more moisture, meaning they hold their shape during a long braise rather than disintegrating into a slurry. If you need a Smart Substitution, replace the traditional cabbage with halved Brussels sprouts for a more concentrated, nutty flavor profile. If you are avoiding alcohol, swap the classic Irish stout for a mixture of beef stock and a tablespoon of blackstrap molasses to mimic that fermented depth. Use a digital scale to ensure your vegetable portions are consistent; this ensures everything finishes cooking at the exact same moment.
The Clock
The "Chef's Flow" for this recipe is all about passive patience. Your active prep time is a mere 20 minutes. This involves trimming excess surface silver skin with a sharp boning knife and searing the meat. The cook time, however, requires a solid 3.5 to 4 hours of simmering. I recommend a "low and slow" approach at 300 degrees Fahrenheit. This allows the internal temperature to rise gradually, which is the secret to breaking down tough connective tissues without drying out the lean proteins. Total time from fridge to table is approximately 4.5 hours. Plan to finish the meat at least 20 minutes before you intend to serve; this allows for the crucial thermal carryover period where the juices redistribute through the grain.
The Masterclass
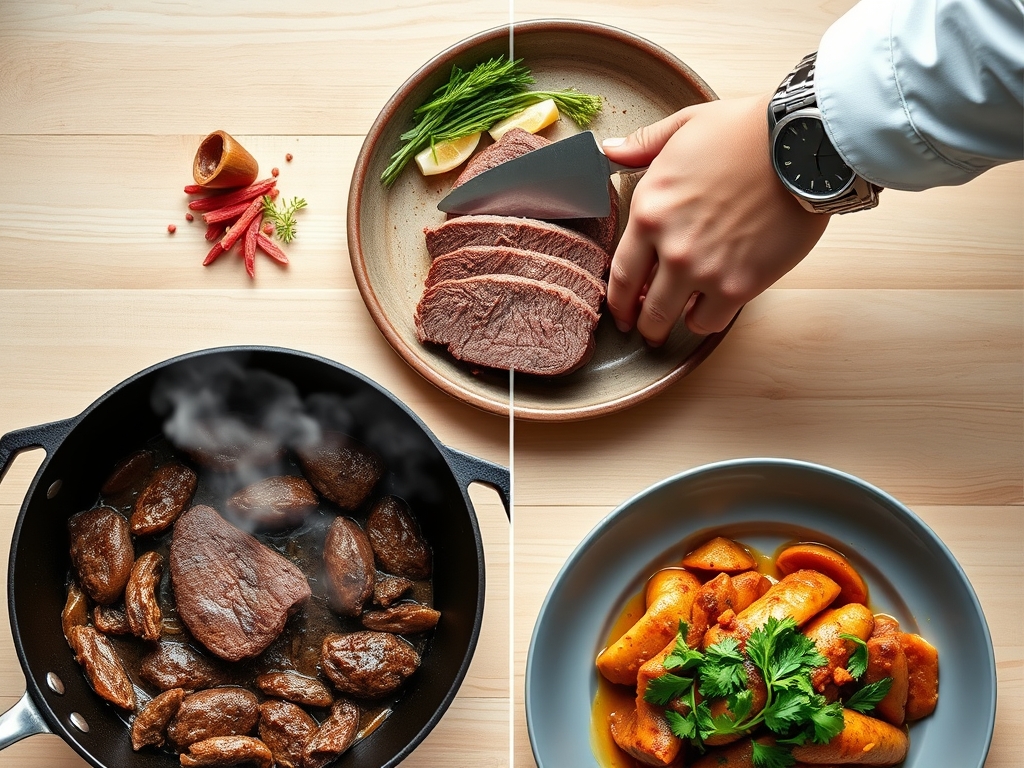
1. The Initial Sear
Place your Dutch oven over medium-high heat and add a tablespoon of high-smoke-point oil. Pat the brisket completely dry with paper towels to ensure a proper Maillard reaction. Sear the meat on all sides until a deep, mahogany crust forms.
Pro Tip: Drying the meat is essential because surface moisture creates steam, which prevents the temperature from rising high enough to trigger the chemical bonding of amino acids and sugars that creates flavor.
2. Deglaze and Infuse
Remove the meat and toss in your onions and garlic. Use a saucier or a wooden spoon to scrape the browned bits (the fond) from the bottom of the pot. Pour in your stout or broth to deglaze the surface.
Pro Tip: The fond contains concentrated flavor compounds. By deglazing, you are incorporating those roasted notes back into the braising liquid, creating a more robust sauce.
3. The Low-Temperature Braise
Return the brisket to the pot and add enough liquid to cover it by two-thirds. Bring to a gentle simmer, then cover with a tight-fitting lid and move to the oven.
Pro Tip: Submerging the meat partially rather than fully allows the top of the roast to benefit from humid heat, while the bottom undergoes a traditional braise. This prevents the meat from becoming "boiled" and flavorless.
4. The Vegetable Integration
With 45 minutes remaining on the clock, add your potatoes and carrots. Arrange them around the meat so they are partially submerged in the viscous cooking liquid.
Pro Tip: Adding vegetables too early leads to enzymatic breakdown, resulting in mush. Adding them late ensures they are "fork-tender" while retaining their structural integrity and vibrant color.
5. The Cabbage Finish
In the final 15 minutes, lay your cabbage wedges on top of the liquid. They will steam in the flavored vapors rather than boiling in the fat.
Pro Tip: Cabbage contains sulfur compounds that become unpleasantly pungent if overcooked. Steaming them briefly preserves their natural sweetness and prevents that "over-boiled" aroma.
6. The Rest and Carve
Transfer the meat to a cutting board and tent loosely with foil for 20 minutes. Use a bench scraper to clear your workspace, then slice the meat against the grain using a long, serrated knife.
Pro Tip: Resting allows the muscle fibers to relax and reabsorb the liquid. If you cut it immediately, the internal pressure will force the juices out, leaving the meat dry and stringy.
The Deep Dive
From a macro nutrition perspective, corned beef is a powerhouse of protein and B vitamins, though it is notably high in sodium due to the curing process. To balance this, ensure your braising liquid is low-sodium or homemade.
Dietary Swaps: For a Keto version, simply omit the potatoes and carrots, substituting them with cauliflower florets and radishes, which take on a potato-like texture when braised. For a Vegan alternative, use "corned" seitan or large oyster mushrooms, though the cook time will drop significantly to about 30 minutes.
The Fix-It:
- Tough Meat: If the beef is still rubbery, it simply hasn't cooked long enough for the collagen to melt. Return it to the heat for another 30 minutes.
- Too Salty: If the broth is overwhelming, add a peeled, raw potato for the last 20 minutes; it acts as a sponge for excess salt.
- Greasy Sauce: Use a fat separator or a chilled spoon to skim the rendered tallow from the surface before serving.
Meal Prep: To reheat, slice the meat cold and place it in a shallow pan with a splash of leftover broth. Cover tightly and heat at 250 degrees. This gentle "re-steaming" prevents the proteins from tightening up, maintaining that day-one quality.
The Wrap-Up
Mastering dutch oven corned beef recipes is a rite of passage for any home cook who loves comfort food with a side of science. By controlling the thermal environment and respecting the resting phase, you turn a tough cut of brisket into a buttery, melt-in-your-mouth experience. Remember to always slice against the grain and never skip the sear. Now, go forth and conquer your kitchen; your house is about to smell incredible!
The Kitchen Table
How do I make corned beef less salty?
Rinse the brisket under cold water before cooking to remove surface brine. You can also parboil the meat for ten minutes, discard that water, and then begin the actual braising process with fresh, low-sodium broth and aromatics.
Why is my corned beef tough in the Dutch oven?
Toughness usually means the connective tissue hasn't broken down. This happens if the temperature was too high, causing fibers to seize, or if it didn't cook long enough. Simmer gently until the meat reaches an internal temperature of 205 degrees Fahrenheit.
Can I overcook corned beef in a Dutch oven?
Yes. While it takes a long time, eventually the muscle fibers will completely disintegrate, leaving the meat "mushy" rather than tender. Once the meat is fork-tender and pulls apart easily, remove it from the heat immediately to stop the process.
Which cut of brisket is better for the Dutch oven?
The point cut is generally superior for braising because it has more intramuscular fat (marbling). This fat renders down during the long cook time, self-basting the meat and ensuring a much juicier, more flavorful result than the leaner flat cut.