
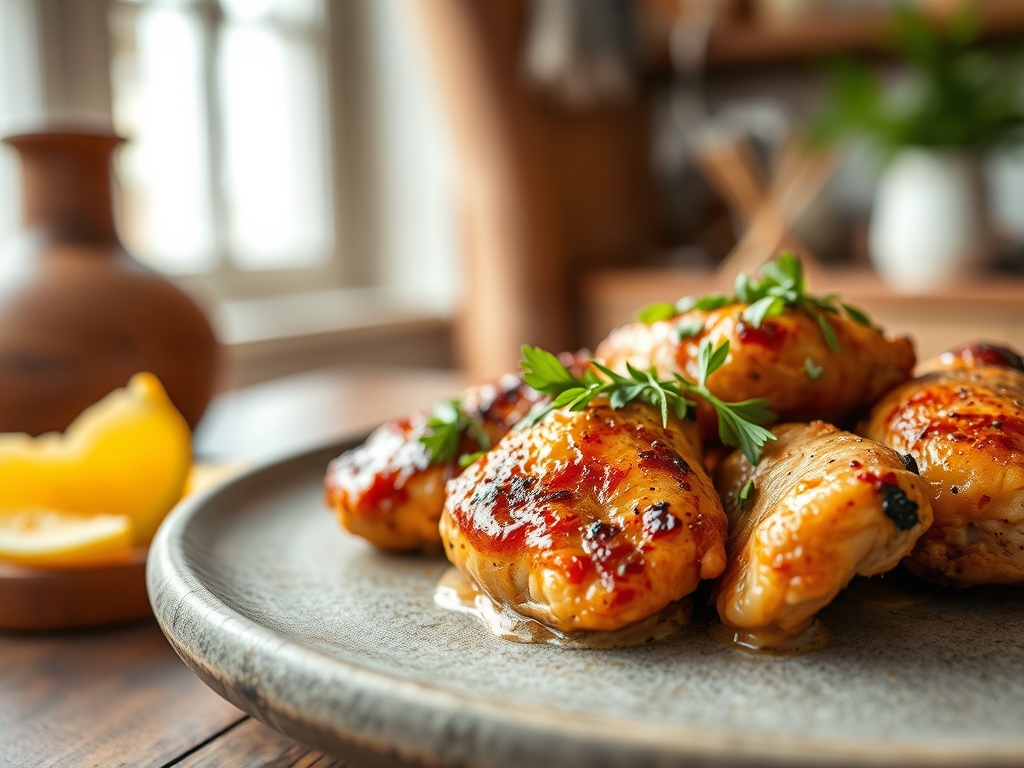
Imagine the scent of golden, toasted breadcrumbs mingling with the savory aroma of garlic and melted butter wafting through your hallway. It is the universal signal that dinner is finally under control. Finding family friendly chicken recipes that satisfy both the sophisticated palate of an adult and the selective preferences of a toddler can feel like a high-stakes chemistry experiment. We are moving past the days of dry, uninspired poultry. Instead, we are leaning into the science of moisture retention and the magic of the Maillard reaction to create meals that are high in protein, rich in texture, and devoid of the dreaded dinner table negotiations.
The secret to a successful weeknight lies in the structural integrity of your ingredients. When we talk about family friendly chicken recipes, we are looking for a balance of crunch, salt, and fat that triggers a positive sensory response. By mastering a few fundamental techniques, such as proper emulsification for sauces and controlled thermal conduction, you can turn a standard chicken breast into a culinary masterpiece that disappears in minutes. Let us dive into the laboratory of the kitchen and transform your evening routine.
The Gathers:
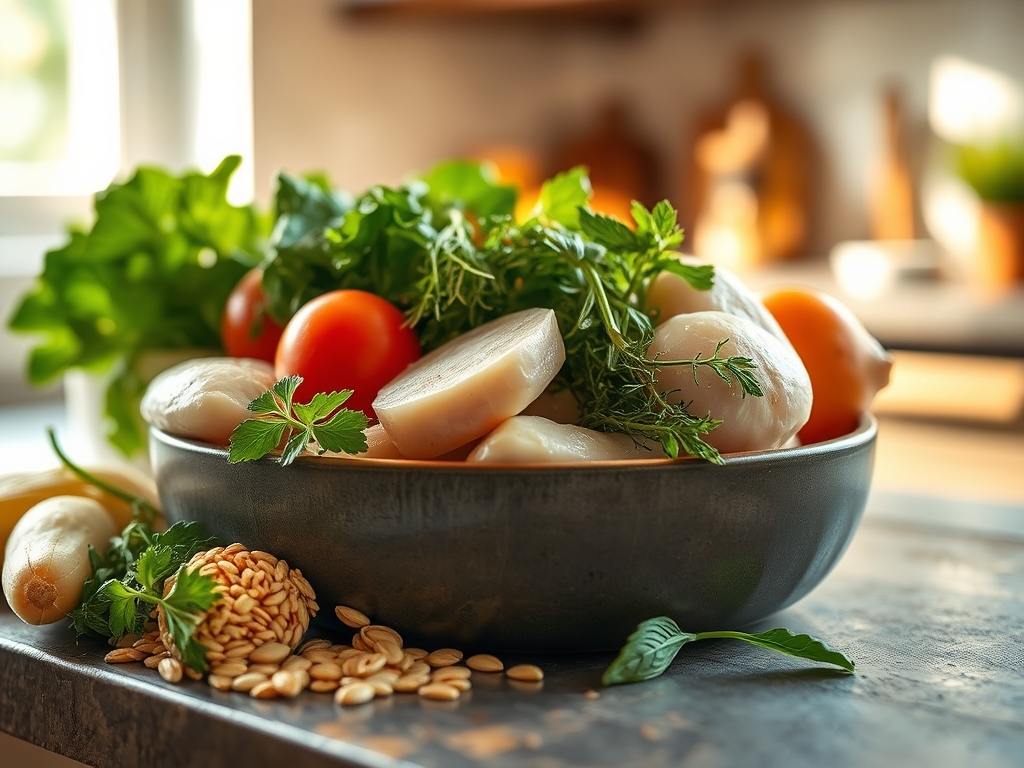
Before you ignite the burner, your mise-en-place must be flawless. Organization is the antidote to kitchen chaos. Start with high-quality poultry; look for air-chilled breasts or thighs, as they contain less retained water, allowing for better searing. You will need a viscous binder like full-fat Greek yogurt or Dijon mustard to ensure your coatings adhere. For the crunch, panko breadcrumbs are superior to traditional crumbs because their larger surface area creates more pockets for air, resulting in a lighter, crispier finish.
Your pantry should also yield aromatics like fresh garlic, which you will grate using a microplane to release the essential oils without the bitterness of large chunks. Don't forget the fats; a combination of high-smoke-point avocado oil and unsalted butter provides both the heat tolerance needed for browning and the rich mouthfeel that kids love.
Smart Substitutions:
If you are running low on traditional binders, a light coating of mayonnaise works beautifully due to its stable egg-and-oil emulsion. For a gluten-free alternative, crushed cornflakes or almond flour mixed with nutritional yeast provides a savory, nutty profile that mimics the crunch of wheat-based coatings perfectly.
The Clock
Efficiency in the kitchen is all about "Chef's Flow." This is the practice of overlapping tasks so that no second is wasted. For these family friendly chicken recipes, expect a prep time of 15 minutes and a cook time of 20 minutes.
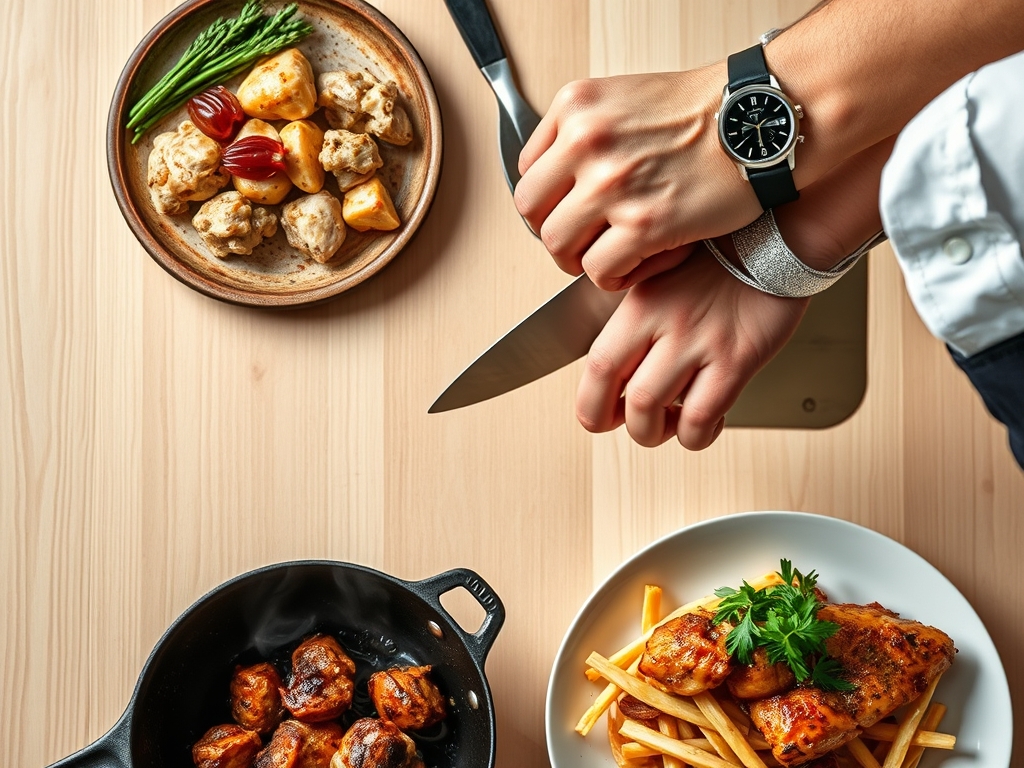
The flow begins with the protein. While your chicken tempers on the counter to lose its refrigerator chill, you should be prepping your sides. Use a bench scraper to quickly clear your cutting board of vegetable scraps. By the time your heavy-bottomed skillet is preheated, your chicken is ready for the heat. Remember, a cold pan is the enemy of a good crust. Total "table time" is roughly 40 minutes, including a mandatory five-minute rest period for the meat to allow the juices to redistribute through the muscle fibers.
The Masterclass
1. The Prep and Temper
Begin by slicing your chicken into uniform strips or medallions. Consistency in size ensures that every piece reaches the safe internal temperature of 165 degrees Fahrenheit at the exact same time. Pat the meat dry with paper towels to remove surface moisture.
Pro Tip: Removing surface moisture prevents the formation of steam. Steam acts as a thermal barrier that inhibits the Maillard reaction, the chemical process between amino acids and reducing sugars that creates the brown, savory crust we crave.
2. The Flavor Infusion
In a large bowl, whisk together your binder and spices. Use a saucier if you are preparing a warm honey-butter glaze. Ensure every piece of chicken is thoroughly coated. This layer acts as an insulator, keeping the interior meat succulent while the exterior crisps.
Pro Tip: Adding a pinch of baking soda to your breading can accelerate browning. The alkaline environment weakens the peptide bonds on the surface of the meat, allowing the browning process to start at a lower temperature.
3. The Searing Phase
Heat your skillet over medium-high heat. Add your oil and wait until it shimmers. Use tongs to place the chicken in the pan, ensuring you do not overcrowd the surface. Overcrowding drops the pan temperature and leads to boiling rather than frying.
Pro Tip: This is where thermal conduction happens. The direct contact with the hot metal transfers energy into the protein. Do not flip the chicken until it releases naturally from the pan; this indicates the crust has fully formed.
4. The Deglaze and Sauce
Once the chicken is removed, you will notice brown bits stuck to the bottom of the pan. This is "fond." Add a splash of chicken stock or lemon juice to deglaze the pan, scraping the bits up with a wooden spoon to create a quick, high-flavor pan sauce.
Pro Tip: Deglazing captures the concentrated flavors left behind after the water has evaporated. It creates a complex, savory profile that ties the entire dish together without needing heavy creams.
5. The Rest and Serve
Transfer the chicken to a wire rack rather than a flat plate. This allows air to circulate around the entire piece, preventing the bottom from becoming soggy due to trapped steam. Let it rest for at least five minutes.
Pro Tip: Carryover cooking is a real phenomenon. The internal temperature of the chicken will continue to rise by 3 to 5 degrees after being removed from the heat. Resting allows the muscle fibers to relax and reabsorb moisture.
The Deep Dive
When we look at the macro-nutrition of these family friendly chicken recipes, we are hitting the sweet spot. A standard serving provides approximately 30 grams of lean protein, 12 grams of healthy fats, and minimal carbohydrates if you opt for the almond flour coating. It is a powerhouse for growing kids who need sustained energy.
Dietary Swaps:
For a Keto-friendly version, replace breadcrumbs with crushed pork rinds or parmesan cheese. For a Vegan twist, the same techniques apply to extra-firm tofu or cauliflower steaks; just ensure you press the tofu for 30 minutes to remove excess liquid before beginning the "Masterclass" steps.
The Fix-It:
- The Coating Falls Off: This usually happens because the meat was too wet. Always pat dry before applying the binder.
- The Outside is Burnt but the Inside is Raw: Your heat is too high. Lower the flame and use a digital scale or meat thermometer to monitor progress.
- The Chicken is Rubbery: This is a sign of overcooking. Pull the chicken at 160 degrees and let carryover cooking do the rest of the work.
Meal Prep:
To maintain "day-one" quality when reheating, avoid the microwave. The microwave excites water molecules, which can turn the protein "rubbery." Instead, use an air fryer or toaster oven at 350 degrees for five minutes to re-crisp the exterior while gently warming the center.
The Wrap-Up
Mastering family friendly chicken recipes is about more than just feeding a crowd; it is about understanding the physics of the kitchen to produce consistent, joyful results. By focusing on moisture control, temperature management, and the right tools, you can turn a humble chicken breast into the highlight of your family's week. Put on your apron, grab your tongs, and let the science of deliciousness take over your kitchen tonight.
The Kitchen Table
How do I keep chicken breast from drying out?
Use a meat thermometer to pull the chicken at 160 degrees Fahrenheit. Allow it to rest for five minutes. This utilizes carryover cooking to reach the safe 165-degree mark while keeping the internal juices intact and the fibers tender.
What is the best way to get a crispy crust?
Always pat the chicken completely dry before breading. Use panko breadcrumbs for a larger surface area and ensure your pan is shimmering hot before adding the meat. This prevents steaming and encourages the Maillard reaction for maximum crunch.
Can I make these recipes ahead of time?
Yes. Bread the chicken and store it on a parchment-lined tray in the fridge for up to four hours. This actually helps the breading adhere better. For long-term storage, flash-freeze the breaded raw pieces before transferring them to a bag.
What is the healthiest oil for frying chicken?
Avocado oil is ideal because it has a high smoke point and contains heart-healthy monounsaturated fats. It won't break down or produce acrid flavors at the temperatures required to achieve a golden-brown, crispy exterior on your chicken.