
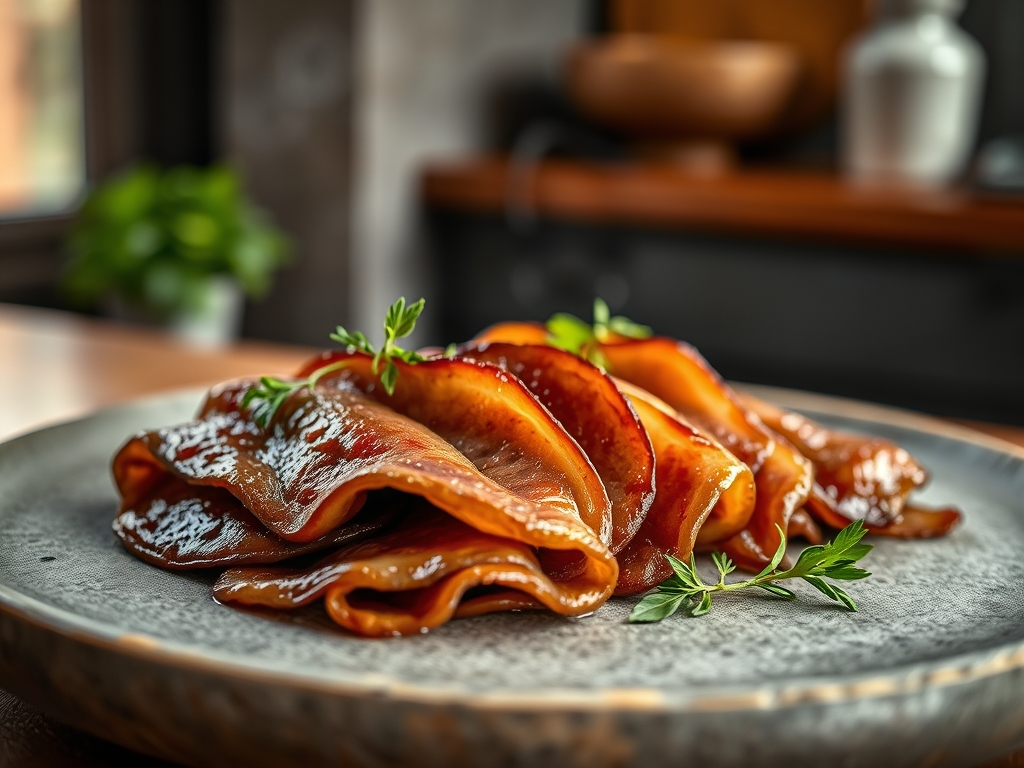
Picture this: the kitchen is humming with the sound of a heavy-bottomed skillet reaching its smoke point. You have exactly fifteen minutes before the hunger in the house turns from a low growl into a full-blown revolt. This is the precise moment where thin beef recipes become your culinary superpower. We are talking about protein that transforms from raw to perfectly seared in under ninety seconds. It is the art of the flash-sear; a high-heat dance where the Maillard reaction creates a savory crust while the interior remains succulent. Because these cuts possess a high surface-area-to-volume ratio, they absorb marinades with aggressive efficiency. You are not just making dinner; you are conducting a masterclass in thermal efficiency and flavor density. Whether you are craving a piquant Bulgogi or a classic steak sandwich, mastering these thin-cut techniques ensures you never have to choose between speed and sophistication again. Let us dive into the science of the sear and the secrets of the slice.
The Gathers:
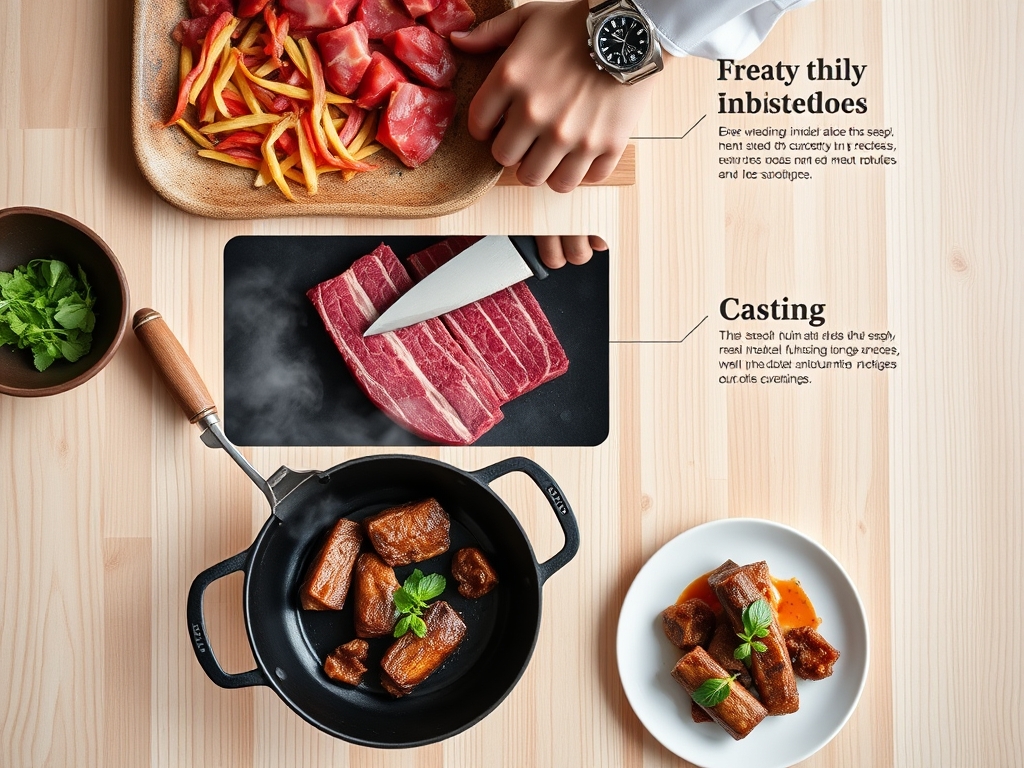
Before you even think about igniting the burner, your mise-en-place must be flawless. Thin beef recipes rely on speed, which means you cannot afford to be hunting for the microplane while your garlic is scorching. Start with your protein. Look for top round, flank, or sirloin tip sliced to a uniform 1/8-inch thickness. If you are slicing it yourself, a brief thirty-minute stint in the freezer will firm up the muscle fibers, allowing your chef knife to glide through like butter.
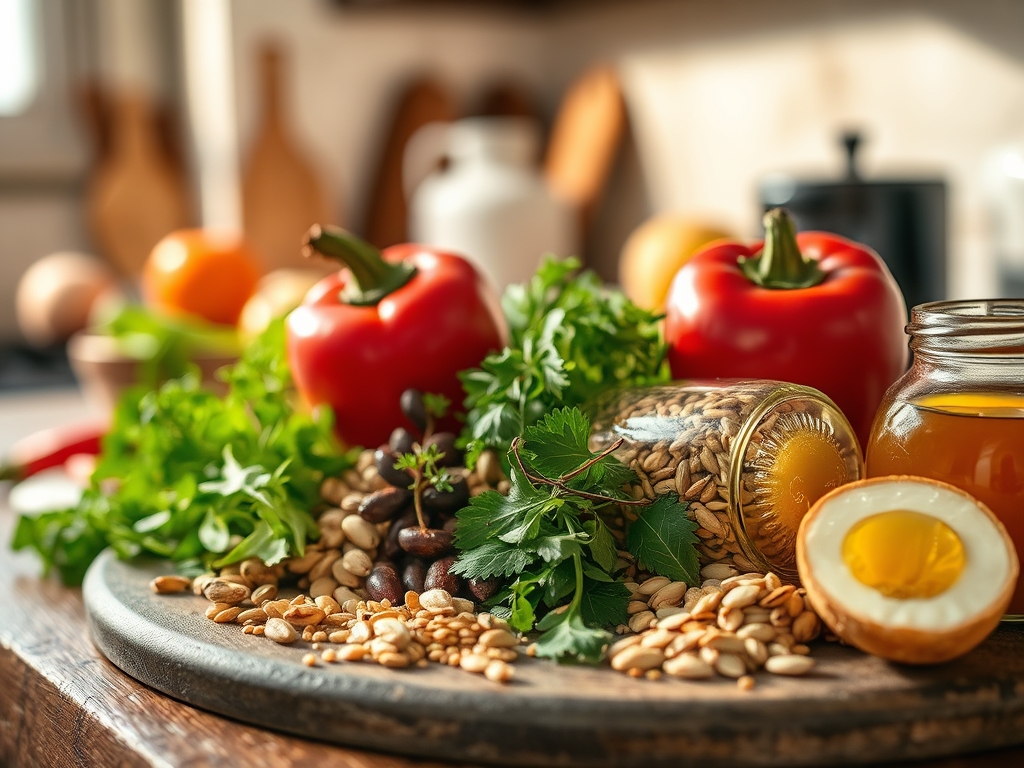
Next, gather your aromatics. You will need freshly grated ginger and garlic; use a microplane to create a fine paste that will emulsify into your sauce rather than burning in the pan. For the liquid components, keep a high-quality soy sauce, toasted sesame oil, and a piquant rice vinegar within arm's reach. Your fats are equally important. You need an oil with a high smoke point, such as avocado or grapeseed oil, to facilitate that crucial browning without the acrid taste of burnt lipids.
Smart Substitutions:
If you are avoiding soy, liquid aminos offer a similar savory profile with a lower glycemic index. For those steering clear of refined sugars in marinades, a tablespoon of grated Asian pear provides natural enzymes (calpain) that further tenderize the meat while adding a subtle, rounded sweetness. If you lack a heavy-bottomed skillet, a cast iron pan is your best friend for heat retention.
The Clock
Efficiency is the soul of this process. The "Chef's Flow" dictates that you move from the coldest ingredients to the hottest.
Prep Time: 15 Minutes. This includes the mechanical tenderizing of the meat and the precision dicing of vegetables. Do not rush the slicing; uniformity ensures that every piece of beef reaches the ideal internal temperature simultaneously.
Cook Time: 5 to 8 Minutes. Because the beef is so thin, the actual cook time is negligible. You are spending more time managing the heat of the pan than actually searing the meat.
Total Time: 23 Minutes. This is the ultimate "weeknight win." By the time your rice cooker clicks over to the "warm" setting, your beef will be resting and ready to serve.
The Masterclass
1. The Mechanical Tenderization
Lay your beef strips flat on a clean cutting board. Use a meat mallet or the back of a heavy knife to lightly score the surface. This breaks down stubborn connective tissues and increases the surface area for the marinade to penetrate.
Pro Tip: This process utilizes mechanical energy to disrupt the protein structure, ensuring the meat remains tender even when exposed to the intense, dry heat of a flash-sear.
2. The Velveting Technique
Toss your beef in a small bowl with a teaspoon of cornstarch and a splash of oil. This Chinese restaurant secret, known as velveting, creates a protective barrier that seals in juices.
Pro Tip: The starch undergoes gelatinization when it hits the heat, creating a silky mouthfeel and preventing the proteins from tightening into a "rubbery" texture.
3. Achieving the Smoke Point
Place your skillet over high heat and add your oil. Wait until the oil begins to shimmer and a faint wisp of smoke appears. This indicates the oil is hot enough to trigger the Maillard reaction instantly.
Pro Tip: If the pan is too cool, the meat will release its moisture and boil in its own juices, resulting in a grey, unappealing texture rather than a golden crust.
4. The Batch Sear
Do not overcrowd the pan. Add the beef in a single layer, leaving space between the strips. Use stainless steel tongs to flip them after only forty-five seconds.
Pro Tip: Overcrowding causes a massive drop in pan temperature, which halts the browning process and leads to "steaming" the meat.
5. Deglazing the Fond
Once the meat is removed, you will see brown bits stuck to the bottom of the pan. This is "fond." Pour in a splash of broth or rice wine and use a wooden spoon to scrape it up.
Pro Tip: Deglazing incorporates these caramelized proteins back into your sauce, adding a deep, umami complexity that cannot be replicated with seasonings alone.
6. The Emulsified Finish
Reduce the heat and whisk in your cold butter or a slurry of cornstarch and water. Stir vigorously until the sauce becomes viscous and glossy.
Pro Tip: Emulsification binds the fats and liquids together, creating a sauce that clings to the thin beef recipes rather than pooling at the bottom of the plate.
The Deep Dive
Macro Nutrition:
Thin-cut beef is a nutritional powerhouse. A standard 4-ounce serving provides approximately 25 grams of high-quality protein and is a significant source of Vitamin B12 and Zinc. By choosing lean cuts like top round, you keep the saturated fat content low while maximizing satiety.
Dietary Swaps:
- Keto: Replace sugar in marinades with monk fruit sweetener and serve over cauliflower rice.
- Gluten-Free: Use Tamari or coconut aminos instead of traditional soy sauce.
- Vegan: While this guide focuses on beef, the same "velveting" and searing techniques work beautifully with extra-firm tofu or seitan.
The Fix-It: Common Pitfalls
- The Meat is Tough: You likely sliced with the grain. Always slice perpendicular to the muscle fibers to shorten them, making the meat easier to chew.
- The Sauce is Watery: You did not allow the sauce to reduce sufficiently. Let it simmer for an extra sixty seconds to evaporate excess water.
- The Garlic is Bitter: You added it too early. Aromatics should only hit the pan for the final thirty seconds of cooking to avoid burning.
Meal Prep & Reheating:
To maintain "day-one" quality, reheat your beef in a saucier over low heat with a tablespoon of water or broth. Avoid the microwave, as it causes the proteins to contract and become rubbery. The low-and-slow approach on the stovetop gently re-hydrates the fibers.
The Wrap-Up
Mastering thin beef recipes is about more than just a quick meal; it is about understanding the physics of the kitchen. When you respect the smoke point of your oil and the grain of your meat, you elevate a simple stir-fry into a gourmet experience. These nine recipes are your foundation. Go forth, get that skillet screaming hot, and transform your weeknight routine into a series of five-star victories. Your taste buds, and your busy schedule, will thank you.
The Kitchen Table
How do I slice beef thinly at home?
Freeze the beef for 30 to 45 minutes until firm but not solid. Use a very sharp chef knife to slice against the grain. This ensures clean, uniform strips that remain tender after a high-heat sear.
What is the best cut for thin beef recipes?
Flank steak, skirt steak, and top round are ideal. These cuts have a robust flavor and a lean profile. When sliced thin and seared quickly, they offer a perfect balance of tenderness and deep, beefy umami.
Why is my thin beef always tough?
Toughness usually results from slicing with the grain or overcooking. Ensure you slice across the muscle fibers and use a high-heat, short-duration cooking method. This prevents the protein fibers from tightening and losing their internal moisture.
Can I marinate thin beef for too long?
Yes. Because the surface area is so high, acidic marinades can "cook" the meat or turn it mushy if left for more than four hours. Aim for 30 minutes to two hours for the best texture and flavor penetration.