
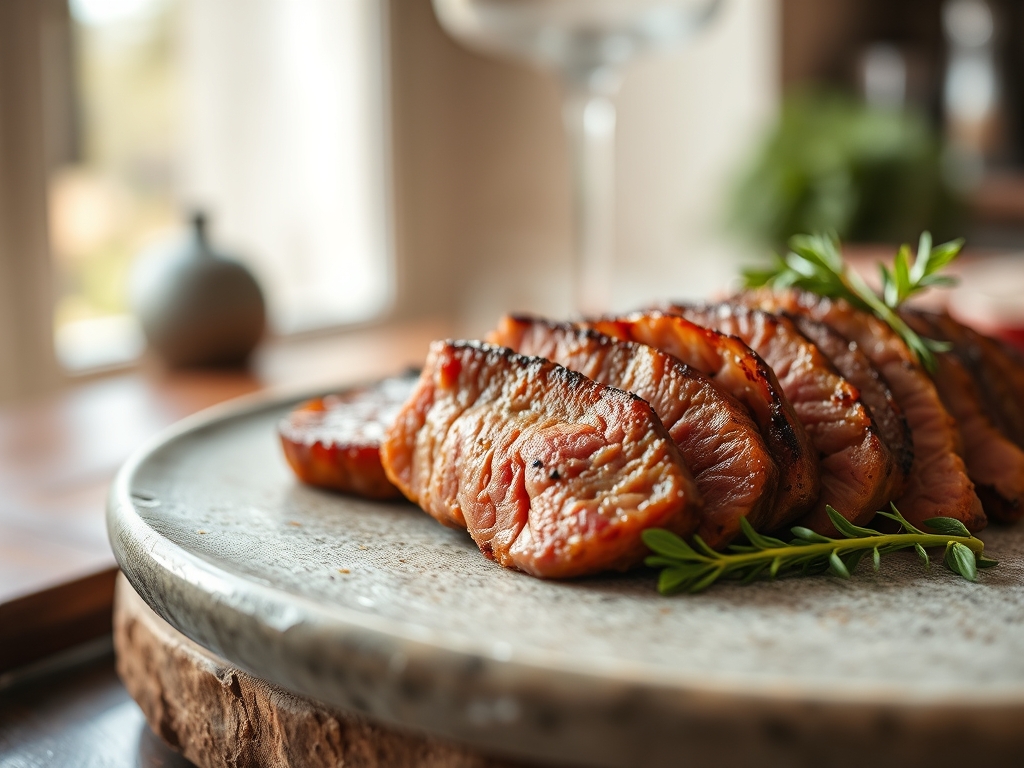
Picture this: a heavy-bottomed skillet shimmering with heat, the scent of rosemary-infused fat swirling through the air, and a crust so perfectly browned it crackles under the blade. We have all been there, staring at a dry, gray slab of meat and wondering where the magic went. The truth is that great sliced roast beef recipes are not about luck; they are about mastering the physics of protein. We are chasing that elusive edge-to-edge pink center and a savory, salt-crusted exterior that makes your mouth water before the first bite. Whether you are aiming for a towering Sunday dinner or the ultimate deli-style sandwich, the secret lies in how we manipulate moisture and heat. Forget what you thought you knew about "just putting it in the oven." We are diving into the molecular mechanics of the Maillard reaction and the structural integrity of muscle fibers to ensure every single slice is a masterpiece of succulent, savory perfection. Let us get into the kitchen and turn that raw roast into pure culinary gold.
The Gathers:
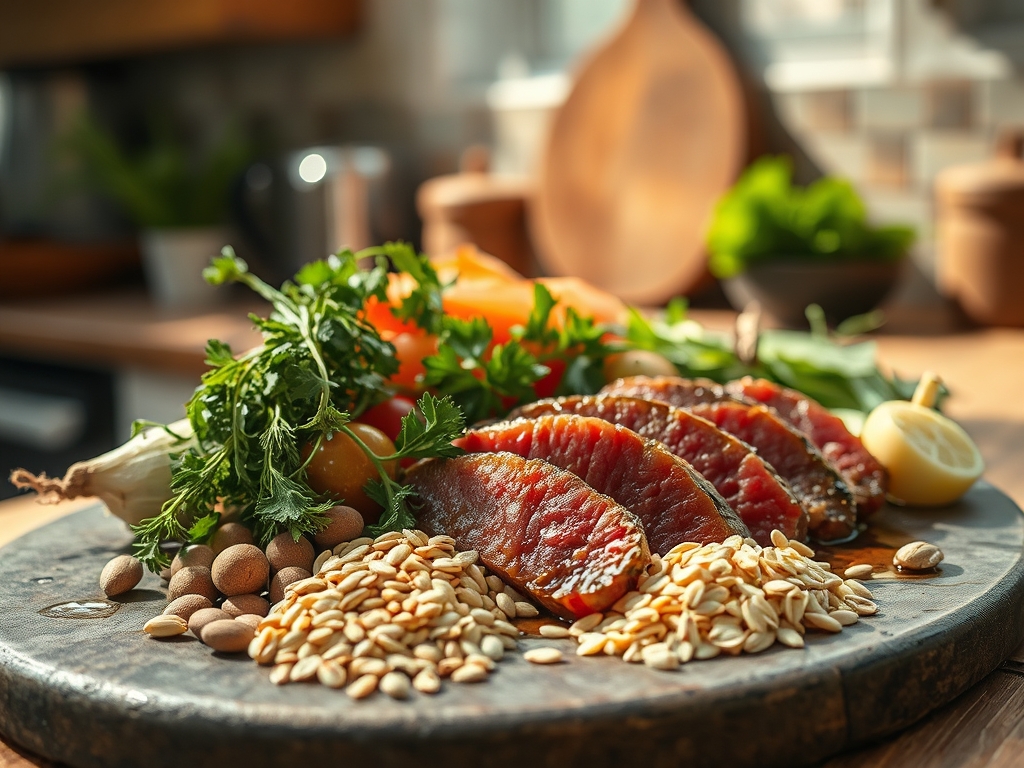
To execute these sliced roast beef recipes with precision, your mise-en-place must be impeccable. Start with a five-pound Top Round or Eye of Round roast; these lean cuts offer the uniform grain structure necessary for clean, thin slicing. You will need high-quality kosher salt, which has a larger crystal size to draw out moisture through osmosis, and freshly cracked black pepper for a piquant bite. For the aromatics, gather a whole head of garlic, sprigs of woody rosemary, and fresh thyme. The fat source is critical; use avocado oil for its high smoke point during the initial sear and unsalted European-style butter for the final basting phase.
Smart Substitutions: If you cannot find a Top Round, a Bottom Round is a sturdy alternative with a slightly deeper beefy flavor. For those avoiding dairy, replace the butter with a high-quality tallow to maintain that rich, viscous mouthfeel. If you want a deeper umami profile, a teaspoon of porcini mushroom powder mixed into your salt rub acts as a natural flavor enhancer without changing the texture of the crust.
The Clock
The "Chef's Flow" is all about managing thermal momentum. Expect to spend 20 minutes on active prep, including trimming and seasoning. The roasting process typically takes 60 to 90 minutes depending on your desired internal temperature, but the most important segment of the clock is the 30-minute rest period. Total time from fridge to table is roughly 2.5 hours. By tempering the meat at room temperature for an hour before cooking, you reduce the thermal shock, ensuring the center reaches its target temperature without the exterior becoming overcooked and fibrous.
The Masterclass
1. The Tempering Ritual
Remove your beef from the refrigerator at least sixty minutes before it hits the heat. Use a digital scale to confirm the weight so you can estimate your timing accurately. Pat the surface bone-dry with paper towels to remove any surface moisture that would otherwise impede browning.
Pro Tip: This stage is about thermal equilibrium. If the core of the meat is too cold, the exterior will overcook and turn gray before the center even begins to render its fats.
2. The Dry Brine
Generously coat the entire surface with kosher salt. Let it sit for at least thirty minutes. You will see the salt pull moisture to the surface, but eventually, that brine will be reabsorbed into the muscle fibers, seasoning the meat from the inside out.
Pro Tip: This process involves denaturing proteins. Salt breaks down the tight protein structures, allowing the meat to retain more juice during the high-heat cooking phase.
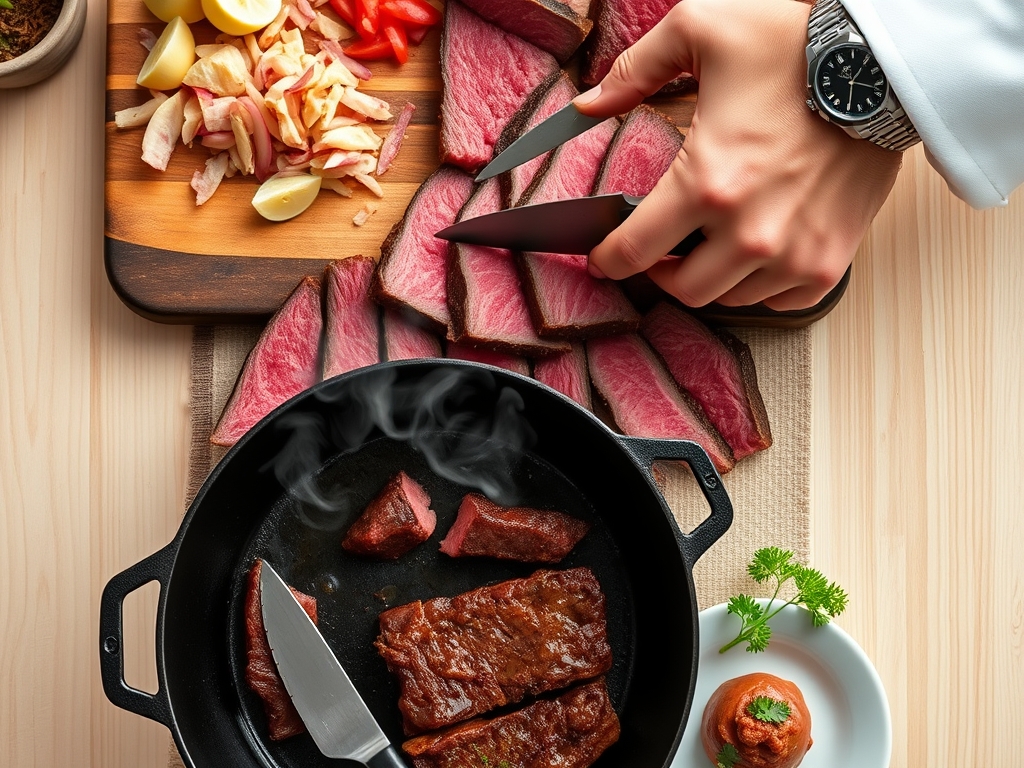
3. The High-Heat Sear
Heat your heavy-bottomed skillet until the oil just begins to smoke. Using heavy-duty tongs, sear every side of the roast for two minutes. You are looking for a deep, mahogany crust.
Pro Tip: This is the Maillard reaction. When amino acids and reducing sugars react under high heat, they create hundreds of flavor compounds that give roast beef its signature savory aroma.
4. The Aromatic Infusion
Once the sear is complete, drop the heat and add your butter, smashed garlic, and herbs to the pan. Use a large spoon or a saucier to continuously bathe the meat in the foaming, herb-scented fat.
Pro Tip: This is known as aromatic baste. Fat is a carrier for flavor; by infusing the butter with garlic and herbs, you are coating the exterior with a concentrated layer of fat-soluble flavor molecules.
5. The Low and Slow Roast
Transfer the roast to a wire rack set over a baking sheet. This allows for 360-degree air circulation. Place it in a 275-degree Fahrenheit oven. Monitor the internal temperature constantly using a probe thermometer.
Pro Tip: Low-temperature roasting prevents myofibrillar shrinkage. Rapid heat causes muscle fibers to contract violently, squeezing out all the moisture; slow heat keeps them relaxed and juicy.
6. The Carryover Calculation
Pull the roast from the oven when it is 5 to 7 degrees below your target final temperature. For medium-rare, pull at 125 degrees Fahrenheit.
Pro Tip: This is thermal carryover. The residual heat on the surface of the meat continues to travel inward even after the roast is removed from the oven, raising the core temperature significantly.
7. The Essential Rest
Place the roast on a warm cutting board and tent it loosely with foil. Let it rest for a minimum of twenty minutes. This is the hardest part, but it is the most critical for success.
Pro Tip: During the rest, the viscosity of the juices increases. As the meat cools slightly, the muscle fibers relax and reabsorb the liquid, ensuring that the juice stays in the meat rather than running out onto the board.
8. The Grain Inspection
Identify the direction of the muscle fibers. You want to slice perpendicular to these lines. Use a sharp carving knife or a deli slicer for the most consistent results.
Pro Tip: Slicing against the grain mechanically shortens the muscle fibers. This makes the meat feel significantly more tender in the mouth because your teeth have less structural work to do.
9. The Thin-Slice Technique
Aim for slices that are roughly 1/8th of an inch thick. Use a steady, sawing motion rather than pressing down hard, which can crush the delicate internal structure.
Pro Tip: Thin slicing increases the surface area to volume ratio. This allows more of the seasoned crust to hit your taste buds in every bite, maximizing the flavor impact of the roast.
10. The Final Seasoning
Just before serving, sprinkle the slices with a touch of Maldon sea salt or a drizzle of the reserved pan juices. This brightens the flavor and adds a final textural crunch.
Pro Tip: This is a palate stimulant. The hit of surface salt triggers salivation, which helps distribute the savory flavors across your tongue more effectively.
The Deep Dive
From a macro perspective, sliced roast beef is a nutritional powerhouse. It is exceptionally high in bioavailable iron, B12, and zinc. A standard four-ounce serving provides roughly 30 grams of protein with minimal carbohydrates, making it a staple for keto and paleo lifestyles. For a vegan alternative, seitan can be treated with a similar dry-rub and sear technique to mimic the texture, though the internal chemistry differs.
The Fix-It: If your beef is tough, it likely didn't rest long enough or was sliced with the grain; fix this by slicing the remaining meat as thin as possible to break up the fibers. If the exterior is burnt but the inside is raw, your sear was too hot; finish it in a lower oven (225 degrees) to save the center. If the meat is gray all the way through, you overshot the temperature; serve it with a rich, fatty horseradish cream to add back the missing moisture.
Meal Prep: To reheat without losing quality, avoid the microwave. Instead, wrap slices in foil with a tablespoon of beef broth and warm in a 300-degree oven for ten minutes. This creates a small steam chamber that rehydrates the proteins without overcooking them.
The Wrap-Up
Mastering sliced roast beef recipes is like learning a new language; once you understand the grammar of heat and the vocabulary of seasoning, you can create anything. This isn't just about making dinner; it is about the confidence that comes from knowing exactly how to handle a premium cut of meat. Go forth, grab your digital thermometer, and turn your kitchen into a high-end rotisserie. Your sandwiches will never be the same!
The Kitchen Table
How do I get my roast beef pink in the middle?
Use a digital thermometer and pull the meat at 125 degrees Fahrenheit. Low-temperature roasting at 275 degrees ensures even heat distribution, preventing the dreaded gray ring and keeping the center perfectly medium-rare through thermal carryover.
What is the best cut for thin-sliced roast beef?
Top Round or Eye of Round are the gold standards. They are lean, affordable, and have a consistent grain that makes them easy to slice thinly for sandwiches or platters without falling apart or being overly fatty.
Why is my roast beef tough even when pink?
You likely sliced with the grain instead of against it. Always look for the direction of the muscle fibers and cut perpendicular to them. This mechanically shortens the fibers, making every bite tender and easy to chew.
Can I cook roast beef ahead of time?
Yes, it is actually easier to slice when cold. Cook and rest the roast, then refrigerate it whole. Use a sharp knife or meat slicer to shave it thin the next day for the best "deli-style" texture and flavor.