
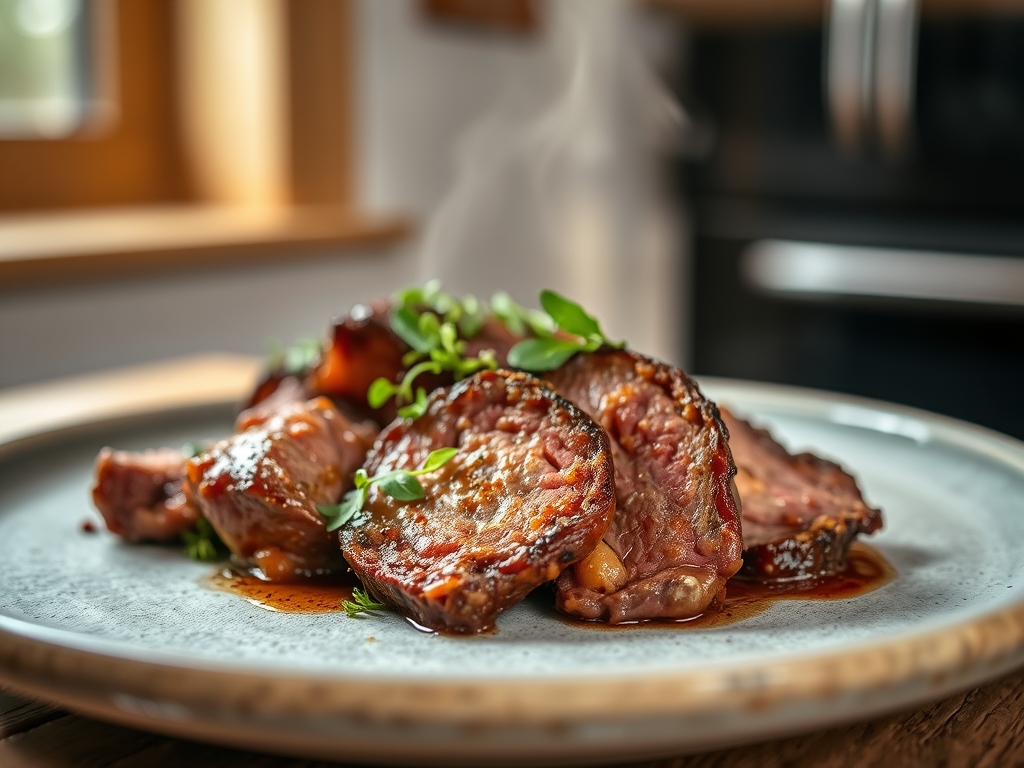
The scent of Sunday dinner usually lingers in the best way possible; a heady mix of rosemary, garlic, and that deep, mineral richness of seared protein. However, by Monday morning, that expensive cut of meat often sits in a plastic container looking tragically uninspired. You do not need a microwave to ruin your hard work. Instead, you need a strategy for leftover cooked roast beef recipes that treats the meat as a premium ingredient rather than an afterthought. We are going to transform those chilled slices into masterpieces that actually rival the original roast through clever re-thermalization and flavor layering.
Imagine the transformation of cold, dense muscle fibers into silky, melt-in-your-mouth textures. When beef cools, the fats congeal and the collagen tightens. Our mission is to gently coax those lipids back into a liquid state without overcooking the delicate proteins. Whether you are craving a piquant Thai-inspired salad or a decadent French dip, the key is understanding the molecular structure of your leftovers. By the time we are finished, your family will be asking you to make extra roast just so they can have the "sequel" meals.
The Gathers:
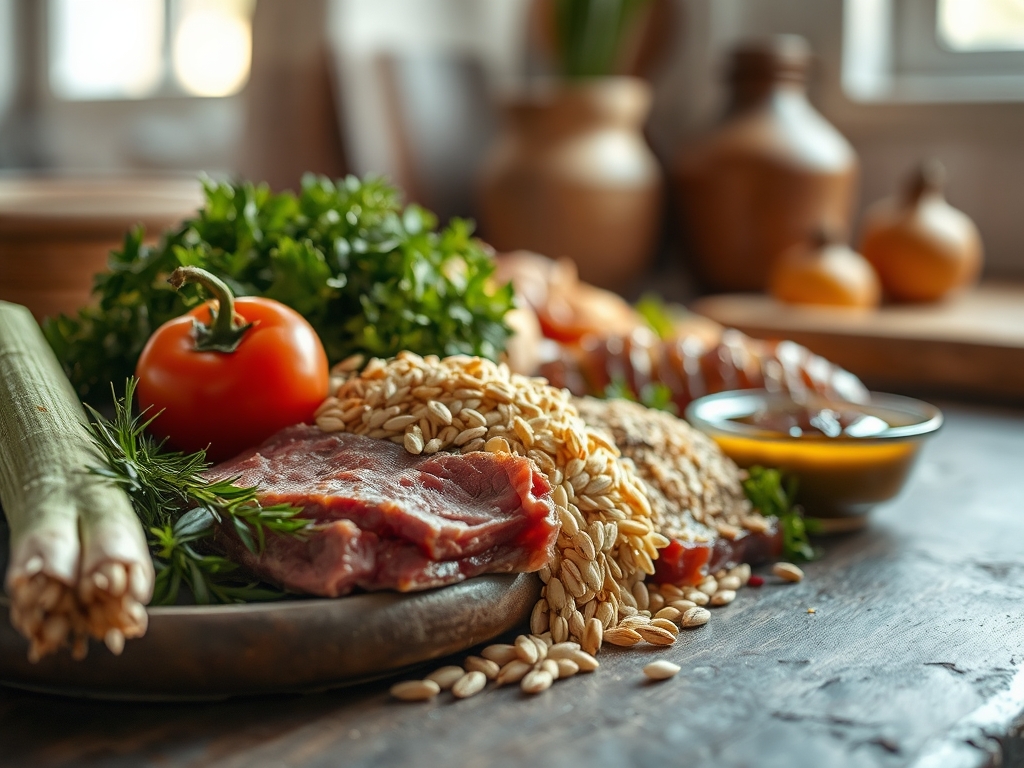
To execute these leftover cooked roast beef recipes with precision, your mise-en-place must be impeccable. Start with your primary protein: approximately one to two pounds of roast beef, ideally sliced against the grain to shorten the muscle fibers for maximum tenderness. You will need a heavy-bottomed skillet to ensure even heat distribution and a saucier for any liquid-based re-heating.
For the aromatic base, gather shallots, fresh ginger, and garlic. We want to achieve a viscous sauce consistency, so keep some high-quality beef bone broth and unsalted butter nearby. For acidity, grab a bottle of balsamic vinegar or fresh limes to provide a piquant counterpoint to the heavy fats.
Smart Substitutions: If you lack a traditional roast, these techniques work beautifully with thick-cut deli roast beef or even grilled steak. If you are avoiding dairy, swap the butter for a high-smoke-point avocado oil to maintain the integrity of your sear. For a gluten-free approach, replace flour-based thickeners with a cornstarch slurry or a reduction of heavy cream.
The Clock:
Efficiency in the kitchen is all about the Chef's Flow. This is the art of overlapping tasks so that no second is wasted. For these recipes, the active prep time is roughly 15 minutes, with a cook time of 10 to 20 minutes depending on the dish.
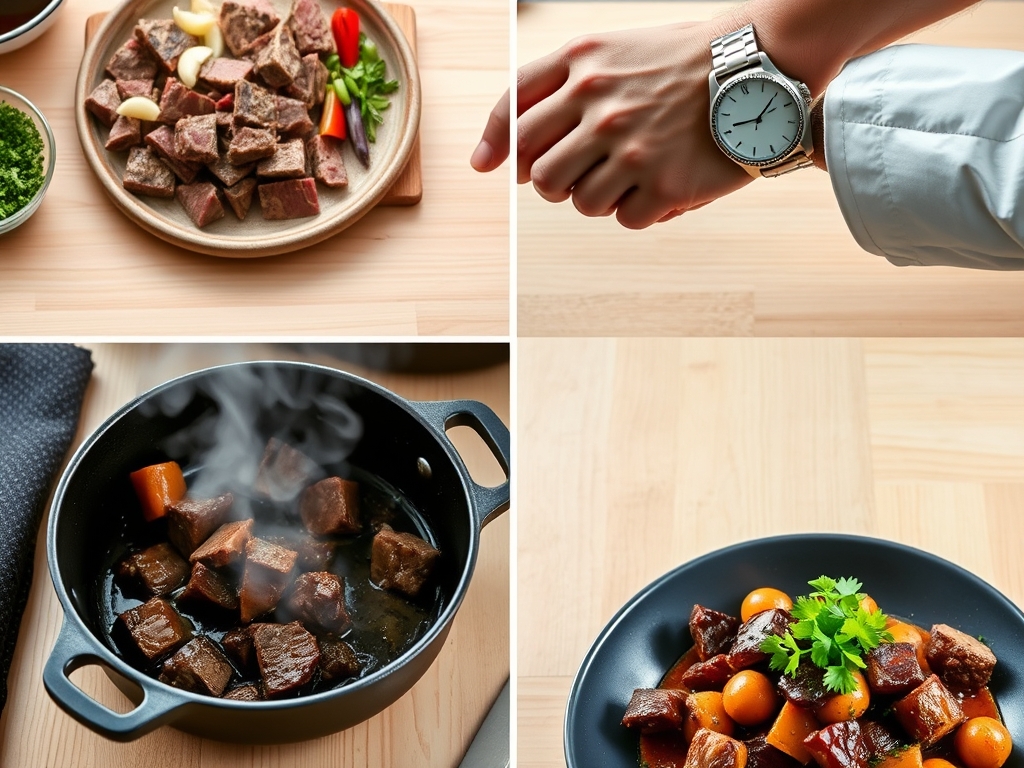
The flow begins with the "Cold Cut." It is significantly easier to slice beef into thin ribbons or cubes while it is still cold from the refrigerator. Once sliced, allow the meat to sit at room temperature for 10 minutes. This prevents "thermal shock," where cold meat hits a hot pan and toughens instantly. While the meat tempers, use your bench scraper to organize your chopped aromatics. This sequence ensures that by the time your skillet is shimmering, every component is ready for its high-heat debut.
The Masterclass:
1. The Precision Slice
Before you even turn on the stove, you must respect the grain. Use a sharp carving knife to cut the beef into paper-thin slices. Note the texture in the step-by-step photos; thin slices allow for rapid heat penetration without drying out the center.
Pro Tip: This is about surface area. Increasing the surface area allows for more Maillard reaction (browning) to occur during the second cook, which re-introduces the savory complexity lost during refrigeration.
2. The Gentle Re-Hydration
Place your beef in a saucier with three tablespoons of bone broth. Cover and heat over the lowest possible setting. We are looking for a gentle steam rather than a vigorous boil.
Pro Tip: This technique utilizes latent heat. By using steam to warm the meat, you prevent the internal temperature from exceeding 140 degrees Fahrenheit, which is the "danger zone" where proteins begin to contract and squeeze out moisture.
3. Deglazing the Fond
Once the meat is warm, remove it and crank the heat. Add a splash of red wine or balsamic to the pan. Use a wooden spoon to scrape up the brown bits (the fond) left behind.
Pro Tip: Deglazing creates a chemical bridge between the caramelized sugars in the pan and the new sauce. This ensures your leftover dish has the same "depth of floor" as a slow-cooked meal.
4. Emulsifying the Sauce
Whisk in cold cubes of butter or a dollop of Greek yogurt into your reduction. Move the pan in a circular motion to emulsify the fats into the liquid.
Pro Tip: Emulsification creates a protective coating around the beef fibers. This fat barrier mimics the juiciness of a freshly roasted prime rib, even if the meat was originally a leaner cut like eye of round.
5. The Aromatic Infusion
Add your fresh herbs (thyme, rosemary, or cilantro) at the very last second. Use a microplane to zest a bit of lemon or lime over the top for a bright finish.
Pro Tip: Volatile aromatic oils dissipate quickly under heat. Adding herbs at the end ensures the "nose" of the dish is fresh and vibrant, masking any "reheated" odors.
6. The Final Rest
Even though the meat is technically already cooked, let the finished dish sit for three minutes before serving. This allows the sauce to become more viscous and adhere to the beef.
Pro Tip: This rest period allows for hydrostatic equilibrium. The moisture in the sauce moves into the slightly dehydrated outer layers of the beef, resulting in a more uniform texture.
The Deep Dive:
Macro Nutrition: Leftover roast beef is a protein powerhouse, typically offering 25 to 30 grams of protein per 4-ounce serving. It is rich in bioavailable iron and B12. To keep the macros balanced, pair your beef with complex carbohydrates like quinoa or roasted root vegetables.
Dietary Swaps:
- Keto: Serve the beef over a bed of sautéed spinach with a heavy cream reduction.
- Vegan/Vegetarian: If you are cooking for a mixed crowd, use king oyster mushrooms sliced thin as a "beef" substitute; they share a similar umami profile.
- Gluten-Free: Always check your beef broth labels for hidden yeast extracts or malt.
The Fix-It:
- Problem: The meat is tough. Fix: Simmer it in a slightly acidic liquid (like tomato sauce or broth with a teaspoon of vinegar) for 10 minutes to break down the tightened fibers.
- Problem: The dish is too salty. Fix: Add a splash of heavy cream or a squeeze of honey. Fat and sugar neutralize the perception of salt on the tongue.
- Problem: The meat looks grey. Fix: Flash-sear the beef in a very hot pan with a touch of sugar or balsamic to encourage rapid browning.
Meal Prep Science: For "day-one" quality, store your leftover roast beef in an airtight container with a small amount of its original juices. This prevents the air from oxidizing the fats, which is what causes that "stale" refrigerator taste.
The Wrap-Up:
Transforming your roast beef is not just about avoiding waste; it is about culinary evolution. By mastering the science of re-heating and flavor layering, you turn a Tuesday night dinner into a gourmet experience. Remember to use your heavy-bottomed skillet for even browning and never skip the deglazing step. Your leftovers have the potential to be the star of the week, so grab your tongs and get creative. Cooking is a laboratory, and you are the lead scientist.
The Kitchen Table:
How long is leftover roast beef safe to eat?
Properly refrigerated roast beef is safe for three to four days. Ensure it is stored in an airtight container at or below 40 degrees Fahrenheit to prevent bacterial growth and maintain the integrity of the protein.
Can I freeze leftover cooked roast beef?
Yes, you can freeze it for up to three months. For the best results, vacuum seal the meat to prevent freezer burn and oxidation, which can compromise the texture and flavor of the beef.
What is the best way to reheat beef without it getting tough?
The "low and slow" method is best. Place the beef in a covered dish with a splash of broth and heat in the oven at 250 degrees Fahrenheit until just warmed through to preserve moisture.
How do I slice leftover beef for sandwiches?
Always slice the beef while it is cold. Use a very sharp knife and cut against the grain into thin, consistent ribbons. This ensures the meat remains tender and easy to bite through in a sandwich.