
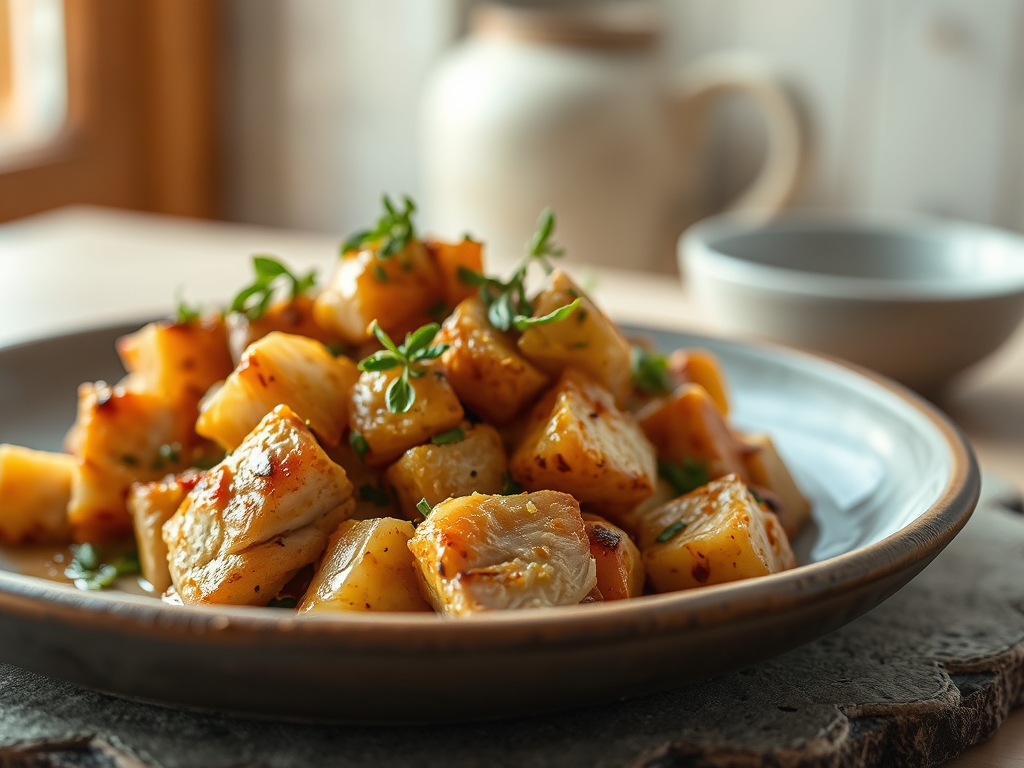
Picture the sizzle of a heavy-bottomed skillet as cold protein meets a shimmering layer of fat. The kitchen fills with the scent of caramelizing sugars and savory aromatics. When you master cubed chicken recipes, you unlock the secret to high-speed gourmet dining. These bite-sized gems offer maximum surface area for the Maillard reaction, ensuring every morsel is packed with flavor.
Whether you are craving a piquant Thai curry or a classic Mediterranean sauté, the versatility of the cube is unmatched. It is the ultimate canvas for culinary experimentation. By cutting the meat into uniform one-inch pieces, you ensure that every piece cooks at the exact same rate. This prevents the dreaded combination of overcooked, rubbery edges and raw centers. We are moving beyond the boring, dry breast. We are aiming for succulent, golden-brown perfection that drips with juice.
In this guide, we will explore eight transformative ways to elevate your weeknight routine. From velveted stir-fries to air-fried "nuggets" that rival any gastropub, these techniques focus on texture and moisture retention. Grab your favorite chef's knife and a sturdy cutting board; it is time to turn a humble pack of poultry into a series of five-star meals.
The Gathers:
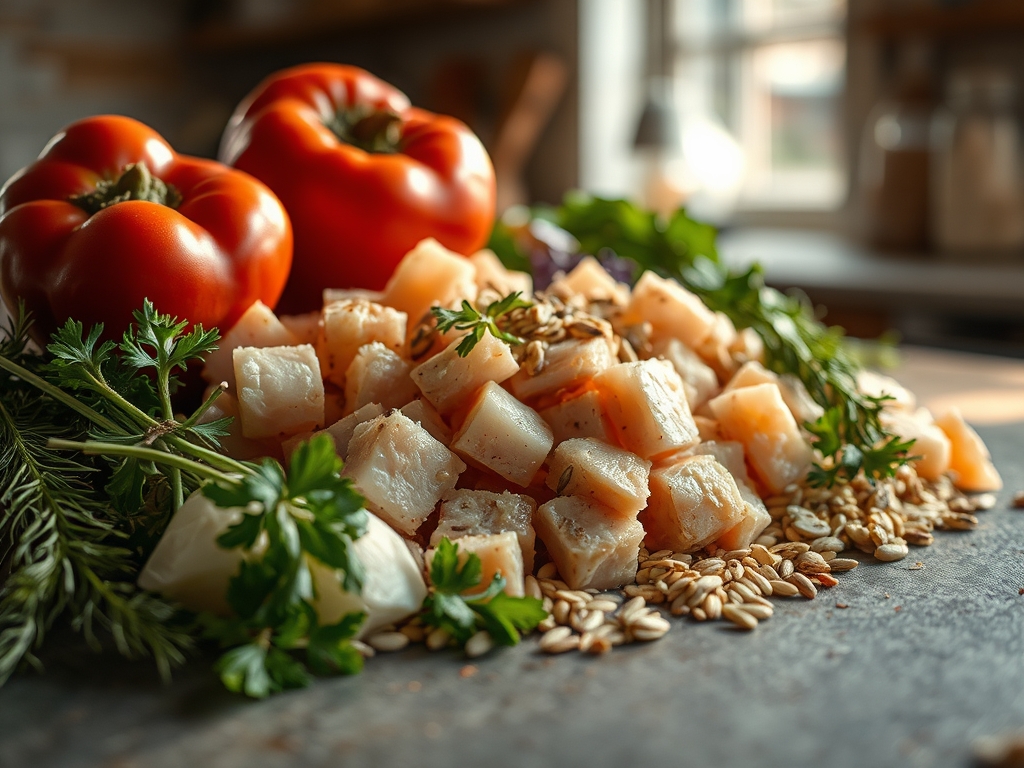
Before the heat is even a thought, your mise-en-place must be flawless. Professional kitchens rely on organization to prevent the "panic-sear" where garlic burns while you are still chopping onions. For the best cubed chicken recipes, start with high-quality poultry. Organic, air-chilled chicken breast or thigh meat provides a cleaner flavor profile and less water shrinkage during the cooking process. Use a digital scale to ensure your portions are consistent, typically aiming for 1.5-pound batches for optimal pan crowding.
Your secondary ingredients should include high-smoke-point fats like avocado oil or clarified butter (ghee). Avoid extra virgin olive oil for high-heat searing, as its low smoke point can create bitter, acrid notes. You will also need a viscous binder if you are coating the meat; think Greek yogurt for Mediterranean styles or egg whites for Asian-inspired velveting. Fresh aromatics like ginger, garlic, and shallots should be prepped using a microplane to create a fine paste that infuses the oil without burning.
Smart Substitutions:
If you are out of fresh aromatics, use a 1:3 ratio of dried spices to fresh. If a recipe calls for cornstarch to thicken a sauce, arrowroot powder is a fantastic gluten-free alternative that maintains a glossy sheen. For those avoiding dairy, full-fat coconut milk provides the necessary lipids to emulsify a rich, velvety sauce without the need for heavy cream.
The Clock
The "Chef's Flow" is all about timing. Preparing cubed chicken recipes is a sprint, not a marathon. Total preparation time usually clocks in at 15 minutes, while the active cooking time is a mere 8 to 12 minutes. The secret is the "Rest and Prep" cycle. While your chicken rests for five minutes after being cubed (allowing the proteins to relax), you should be whisking your sauces or chopping your greens.
Total time from fridge to table should never exceed 30 minutes. The goal is to minimize the time the chicken spends in the "Danger Zone" (40°F to 140°F) while maximizing the time spent in the "Searing Zone" above 300°F. By having your saucier and tongs ready before the first cube hits the pan, you maintain a seamless transition from searing to deglazing.
The Masterclass
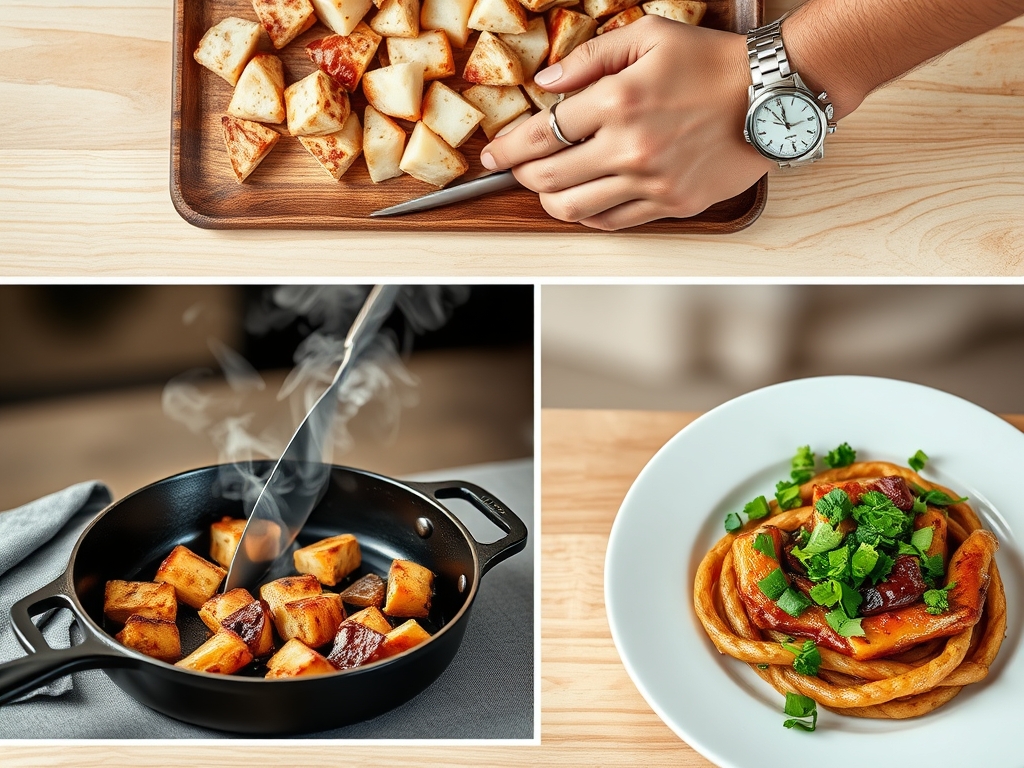
1. The Precision Cut and Dry
Use a sharp chef's knife to slice the chicken into uniform one-inch cubes. Once cut, pat the meat thoroughly dry with paper towels. Moisture is the enemy of the sear; if the surface is wet, the chicken will steam rather than brown.
Pro Tip: This prevents the "steaming effect." When water on the surface of the meat hits the hot oil, it turns to steam, keeping the temperature at 212°F and preventing the Maillard reaction, which requires temperatures above 285°F.
2. The Seasoning Saturation
Toss your cubes in a bowl with salt, pepper, and a light coating of cornstarch or flour. This creates a thin barrier that protects the delicate proteins from direct, harsh heat while providing extra surface area for browning.
Pro Tip: This is known as dry-brining. Salt denatures the meat's proteins, allowing them to retain more moisture during the cooking process, resulting in a juicier final product.
3. The High-Heat Sear
Heat your skillet until the oil shimmering. Add the chicken in a single layer, ensuring no two pieces are touching. Leave them undisturbed for at least two minutes to develop a deep, golden crust.
Pro Tip: Use a heavy-bottomed skillet for thermal mass. A heavy pan retains heat better when cold meat is added, preventing the temperature drop that leads to tough, grey chicken.
4. The Flip and Finish
Use tongs to flip each cube individually. Cook for another two minutes until the internal temperature reaches 160°F. The temperature will continue to rise to the safe 165°F during the resting phase.
Pro Tip: This accounts for thermal carryover. Heat moves from the exterior of the meat to the center even after it is removed from the heat source. Pulling it early prevents overcooking.
5. The Deglaze and Emulsify
Remove the chicken and add a liquid like chicken stock, wine, or citrus juice to the pan. Use a wooden spoon to scrape up the browned bits (the fond) from the bottom of the pan.
Pro Tip: The fond is a concentrated source of umami. Deglazing incorporates these caramelized proteins back into your sauce, creating a complex, layered flavor profile.
6. The Aromatic Infusion
Lower the heat and add your "soft" aromatics like butter, fresh herbs, or minced garlic. Swirl the pan constantly to create a smooth, glossy emulsion.
Pro Tip: This is the monter au beurre technique. By whisking cold butter into a hot liquid, you create a stable emulsion that coats the chicken beautifully without breaking into a greasy mess.
7. The Final Toss
Return the chicken to the pan and toss it through the sauce for 30 seconds. This ensures every cube is glazed and reheated without losing its crispy exterior.
Pro Tip: This step utilizes surface tension. The starch from the initial coating helps the sauce "cling" to the meat, ensuring every bite is flavorful.
8. The Rest and Garnish
Transfer to a warm plate and let the chicken sit for three minutes. Finish with a pop of acidity like lemon zest or fresh parsley to brighten the heavy fats.
Pro Tip: Resting allows the muscle fibers to reabsorb juices. If you cut or eat into it immediately, the pressurized juices will leak out, leaving the meat dry.
The Deep Dive
From a nutritional standpoint, cubed chicken recipes are a powerhouse. A standard 4-ounce serving provides roughly 26 grams of lean protein with minimal fat, especially if using breast meat. For those on a Keto diet, swap the cornstarch for almond flour and increase the healthy fats like avocado oil. Vegan friends can follow these exact techniques using extra-firm tofu or seitan; just ensure you press the tofu for 20 minutes to achieve the same sear.
The Fix-It:
- Rubbery Texture: You likely overcrowded the pan. Cook in batches next time to maintain high heat.
- Bland Flavor: You didn't season the meat before it hit the pan. Salt the chicken directly, not just the sauce.
- Burnt Garlic: Add aromatics at the very end. Garlic burns in seconds at searing temperatures.
Meal Prep Science: To maintain "day-one" quality when reheating, avoid the microwave. Reheat the chicken in a skillet with a tablespoon of water or stock over medium heat. This creates a mini-steaming environment that refreshes the moisture without toughening the proteins.
The Wrap-Up
Mastering cubed chicken recipes is like having a superpower in the kitchen. It is the bridge between a hectic workday and a sophisticated, home-cooked meal. By focusing on the science of the sear and the art of the emulsion, you transform basic ingredients into something spectacular. Remember; keep your pan hot, your meat dry, and your aromatics fresh. Now, go forth and sauté with confidence!
The Kitchen Table
How do I keep cubed chicken from getting tough?
Avoid overcrowding the pan and use a meat thermometer. Pull the chicken off the heat at 160°F to allow for carryover cooking. This ensures the fibers remain tender rather than tightening into a rubbery texture.
Can I use frozen chicken for these recipes?
Yes, but it must be fully thawed and patted dry. Frozen chicken contains excess moisture that will prevent a proper sear. Thaw it overnight in the fridge for the best structural integrity of the meat.
What is the best oil for searing chicken?
Use oils with a high smoke point like avocado, grapeseed, or canola oil. These fats can withstand the 400°F+ temperatures required for the Maillard reaction without breaking down and becoming bitter or smoky.
How long does cooked cubed chicken last in the fridge?
When stored in an airtight container, it stays fresh for three to four days. For the best texture, reheat it gently on the stovetop rather than using a microwave to prevent the protein from becoming "bouncy."