
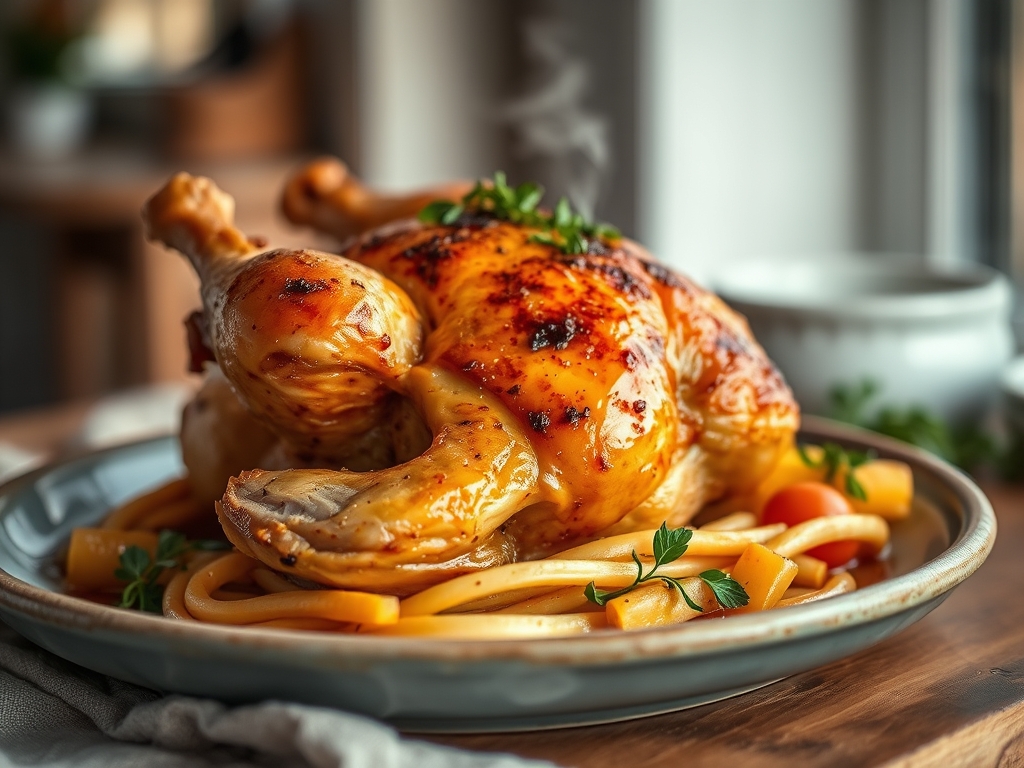
Picture the scene: your kitchen is filled with the scent of rosemary and rendered fat while the oven hums a low, comforting tune. There is something deeply primal and satisfying about mastering whole chicken recipes oven baked to a state of shatteringly crisp perfection. It is the ultimate flex for any home cook; it signals that you understand the delicate balance between high heat and moisture retention. We are moving beyond the soggy, pale skin of mediocre roasts. Instead, we are aiming for a mahogany finish that crackles under your knife while the meat beneath remains impossibly succulent. This is not just dinner; it is a lesson in thermodynamics and the beautiful chemistry of the Maillard reaction. By the time we are done, you will treat every bird like a blank canvas for flavor and texture.
The Gathers:
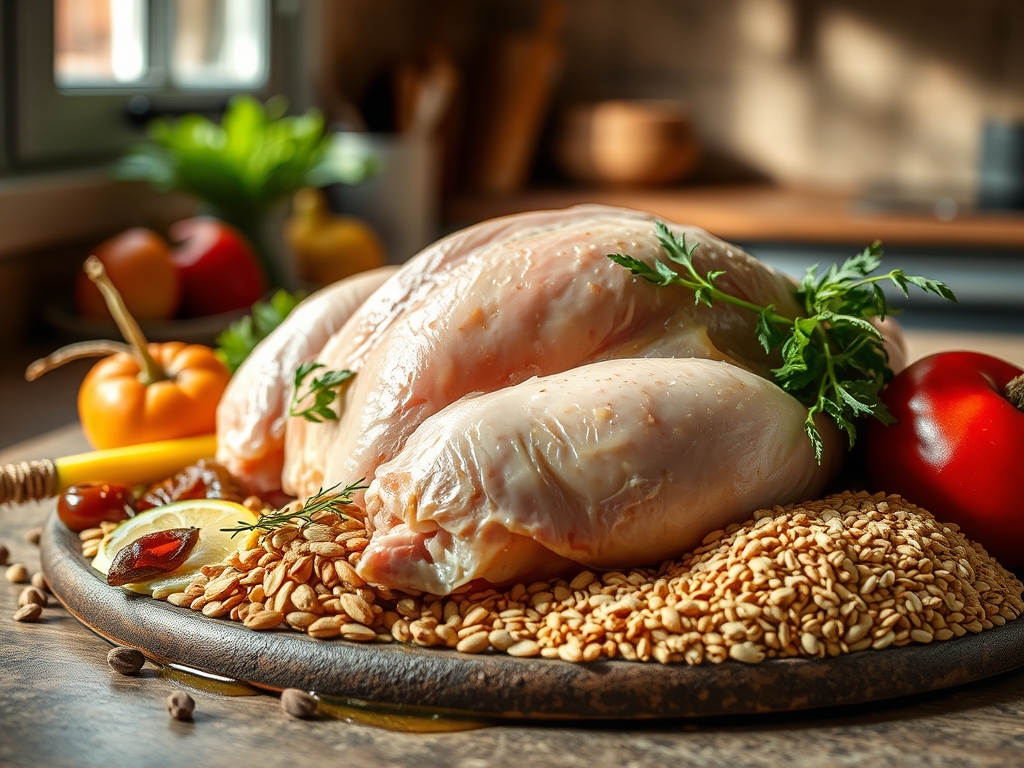
To achieve a masterpiece, your mise-en-place must be intentional. Start with a four to five pound bird, ideally air-dried. Air-dried poultry has a lower water content in the skin, which allows for faster dehydration and crisping during the roasting process. You will need high-quality kosher salt; the coarse grains are essential for denaturing the proteins and drawing out excess moisture.
Next, assemble your fats and aromatics. Reach for unsalted butter or avocado oil for their high smoke points. You will need a microplane to zest lemons and grate fresh garlic into a fine paste. This ensures the aromatics are evenly distributed and do not burn in large chunks. Grab a handful of woody herbs like thyme and rosemary. These contain essential oils that infuse the fat as it renders.
Smart Substitutions:
If you are out of butter, duck fat is a professional-grade alternative that offers a deeper, more savory profile. For those avoiding nightshades, swap paprika for ground turmeric and a touch of cumin to achieve that golden hue without the heat. If you lack a roasting rack, a bed of thick-cut root vegetables works beautifully; they elevate the bird while soaking up the viscous drippings.
The Clock
The "Chef's Flow" is all about managing your thermal momentum. Total preparation takes roughly 20 minutes, but the real magic happens during the "dry brine" phase. Ideally, you should salt your bird 24 hours in advance. This gives the salt time to penetrate the muscle fibers via osmosis.
The actual cooking time typically ranges from 60 to 75 minutes at 425 degrees Fahrenheit. However, you must account for the 15 to 20 minute rest period. Resting is non-negotiable. It allows the internal pressure to stabilize and the juices to redistribute. If you carve too early, the liquid escapes and you are left with dry fibers. Your total commitment is about two hours from fridge to table, but the active work is minimal.
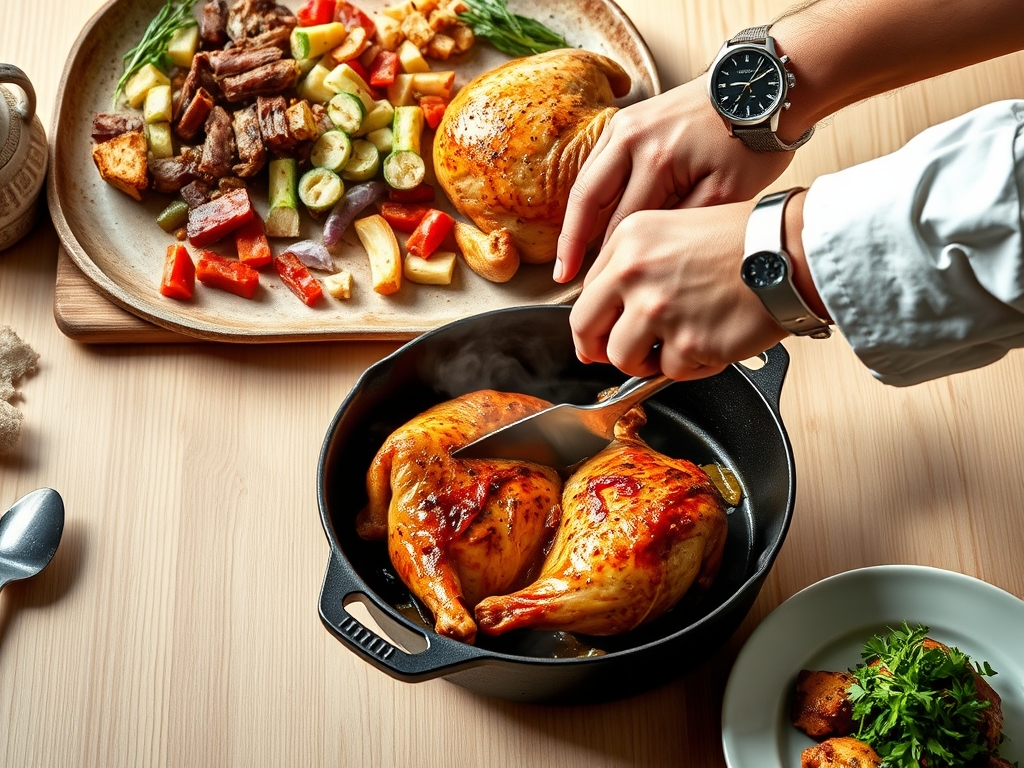
The Masterclass
1. The Surface Dehydration
Use paper towels to pat the bird until the skin feels tacky rather than slippery. Any residual surface moisture will turn into steam, which is the enemy of a crisp crust. Use a bench scraper to clear any debris from your workspace to maintain a sterile environment.
Pro Tip: This step facilitates the Maillard reaction. By removing water, you allow the surface temperature to rise rapidly above 300 degrees Fahrenheit, where sugars and amino acids react to create complex flavor compounds.
2. The Trussing Technique
Using butcher's twine, secure the wings against the breast and tie the legs together. This creates a uniform shape, which ensures that the smaller extremities do not overcook before the thickest part of the breast reaches temperature.
Pro Tip: Trussing reduces the surface area exposed to direct heat, which slows down the cooking of the delicate breast meat. This helps synchronize the doneness of the white and dark meat.
3. The Fat Emulsification
Mix your softened butter with herbs and use your fingers to separate the skin from the breast meat. Spread the mixture directly onto the flesh. This creates a self-basting environment where the fat melts into the meat while the skin fries from both sides.
Pro Tip: Fat is a superior heat conductor compared to air. By placing fat under the skin, you are essentially "shallow frying" the skin from the inside out, leading to that signature crunch.
4. The High-Heat Blast
Start your oven at a high temperature, around 450 degrees Fahrenheit, for the first 15 minutes. This initial thermal shock tightens the skin and begins the rendering process of the subcutaneous fat.
Pro Tip: This is known as thermal searing. It initiates the rendering of fat early in the cycle, preventing the skin from becoming rubbery as the internal temperature rises.
5. The Aromatics Injection
Stuff the cavity with a halved lemon, a head of garlic, and an onion. Do not overstuff; air must still be able to circulate to ensure even cooking from the inside.
Pro Tip: As the chicken heats up, the moisture in the aromatics turns to steam, which infuses the meat with flavor from the inside out without softening the exterior skin.
6. The Glaze Application
In the final 10 minutes, use a saucier to warm a mixture of honey and balsamic vinegar. Brush this lightly over the skin. The sugars will caramelize quickly, adding a piquant sweetness and a glossy finish.
Pro Tip: This is a secondary Maillard reaction. The added sugars provide extra fuel for browning, but must be added late to prevent burning.
7. The Temperature Check
Use a digital scale to weigh your bird before cooking, but rely on a probe thermometer for the finish. Pull the chicken when the thickest part of the thigh hits 160 degrees Fahrenheit.
Pro Tip: Thermal carryover will cause the internal temperature to rise another 5 to 7 degrees while the bird rests. Pulling it early prevents the proteins from tightening and squeezing out moisture.
8. The Resting Period
Place the bird on a warm carving board and wait. Do not tent it tightly with foil, as this will trap steam and soften the skin you worked so hard to crisp.
Pro Tip: Resting allows the cell walls to reabsorb the liquid that was pushed toward the center during cooking. This ensures every bite is succulent.
The Deep Dive
Macro Nutrition:
A standard four-ounce serving of roasted chicken provides approximately 25 grams of protein and 11 grams of fat. It is a nutrient-dense powerhouse, rich in Vitamin B12 and selenium, which supports metabolic health.
Dietary Swaps:
For a Keto-friendly version, omit the honey glaze and use extra ghee. For a Vegan "chicken" alternative, this roasting method works surprisingly well on a whole head of cauliflower; simply adjust the roasting time to 40 minutes and use an oil-based rub.
The Fix-It:
- Soggy Skin: If the skin isn't crisping, crank the broiler for 2 minutes. Watch it like a hawk to avoid charring.
- Dry Breast: If the breast hits 165 before the thighs are done, cover the breast with a small piece of foil to deflect heat.
- Burnt Drippings: If the pan is smoking, add half a cup of water or stock to the bottom of the roasting pan to stabilize the temperature.
Meal Prep:
To reheat while maintaining "day-one" quality, avoid the microwave. Instead, place slices in a heavy-bottomed skillet with a splash of stock and cover. This gently steams the meat while the skin stays relatively intact.
The Wrap-Up
Mastering whole chicken recipes oven baked is about more than just a meal; it is about understanding the physics of your kitchen. When you hear that first crackle of the skin and see the clear juices run from the thigh, you will know you have graduated from a cook to a technician of flavor. Use your tongs with confidence, trust your thermometer, and never skip the rest. Your dinner guests will thank you, and your leftovers will be the envy of the office.
The Kitchen Table
How do I get the skin extra crispy?
Dry the skin thoroughly and salt it 24 hours in advance. This dehydrates the surface, allowing the fat to render and the skin to fry in the oven's heat rather than steaming in its own moisture.
What is the best temperature for roasting?
A consistent 425 degrees Fahrenheit is ideal for most whole chicken recipes oven baked. It is high enough to render fat and brown the skin quickly without drying out the delicate white meat before the dark meat is safe.
Do I need to baste the chicken?
Basting is actually counterproductive for crispy skin. Opening the oven door drops the temperature, and pouring liquid over the skin reintroduces moisture. Let the fat under the skin do the work for you instead.
How long should the chicken rest?
Rest your chicken for at least 15 to 20 minutes. This allows the internal juices to redistribute through the muscle fibers. If you cut it too soon, the moisture will leak out, leaving the meat dry and tough.