
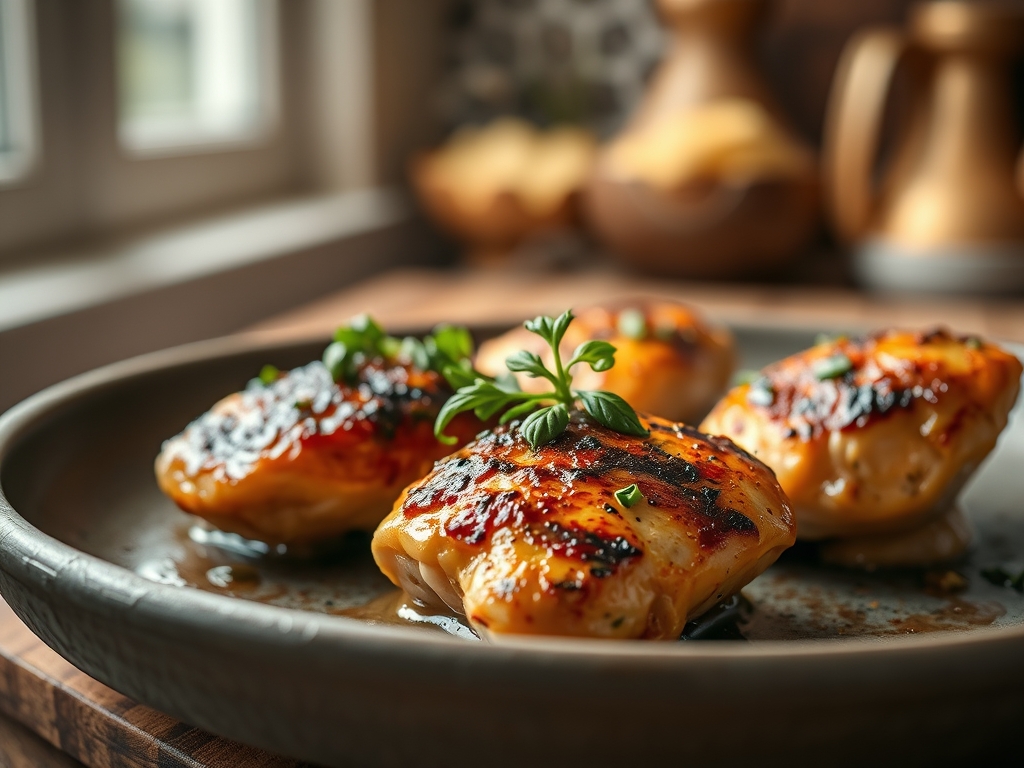
Imagine the sound of a cold bird hitting a shimmering pool of oil in a heavy-bottomed skillet. It is that aggressive, rhythmic sizzle that signals the start of something transformative. We have all been there; staring down a dry, chalky breast that tastes more like cardboard than dinner. But when you master pan chicken recipes, you are not just cooking; you are performing a delicate dance of thermodynamics and chemistry. It is about capturing that golden, shattered-glass skin while keeping the interior so succulent it practically dissolves. This is the ultimate weeknight flex. It is fast, it is efficient, and when done with a bit of scientific swagger, it is better than anything you will find at a bistro. We are moving beyond basic searing into the realm of professional texture management. Grab your favorite apron and a glass of something crisp. We are about to turn your kitchen into a high-end test lab where the results are delicious, repeatable, and undeniably impressive.
The Gathers:
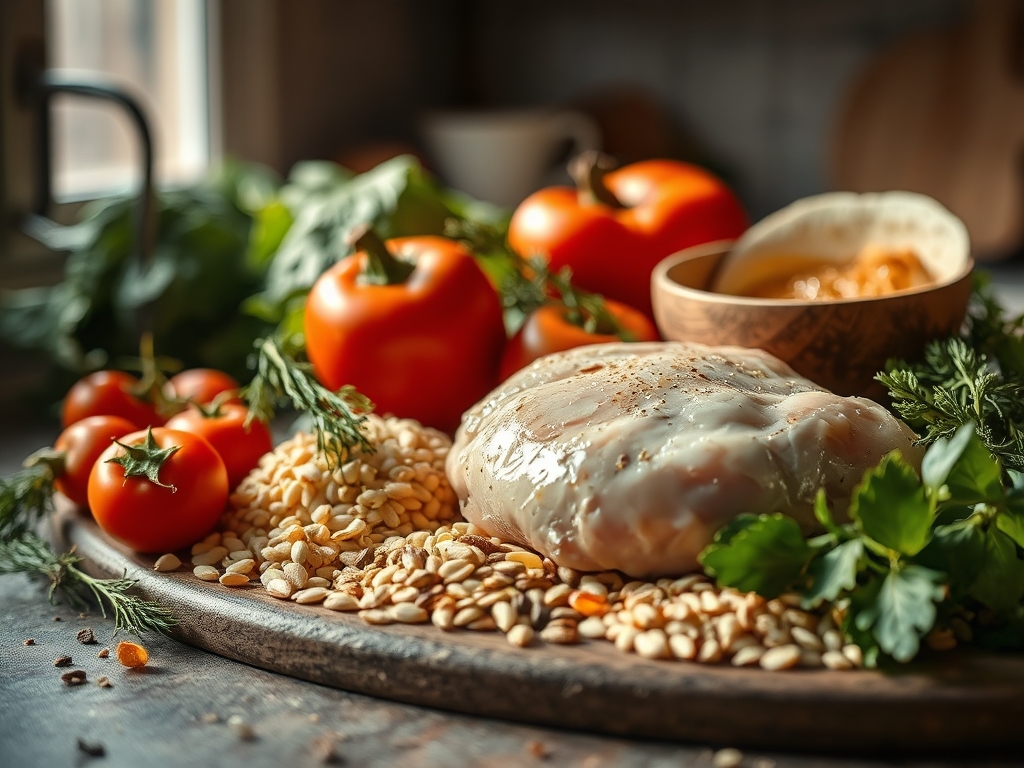
Before the flame even touches the pan, we must respect the mise-en-place. To execute elite pan chicken recipes, you need high-quality proteins and fats that can withstand the thermal load. Start with air-dried, skin-on thighs or breasts. Water-chilled poultry often leeches excess moisture, which creates steam and kills your crust. You will need a high-smoke-point fat like avocado oil or clarified butter (ghee) to facilitate the Maillard reaction without scorching.
Your aromatic profile should be piquant and layered. Think fresh thyme sprigs, smashed garlic cloves that still have their papery skins, and perhaps a pinch of smoked paprika for an earthy depth. A digital scale is your best friend here; measuring your salt by weight ensures perfect seasoning every single time.
Smart Substitutions: If you are out of fresh garlic, a fermented black garlic paste offers a viscous, balsamic-like sweetness. No ghee? Use a neutral oil and finish with a cold knob of unsalted butter at the very end to prevent the milk solids from burning during the high-heat phase.
The Clock: Chef's Flow
Efficiency in the kitchen is about "Chef's Flow." This is the psychological state where prep and execution overlap perfectly. For most pan chicken recipes, you are looking at a 10-minute prep window and a 15-to-20-minute cook time.
The flow begins with the "Tempering Phase." Take your chicken out of the fridge 20 minutes before cooking. If you drop a 38-degree piece of meat into a hot pan, the muscle fibers will contract violently, squeezing out all those precious juices. While the meat tempers, use a bench scraper to organize your aromatics and preheat your oven if you plan on a thick-cut finish. This overlap ensures that by the time your skillet is screaming hot, your chicken is relaxed and ready for its golden transformation.
The Masterclass:
1. The Surface Prep
Dry the skin until it feels like parchment paper. Use a lint-free paper towel to press out every molecule of surface moisture. Moisture is the enemy of the sear; it requires energy to evaporate, which robs your pan of the heat needed for browning.
Pro Tip: This is known as surface dehydration. By removing water, you allow the proteins and sugars to bond faster, triggering the Maillard reaction at a lower total energy cost.
2. The Cold Pan Start (For Skin-On)
Place your chicken skin-side down in a cold, heavy-bottomed skillet, then turn the heat to medium-high. This allows the fat to render slowly. As the pan heats up, the fat liquefies and fries the skin in its own oil, resulting in a glass-like crunch.
Pro Tip: This technique prevents the skin from shrinking too quickly. Gradual heating ensures the subcutaneous fat melts away, leaving only the crisp collagen structure behind.
3. The Weighted Press
Once the sizzle becomes consistent, place a smaller heavy pan or a foil-wrapped brick on top of the chicken. This ensures maximum surface contact with the heat source.
Pro Tip: This facilitates conduction. Without a press, chicken often curls, creating air pockets that lead to uneven browning and "blonde" spots on the skin.
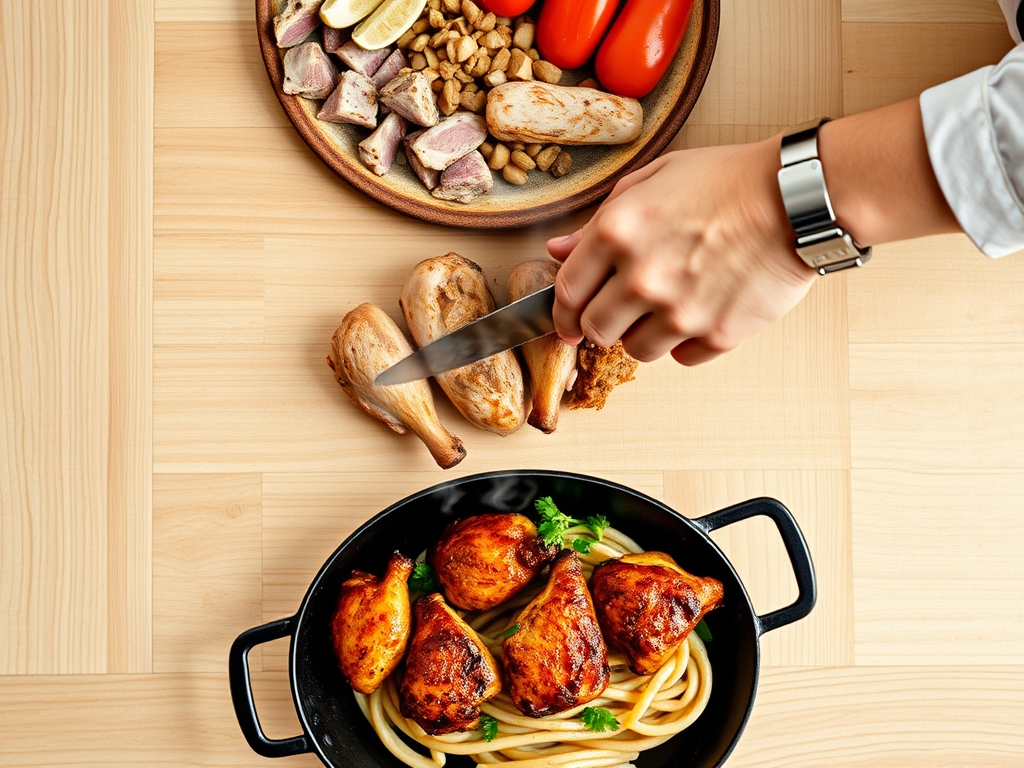
4. The Flip and Butter Baste
Once the skin is mahogany, flip the bird using tongs. Drop in your aromatics and a tablespoon of butter. Use a large spoon to bathe the chicken in the foaming, flavored fat.
Pro Tip: This is aromatic infusion. The fat acts as a solvent, extracting fat-soluble flavor compounds from the garlic and herbs and depositing them directly onto the meat.
5. The Deglaze
After removing the chicken, the pan will be covered in "fond," those brown bits of concentrated flavor. Pour in a splash of dry white wine or chicken stock and scrape the bottom with a wooden spoon.
Pro Tip: This is deglazing. The liquid dissolves the caramelized proteins, creating a viscous base for a pan sauce that captures the entire essence of the cook.
6. The Rest
Transfer the chicken to a warm plate and wait. Do not touch it for at least five to seven minutes.
Pro Tip: This accounts for thermal carryover. The internal temperature will continue to rise by 5 degrees while the muscle fibers relax, allowing the juices to redistribute rather than spilling out on the cutting board.
The Deep Dive:
From a macro perspective, pan chicken recipes are a protein powerhouse. A standard 6-ounce serving provides roughly 40 grams of protein with varying fat content depending on whether you choose the lean breast or the succulent thigh. For those following a Keto lifestyle, this is a holy grail meal; the high-quality fats used in searing provide satiety without the need for carbohydrates. Vegan friends can swap the poultry for extra-firm tofu or oyster mushrooms, using the same "press and sear" method to achieve a meaty texture. If you are Gluten-Free, simply ensure your deglazing liquid is a pure stock or wine rather than a flour-thickened gravy.
The Fix-It:
- The Skin is Soggy: You likely overcrowded the pan. This creates a steam tent. Cook in batches to maintain high heat.
- The Outside is Burnt, Inside is Raw: Your heat was too high. Finish the chicken in a 350-degree oven after the initial sear to ensure even cooking.
- The Sauce is Broken: If your pan sauce looks greasy, whisk in a teaspoon of cold water or a splash of cream to emulsify the fats back into the liquid.
Meal Prep Science: To reheat without drying, avoid the microwave. Use a saucier to warm a few tablespoons of stock, place the chicken inside, and cover with a lid. This gentle steaming method rehydrates the fibers without overcooking the core.
The Wrap-Up:
Mastering the art of the pan is a rite of passage for any home cook. It is the bridge between "making food" and "creating cuisine." By understanding the relationship between moisture, heat, and fat, you have unlocked the ability to make a world-class meal in under thirty minutes. Remember; the sizzle is your guide, the fond is your liquid gold, and the rest is your secret weapon. Now, go forth and sear with confidence!
The Kitchen Table:
How do I get the skin extra crispy?
Ensure the chicken is bone-dry before it hits the pan. Use a heavy press to maximize surface contact and start in a cold pan to render out all the fat slowly before the high-heat sear begins.
What is the best pan for searing chicken?
A cast-iron skillet or a heavy stainless steel pan is best. These materials have high heat retention, meaning the temperature won't drop significantly when you add the cold meat, ensuring a superior, even crust.
How do I know when the chicken is done?
Use a digital thermometer to check the thickest part of the meat. Remove breasts at 160 degrees Fahrenheit and thighs at 170 degrees. Carryover cooking will bring them to the perfect final temperature while they rest.
Can I use frozen chicken for these recipes?
Technically yes, but it must be completely thawed and patted dry first. Frozen chicken contains excess internal moisture that often leaks out during cooking, which can prevent a proper sear and lead to a rubbery texture.